Use Token Bound Accounts
Learn how use token bound accounts (ERC6551) in your game.
In this guide you'll find how to implement a token bound account based on a game character. This guide implements the backend code necessary to use token bound accounts in your game. It uses the Openfort Node SDK. Architecture of the solution proposed in this guide:

For a genereral overview of token bound accounts, see the Token Bound Accounts blog post. You can find the complete code of this guide in the openfort samples GitHub.
Prerequisites#
When interacting with smart wallets through Openfort, import the contract and create a policy to sponsor gas. Get your secret key from the Openfort dashboard.
1. Import the NFT contract#
Token bound accounts are based on the ownership of a non-fungible token. In this guide, we'll use a contract, deployed at in Polygon Amoy at 0x380...AC0.
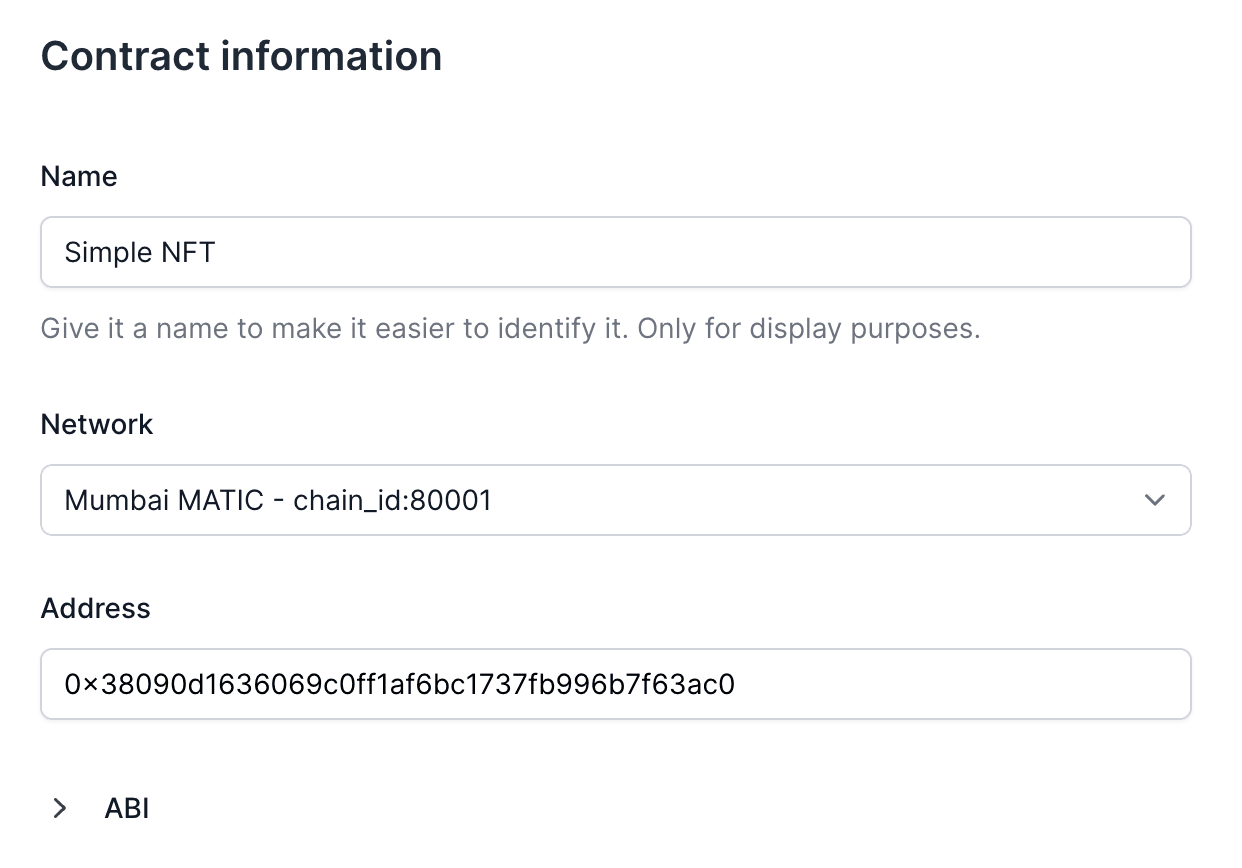
Add a new contract by clicking the Add contract button in the Asset contracts section, then enter:
- The name of the contract (it can be any name you want; the name is only for identification purposes)
- The network (
chainId) where the smart contract is located: 80002. - The address of the contract.
- Because the contract is verified in the block explorer, there's no need to provide an ABI manually.
2. Set up gas sponsoring#
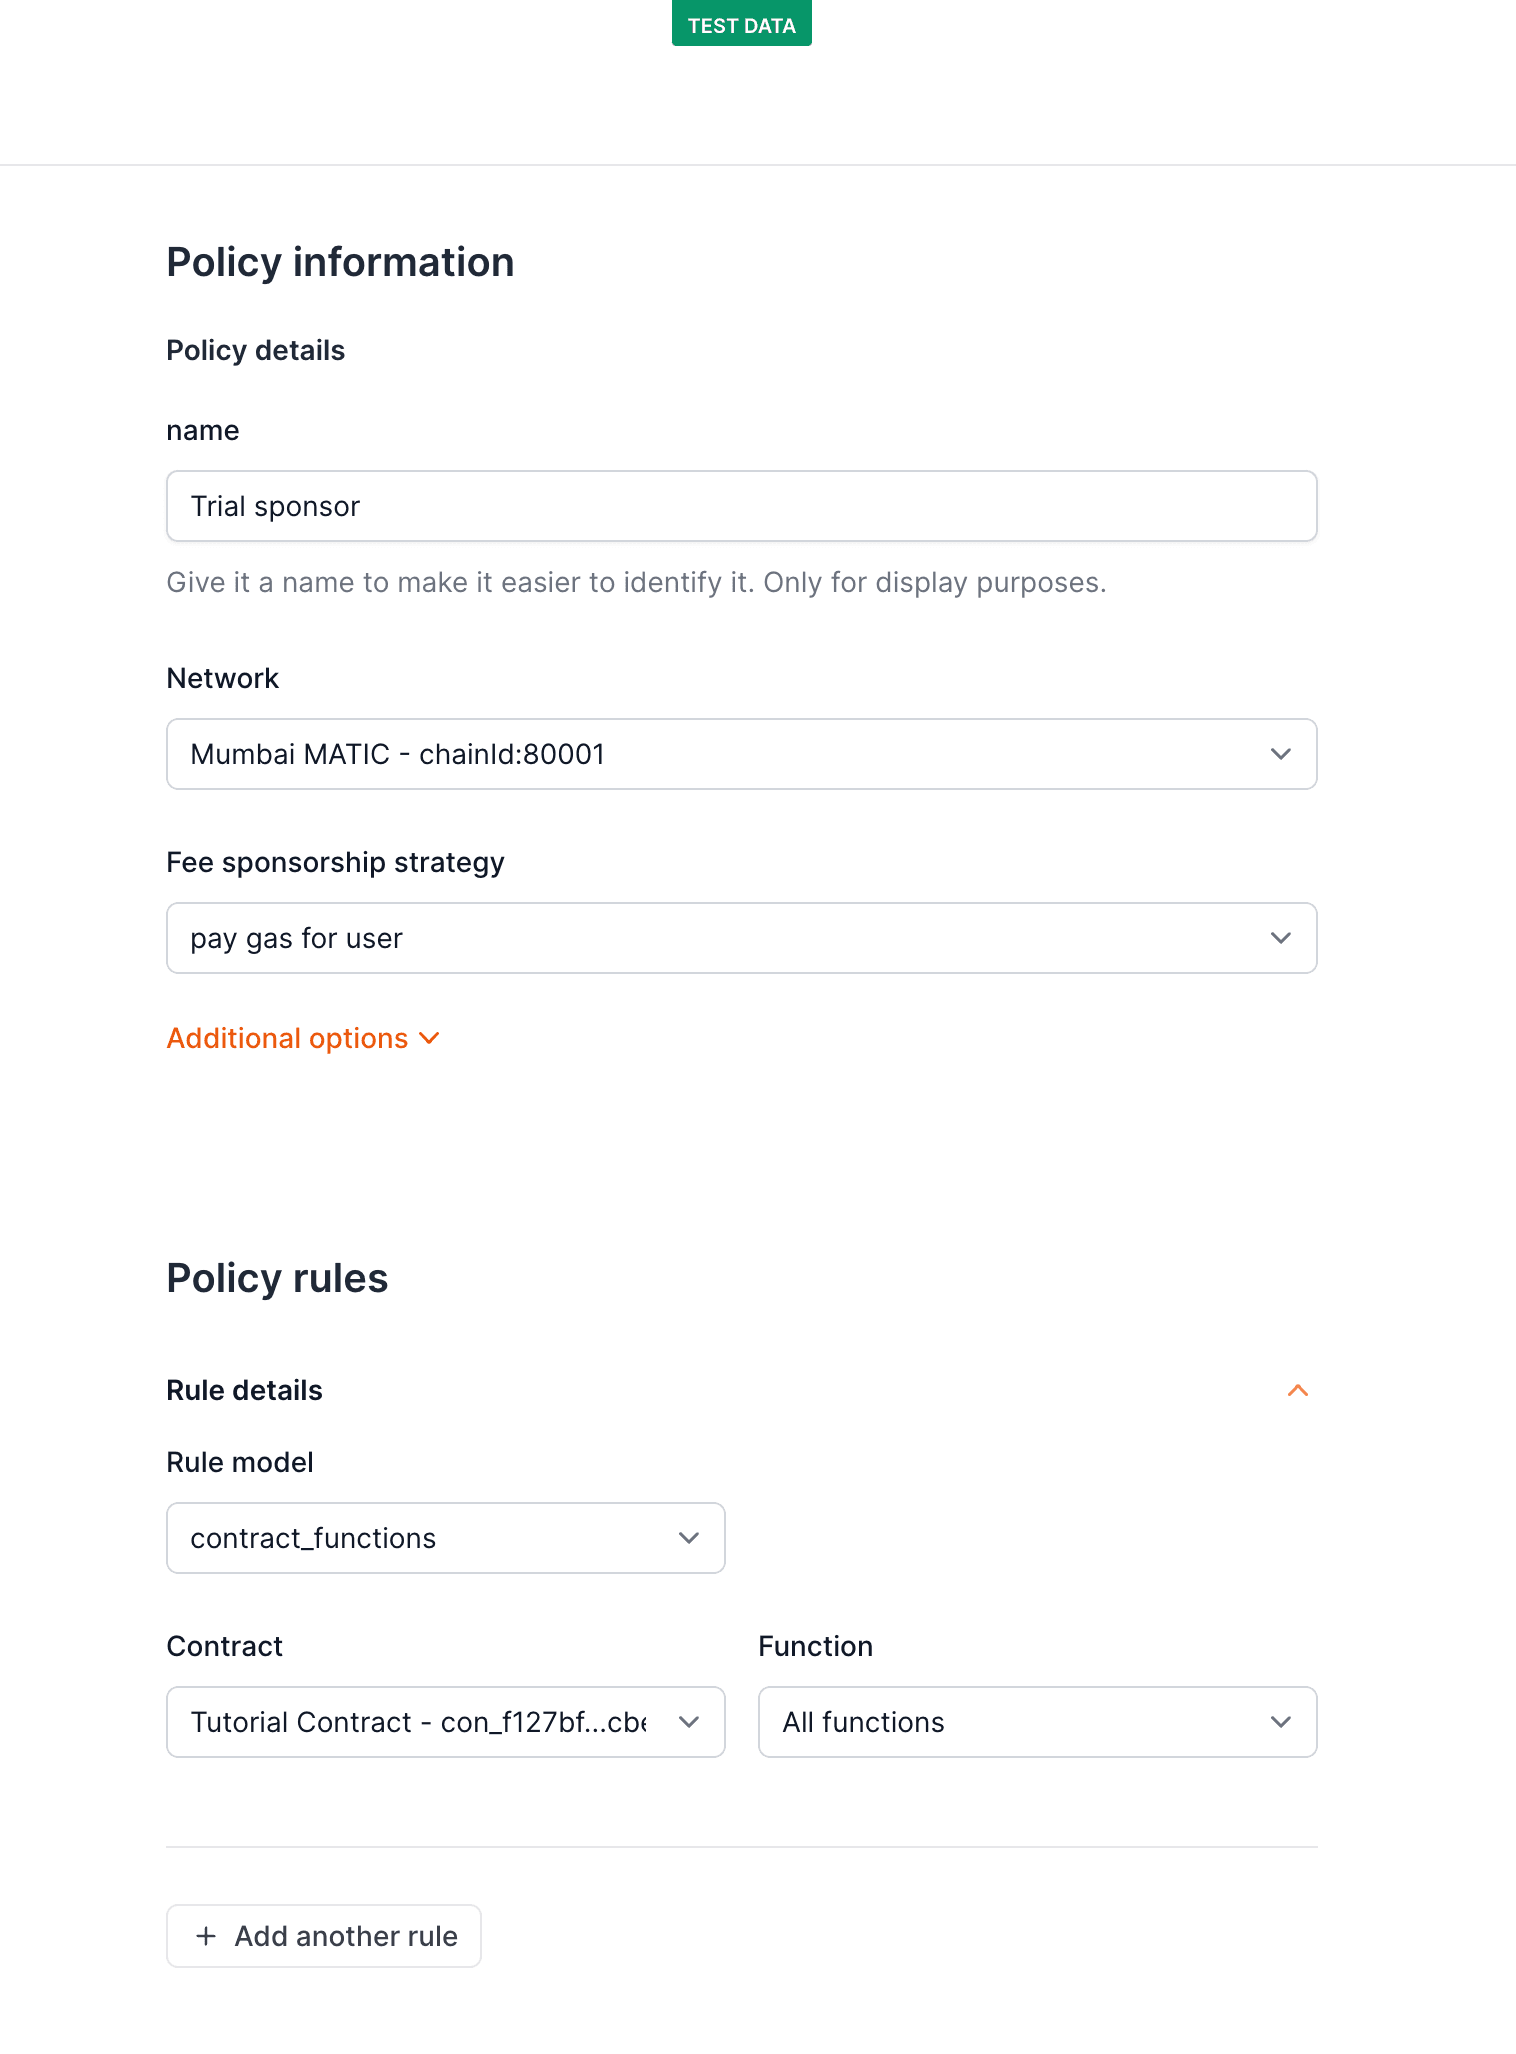
Add a new policy by clicking the Add policy button in the Policies page, then enter:
- The name of the policy (it can be any name you want; the name is only for identification purposes)
- The network (
chainId) where the smart contract is located: 80002. - As a fee sponsorship strategy, leave
pay gas for user. - Under policy rules, create two rules:
- 1st rule:
- Leave
contract_functionsunder Rule model. - Under Contract, select the contract you imported in the previous step.
- Under Function name, select
All functions.
- Leave
- 2nd rule:
- Choose
account_functionsunder Rule model.
- Choose
- 1st rule:
Create the character NFT#
As you know, to create a token bound account, you need to first know what NFT will be used to define the ownership of the account. Becasue in this guide we start from scratch, we'll also mint that NFT, but you could potentially use any NFT that you already own. If you want to use your own NFT, skip to the next section.
We'll use a regular Openfort account to mint it. We start by creating an Openfort player and a regular Openfort account.
Then, we define the mint function interaction and create a transactionIntent using the gas sponsoring policy we created in the previous step.
And we're all set! The character NFT is minted and owned by the player_upgradeable's account.
Create a token bound account#
Now that we have the NFT that will defined the ownership of the account, we can create a token bound account. Note that when creating the token bound account, we need to specify:
- The
externalOwnerAddressfield: the address that currently owns the character NFT. - The
tokenContractfield: the address of the NFT contract. - The
tokenIdfield: the token id of the character NFT. - The
accountTypefield: specified that the account to be created is a token bound account.
We start off by creating a new player and then assign a new counterfactual token bound account to it:
Transferring the character NFT#
You can send the character NFT to another account by calling the safeTransferFrom function of the NFT contract.
This function takes the address of the current owner, the address of the new owner, and the token id as arguments.
In this case, we'll transfer the character NFT to the previously account ownerAddress. This is because Openfort accounts come, by default, with a managed signer.
Sending the NFT to the account ownerAddress allows a regular EOA to control the account.
Minting an asset into the character NFT#
You can easily mint assets into the token bound account and even use it to mint assets. Here we interact with the same simple NFT contract to mint an NFT into the token bound account.