Integrate Android In-App Purchases (IAP) in Unity
Integrate Android IAP in your web3 game.
Overview#
This sample project showcases the Openfort integration with Android In-App Purchasing in Unity.
The sample includes:
-
A .NET Core project with Cloud Code C# modules that implement Openfort C# SDK methods. Needs to be hosted in Unity Gaming Services.
-
A Unity sample game that connects to
ugs-backendthrough Cloud Code. It uses Openfort Unity SDK to have full compatibility withugs-backendresponses.
Application Workflow#
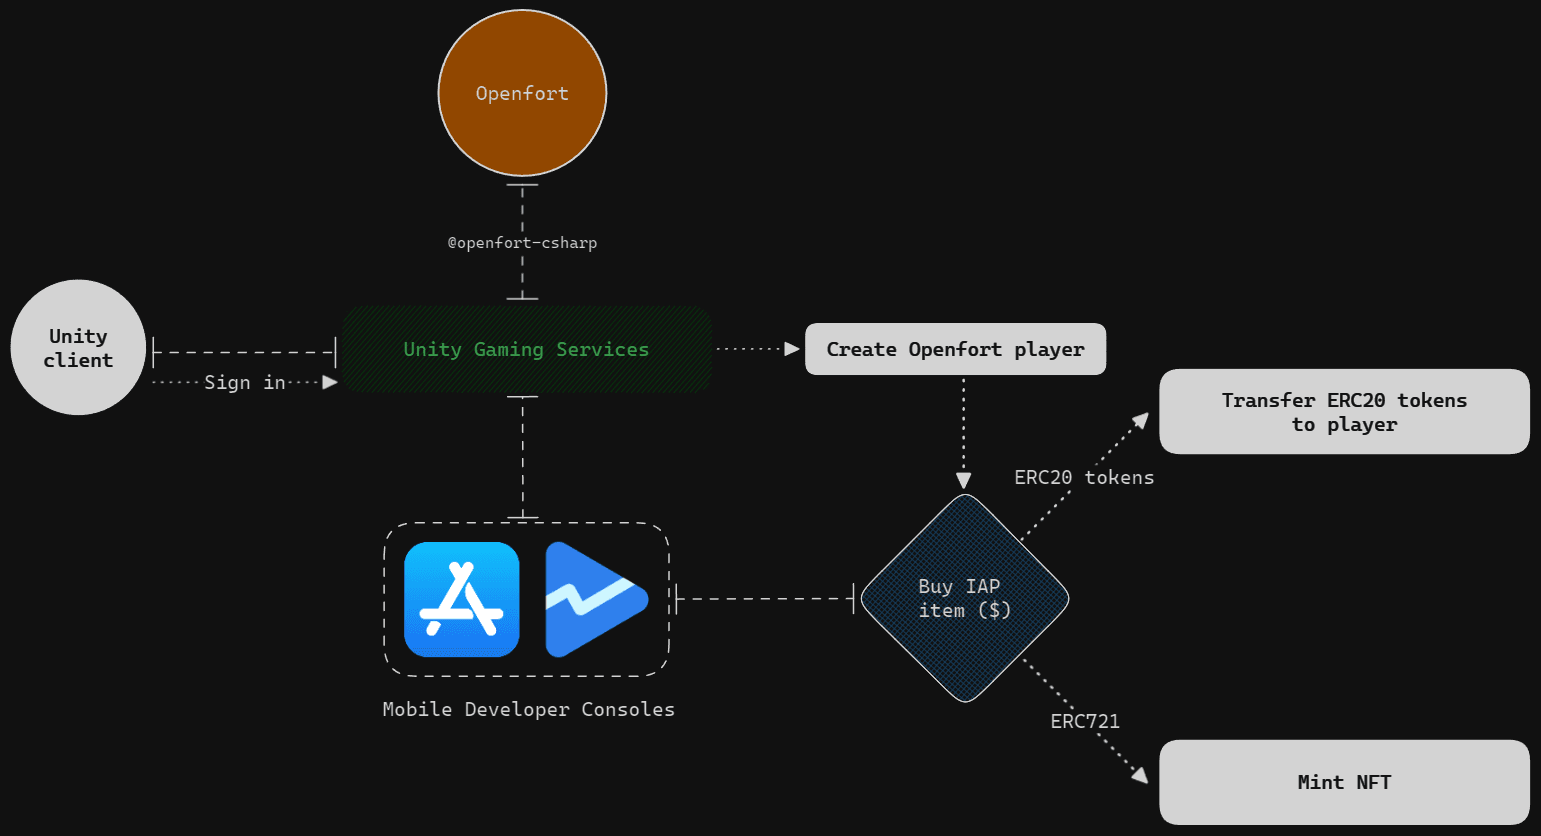
Workflow#
- Sign in as a new anonymous player
- Create an Openfort player and a custodial account
- Save the Openfort player's information to the Unity player's dashboard
- Initialize Unity In-App Purchasing service
- Now the player can purchase a consumable or a non-consumable in-app product
- If the consumable purchase is successful, some ERC20 tokens will be transferred to its account
- If the non-consumable purchase is successful, the player will mint an NFT
- The player can also retrieve their ERC20 token balance and NFT inventory
Prerequisites#
-
Get started with Openfort
-
Get started with UGS
-
Get started with Google Play Console
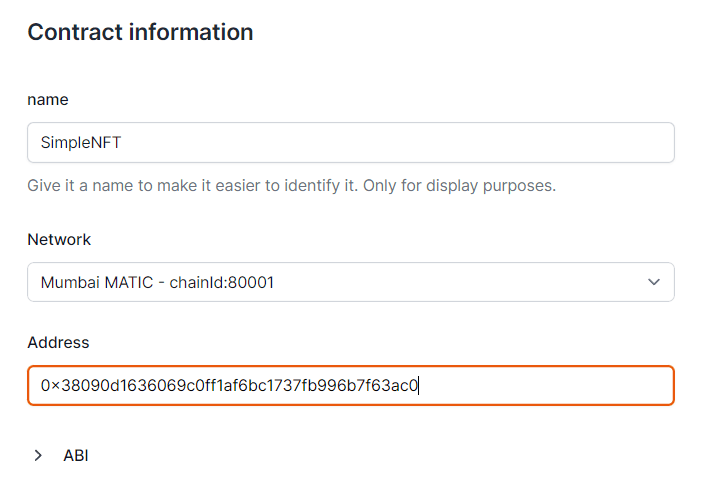
Setup Openfort dashboard#
-
This sample requires an NFT contract to run. We use 0xbed6a05ce8719bc00db1cc81a814192c82be1bb1 (contract deployed in 80002 Amoy). You can use it for this tutorial too:
-
This sample also requires an ERC20 contract to run. You can deploy a standard one and then add it to the Openfort dashboard following the same logic as above.
-
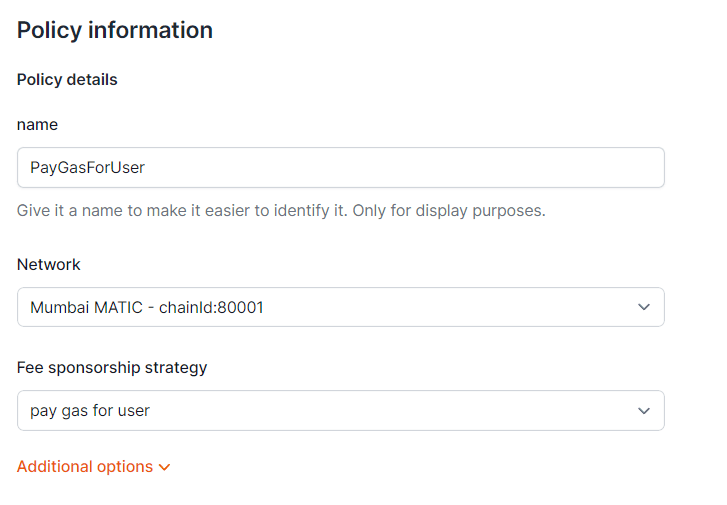
We aim to cover gas fees for our users when they mint the NFT. Set a new gas policy for that:
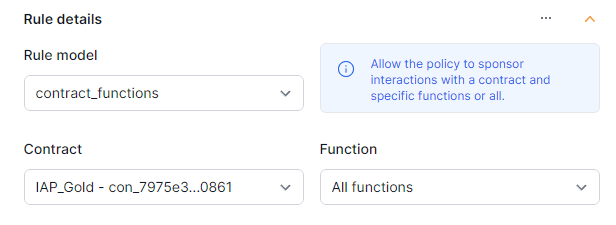
Add a rule so the NFT contract uses this policy:
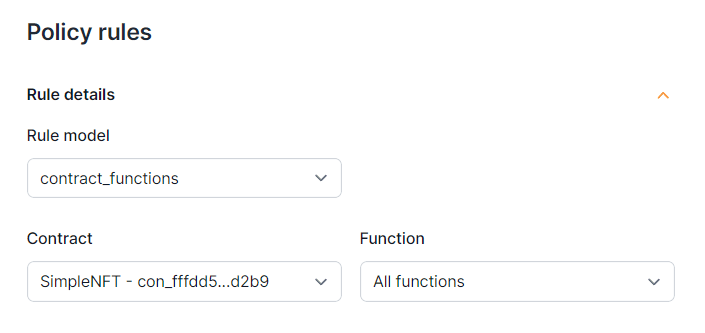
Add also a rule for the ERC20 contract:
-
Enter a name and choose Add account:
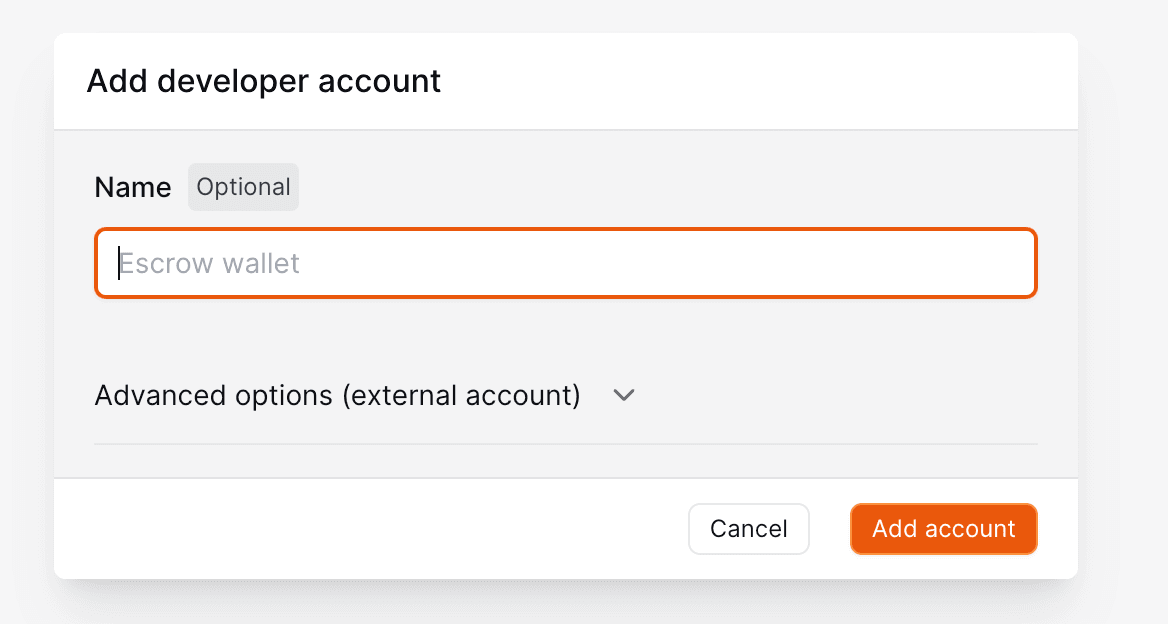
This will automatically create a custodial wallet that we'll use to send the ERC20 tokens to the players. IMPORTANT: Transfer a good amount of tokens from the created ERC20 contract to this wallet to facilitate testing.
Set up ugs-backend#
-
Set Openfort dashboard variables#
Open the solution with your preferred IDE, open
SingletonModule.csand fill in these variables:
OfApiKey: Retrieve the Openfort secret keyOfNftContract: Retrieve the NFT contract API IDOfGoldContract: Retrieve the ERC20 contract API IDOfSponsorPolicy: Retrieve the Policy API IDOfDevAccount: Retrieve the Developer Account API ID
-
Package Code#
Follow the official documentation steps.
-
Deploy to UGS#
Follow the official documentation steps.
Set up unity-client#
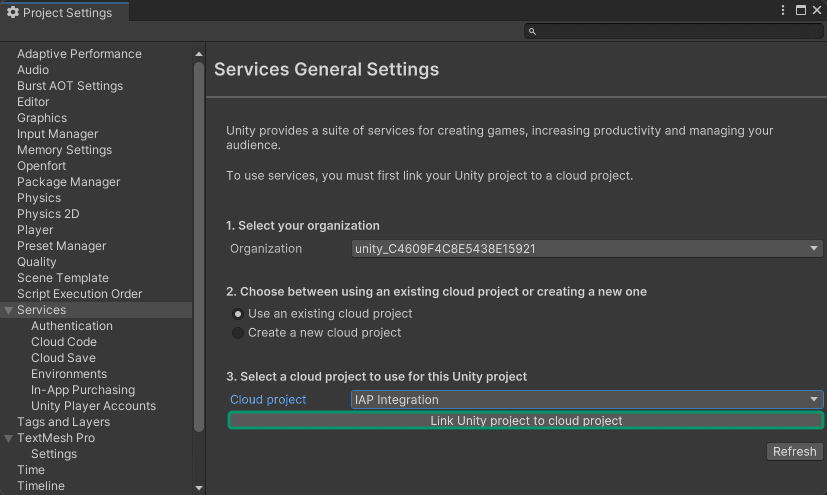
In Unity go to Edit --> Project Settings --> Services and link the unity-client to your UGS Project:
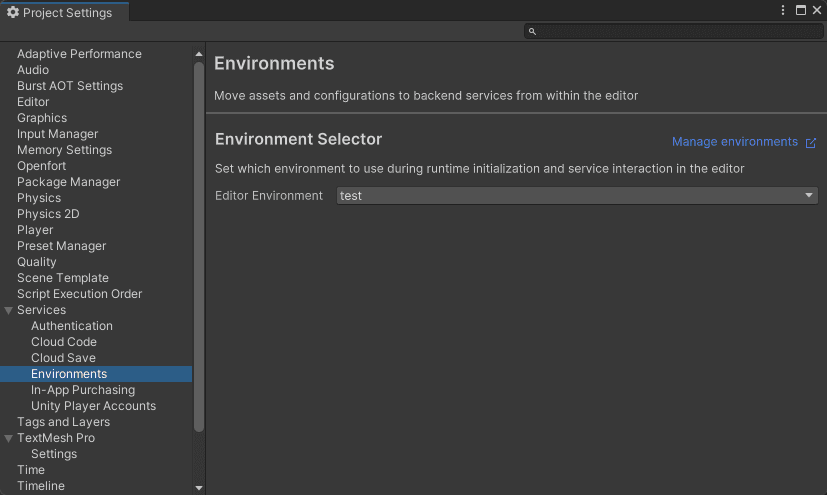
Select your Environment:
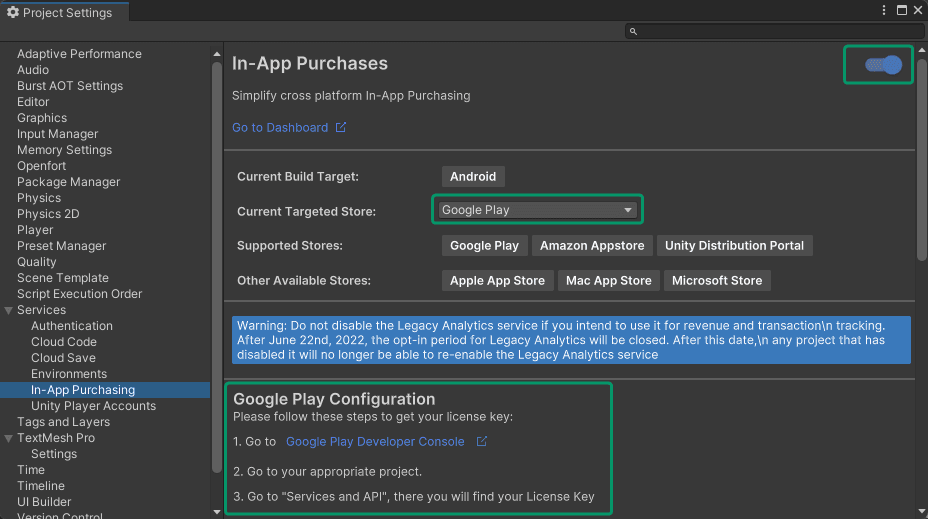
Now make sure In-App Purchasing is enabled and Current Targeted Store is set to Google Play. Then follow the instructions to set the Google Play License Key to your UGS project:
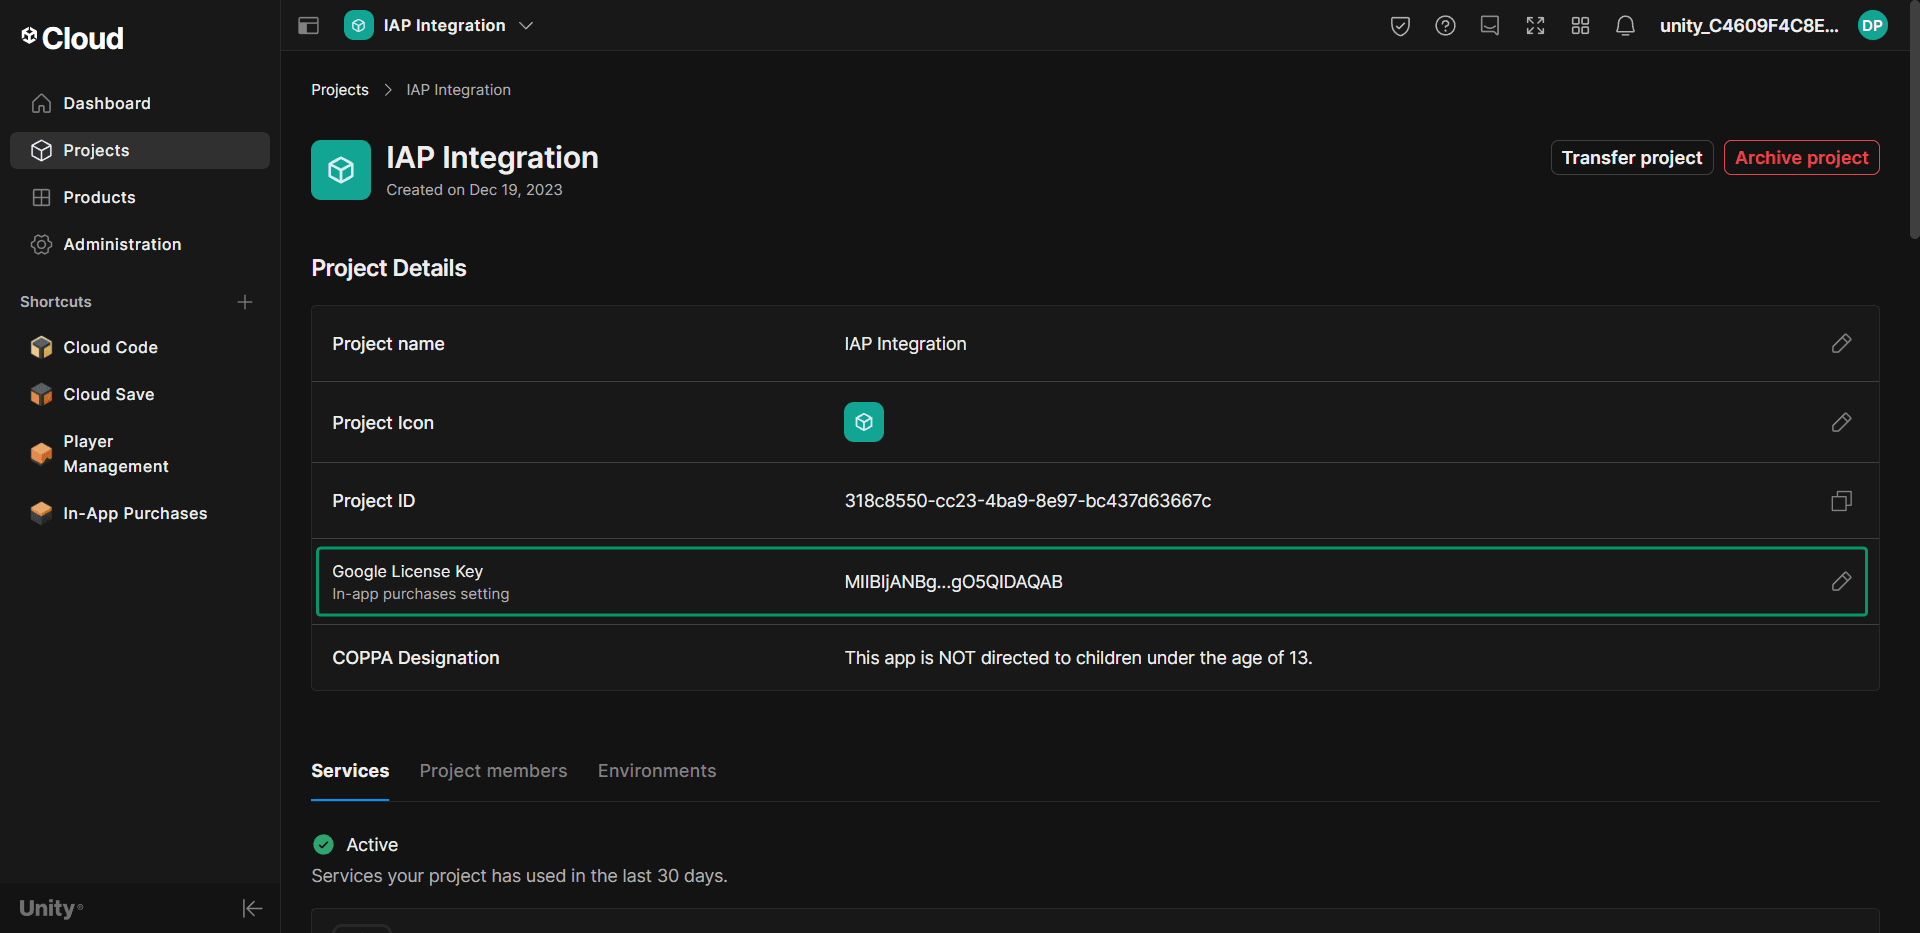
Your UGS project dashboard should look like this:
Test in Editor#
Play the Main scene and you should see the sign-in panel:
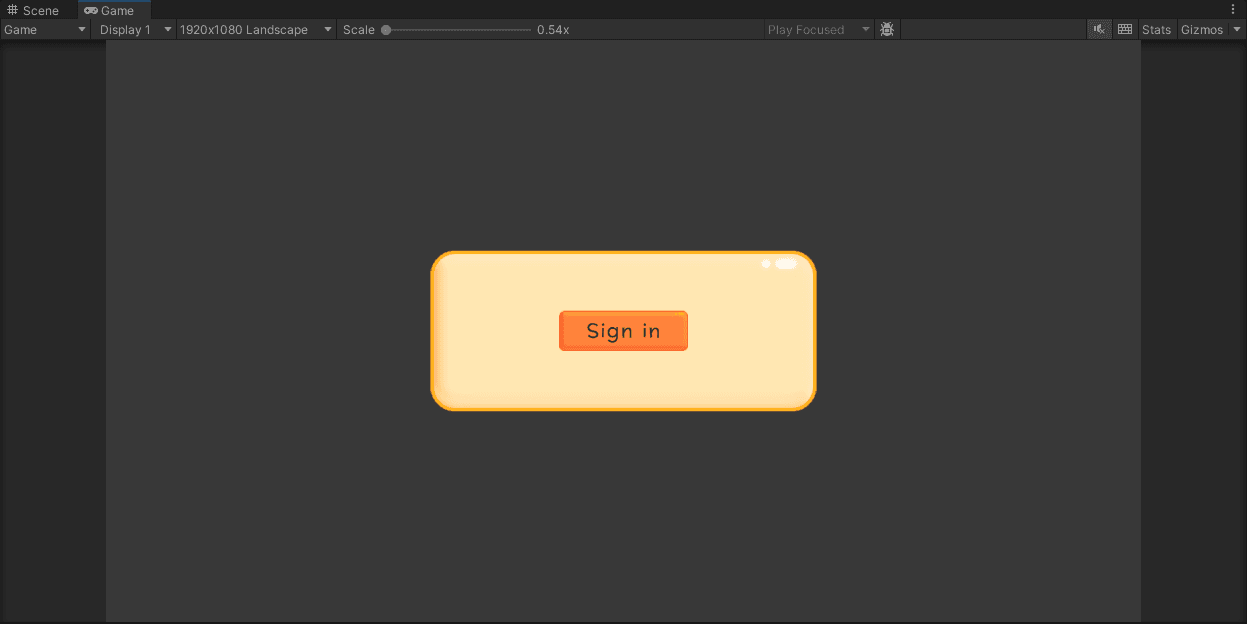
Choose Sign in. The first time it will create a new player but the next time it will sign in as the same player. After some authentication-related logs, this panel should appear:
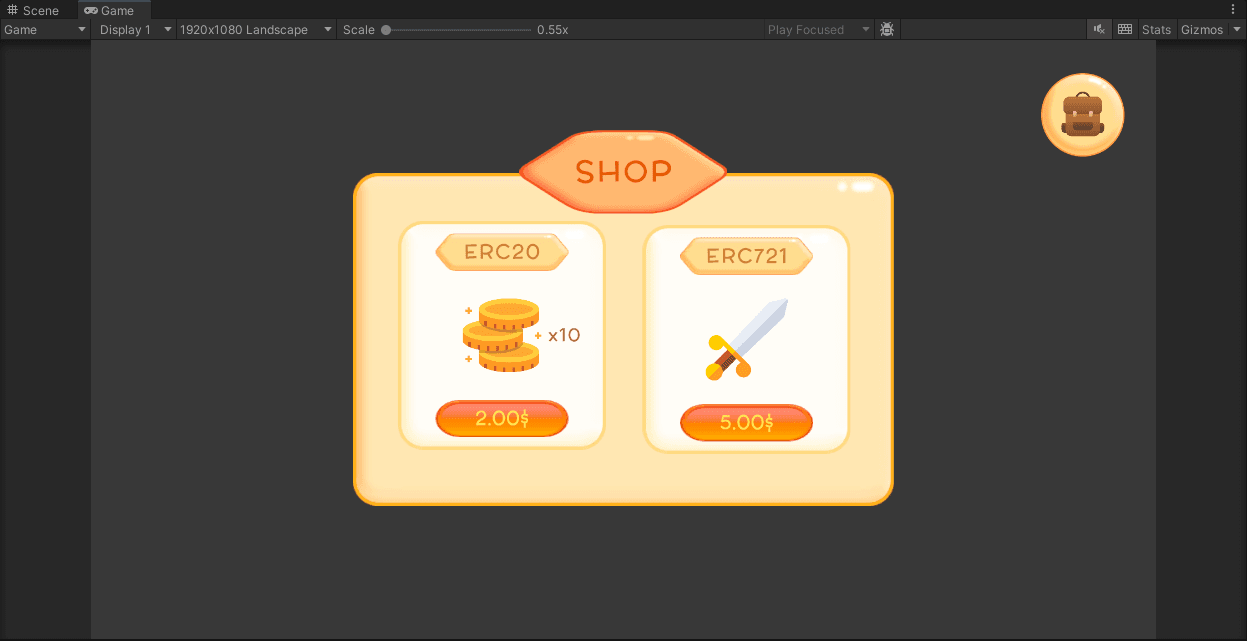
Here you have two options:
- Purchase ERC20 tokens (x10)
- Purchase NFT
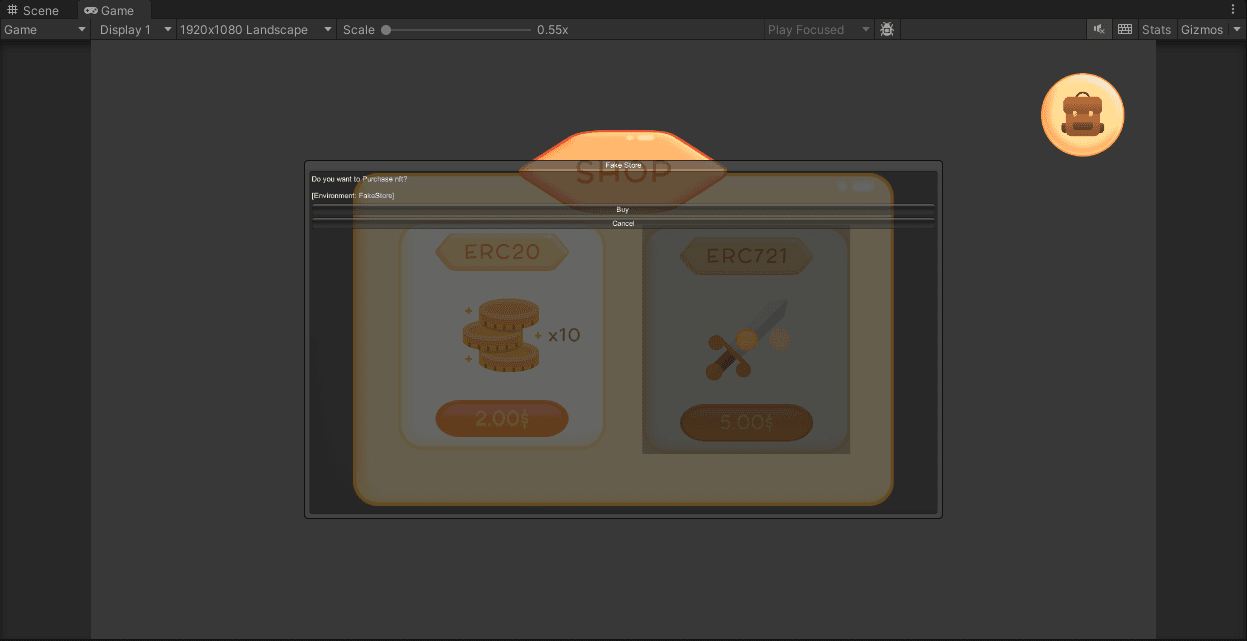
By clicking any of them, a Fake Store panel will pop up, letting you confirm or cancel the purchase:
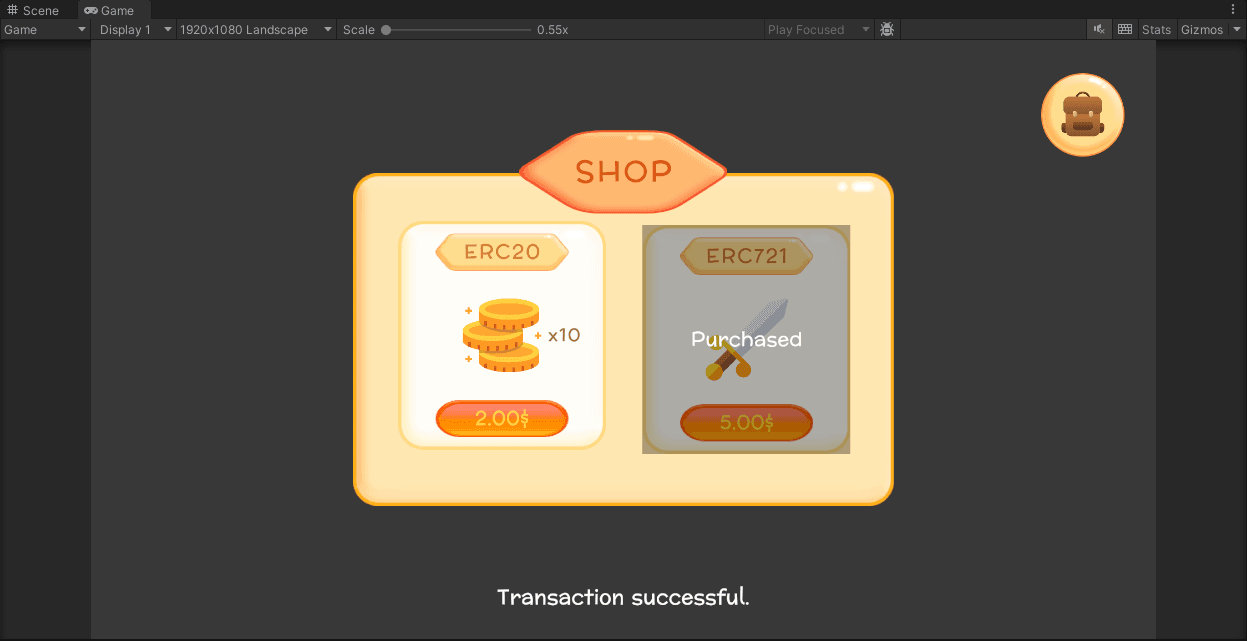
If you confirm, after a brief period you should see the Transaction successful message:
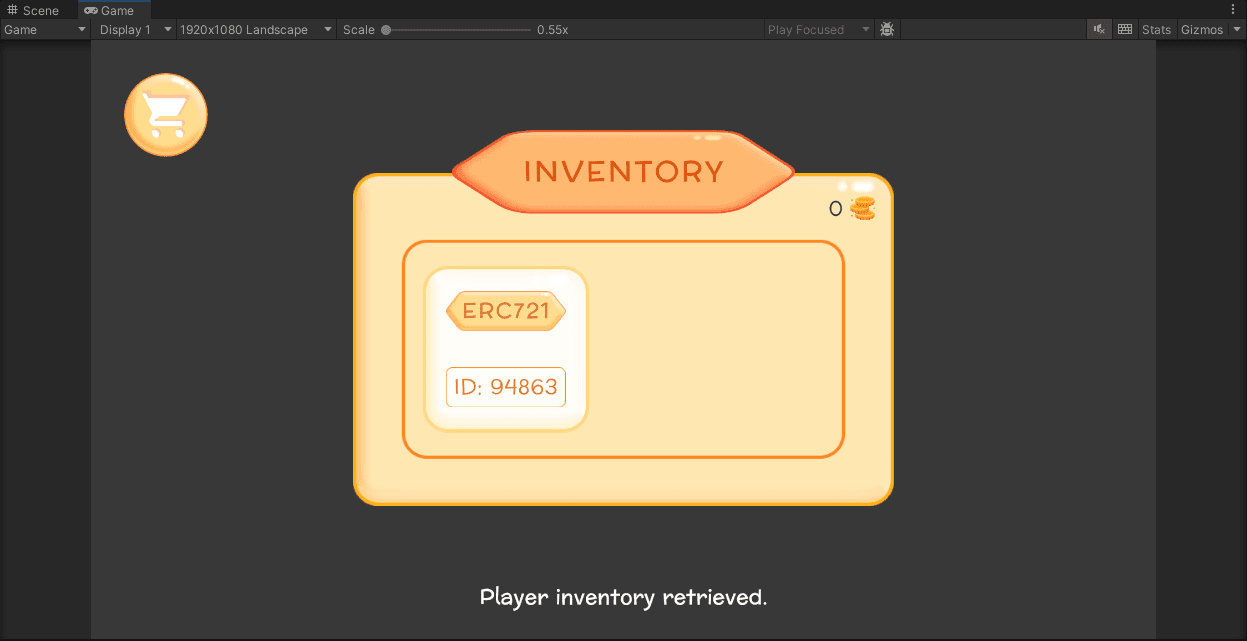
You can then click on the inventory icon to see the representation of your on-chain assets:
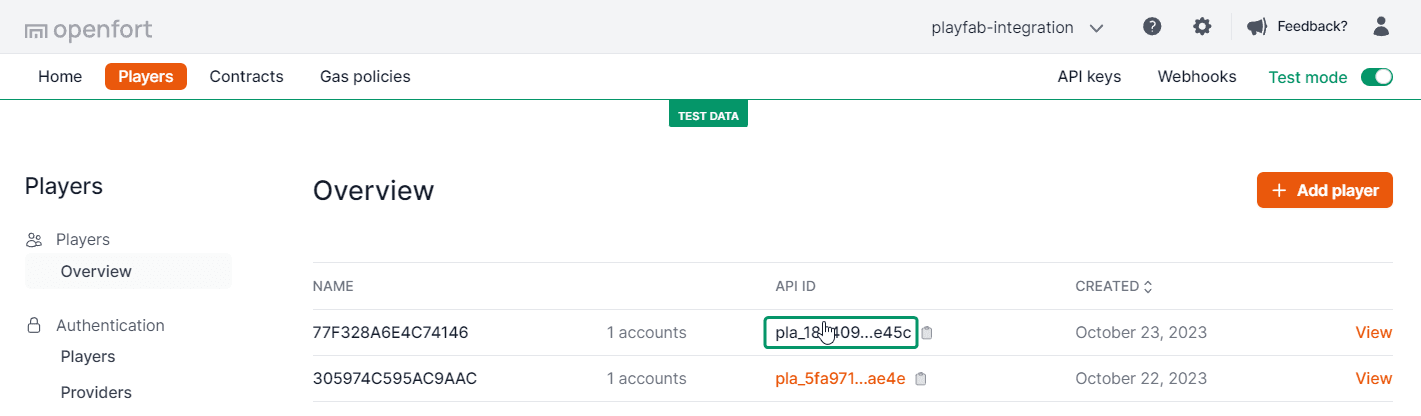
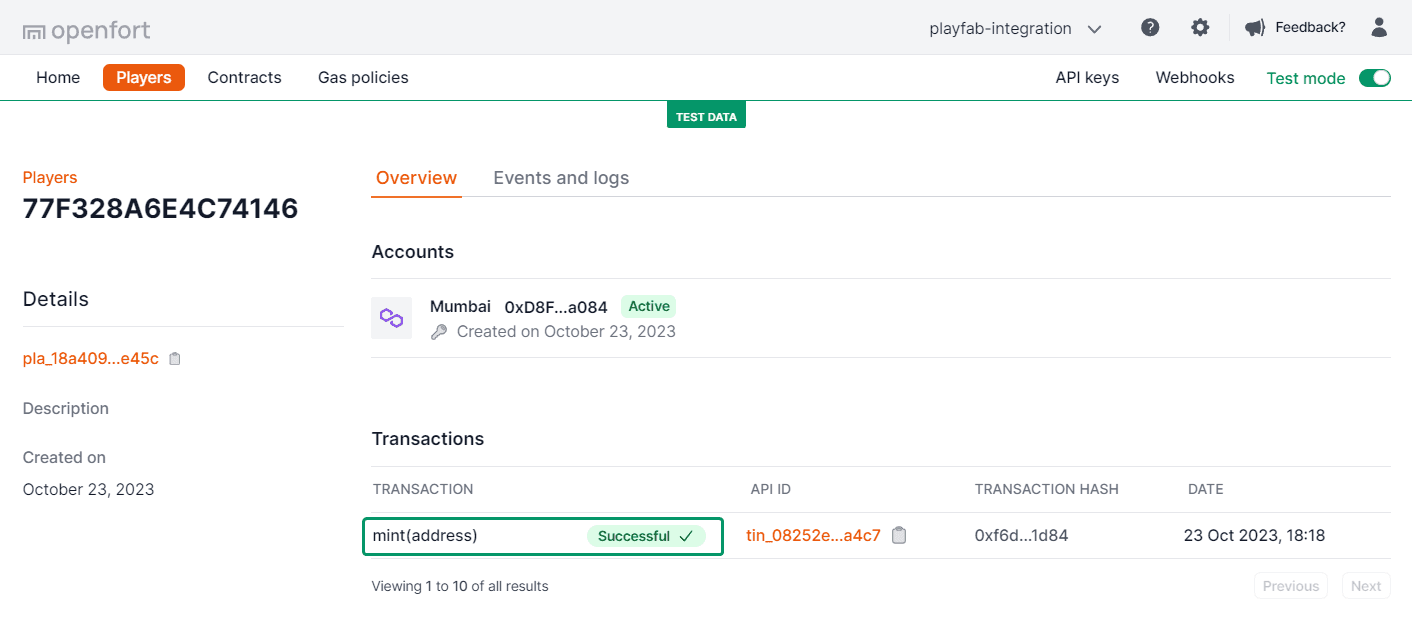
In the Openfort Players dashboard, a new player entry should be visible. On selecting this player:
You'll notice that a mint transaction has been successfully processed:
Additionally, by choosing your Amoy Account and viewing NFT Transfers, the transaction is further confirmed:

Build App Bundle#
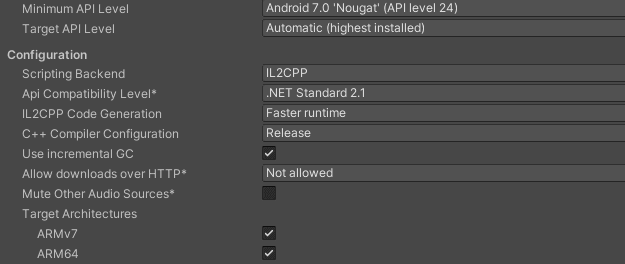
In Unity go to Android Player settings and make sure Other Settings looks like this:
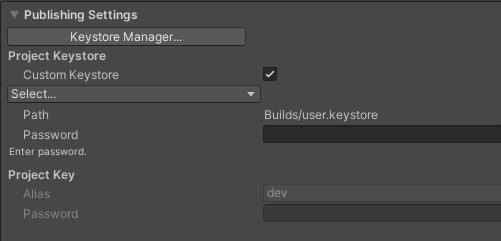
Also, make sure to sign the application with a Keystore in Publishing Settings:
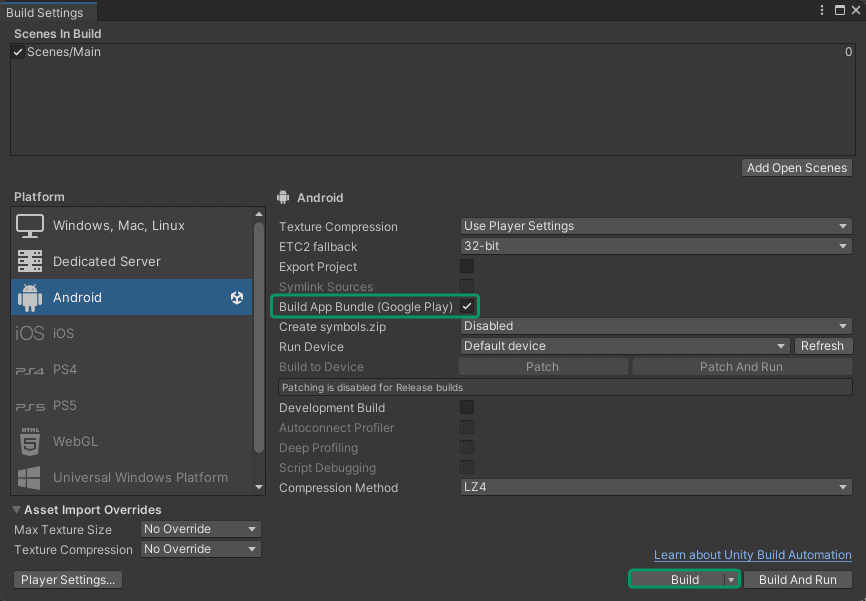
Then go to Build Settings, check Build App Bundle (Google Play) and choose Build:
Set up Google Play Console#
-
Create internal release#
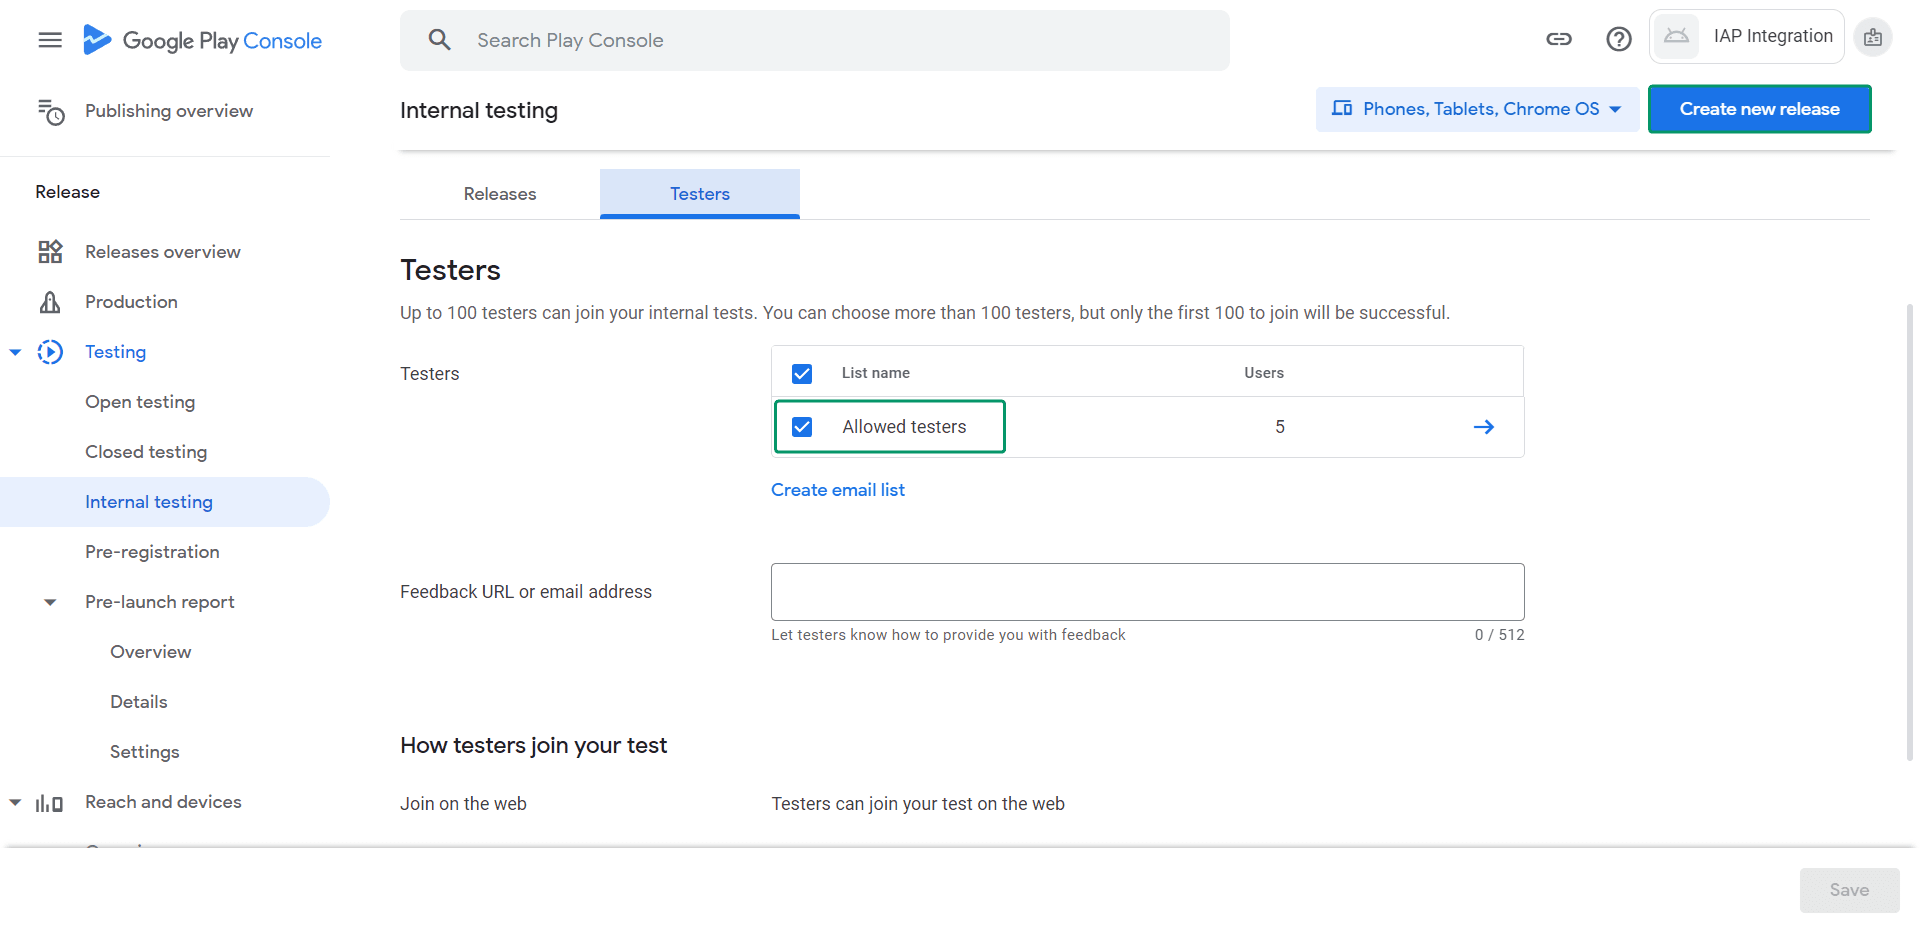
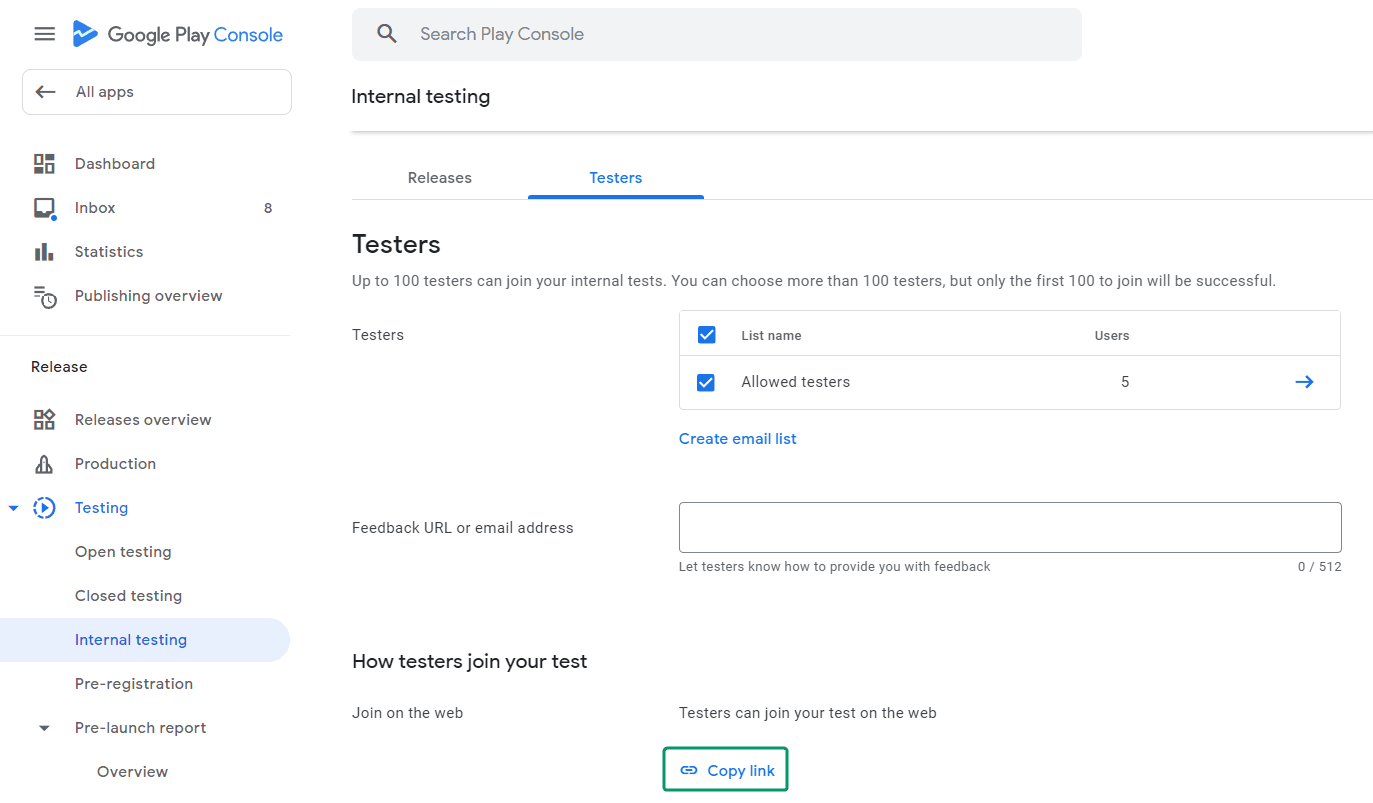
On your Google Play Console app, go to Release --> Testing --> Internal testing --> Testers and select or create an email list with the emails that will test your app. Then choose Create new release:
Upload the
.aabfile and then choose Next: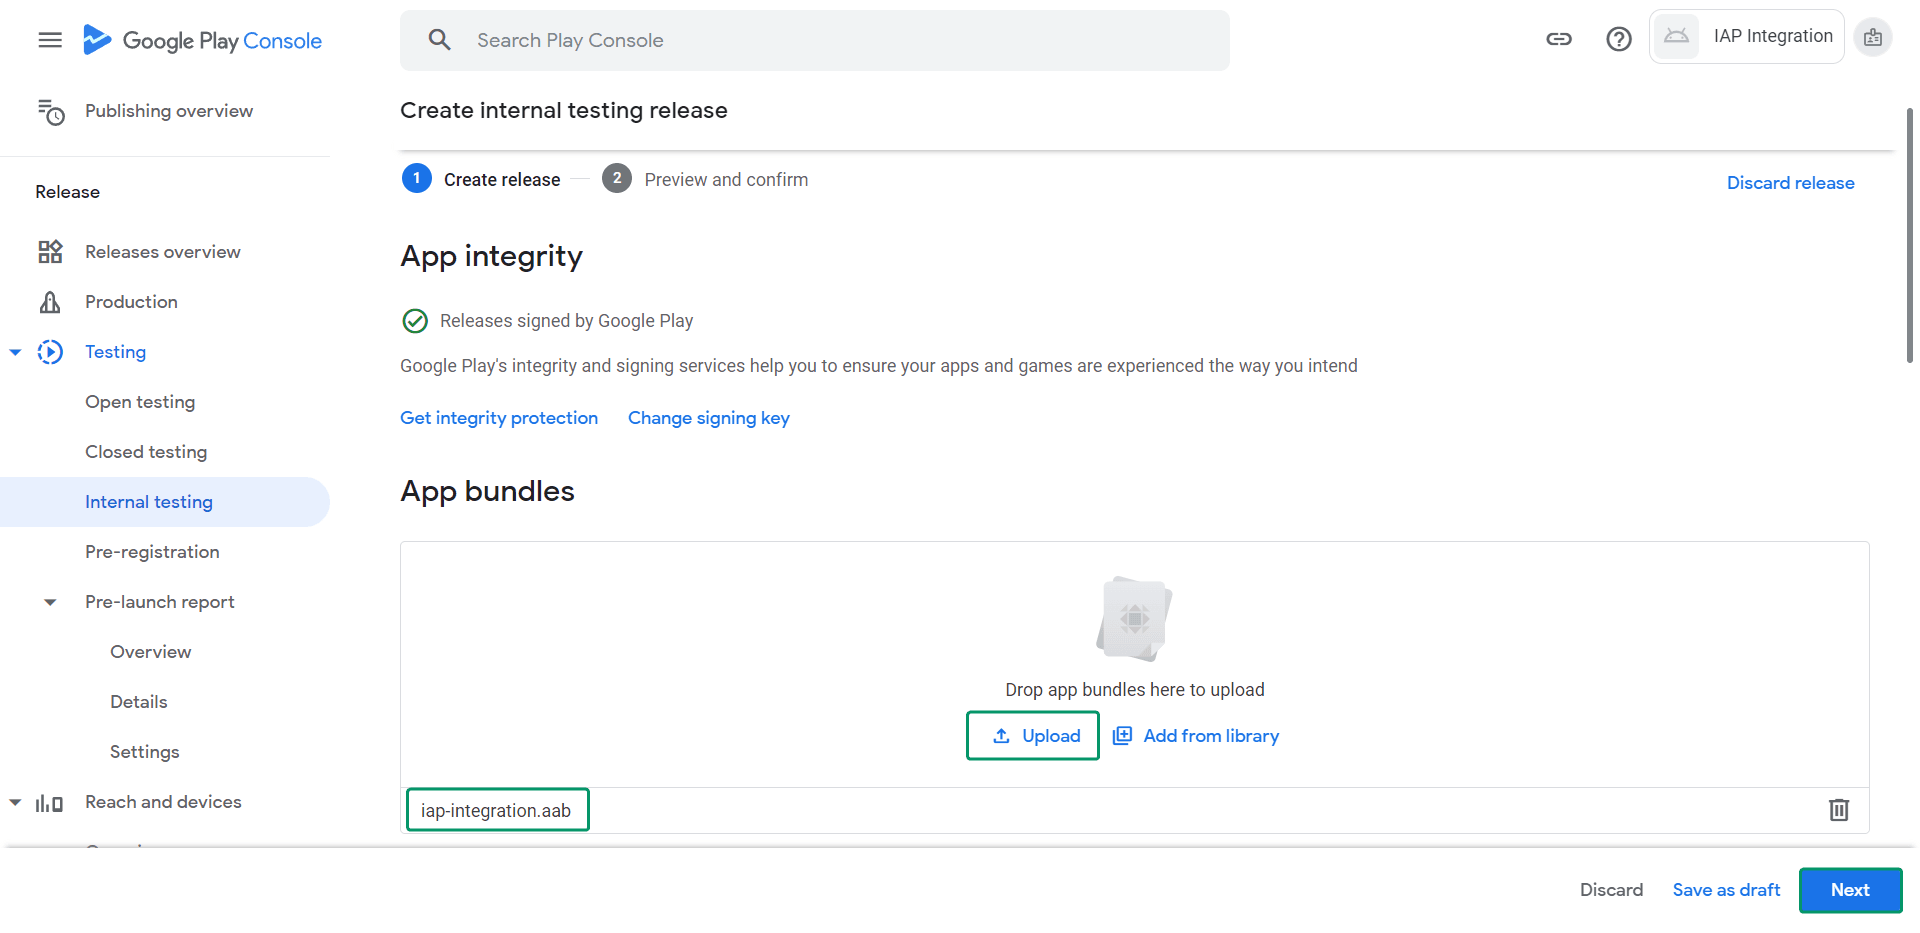
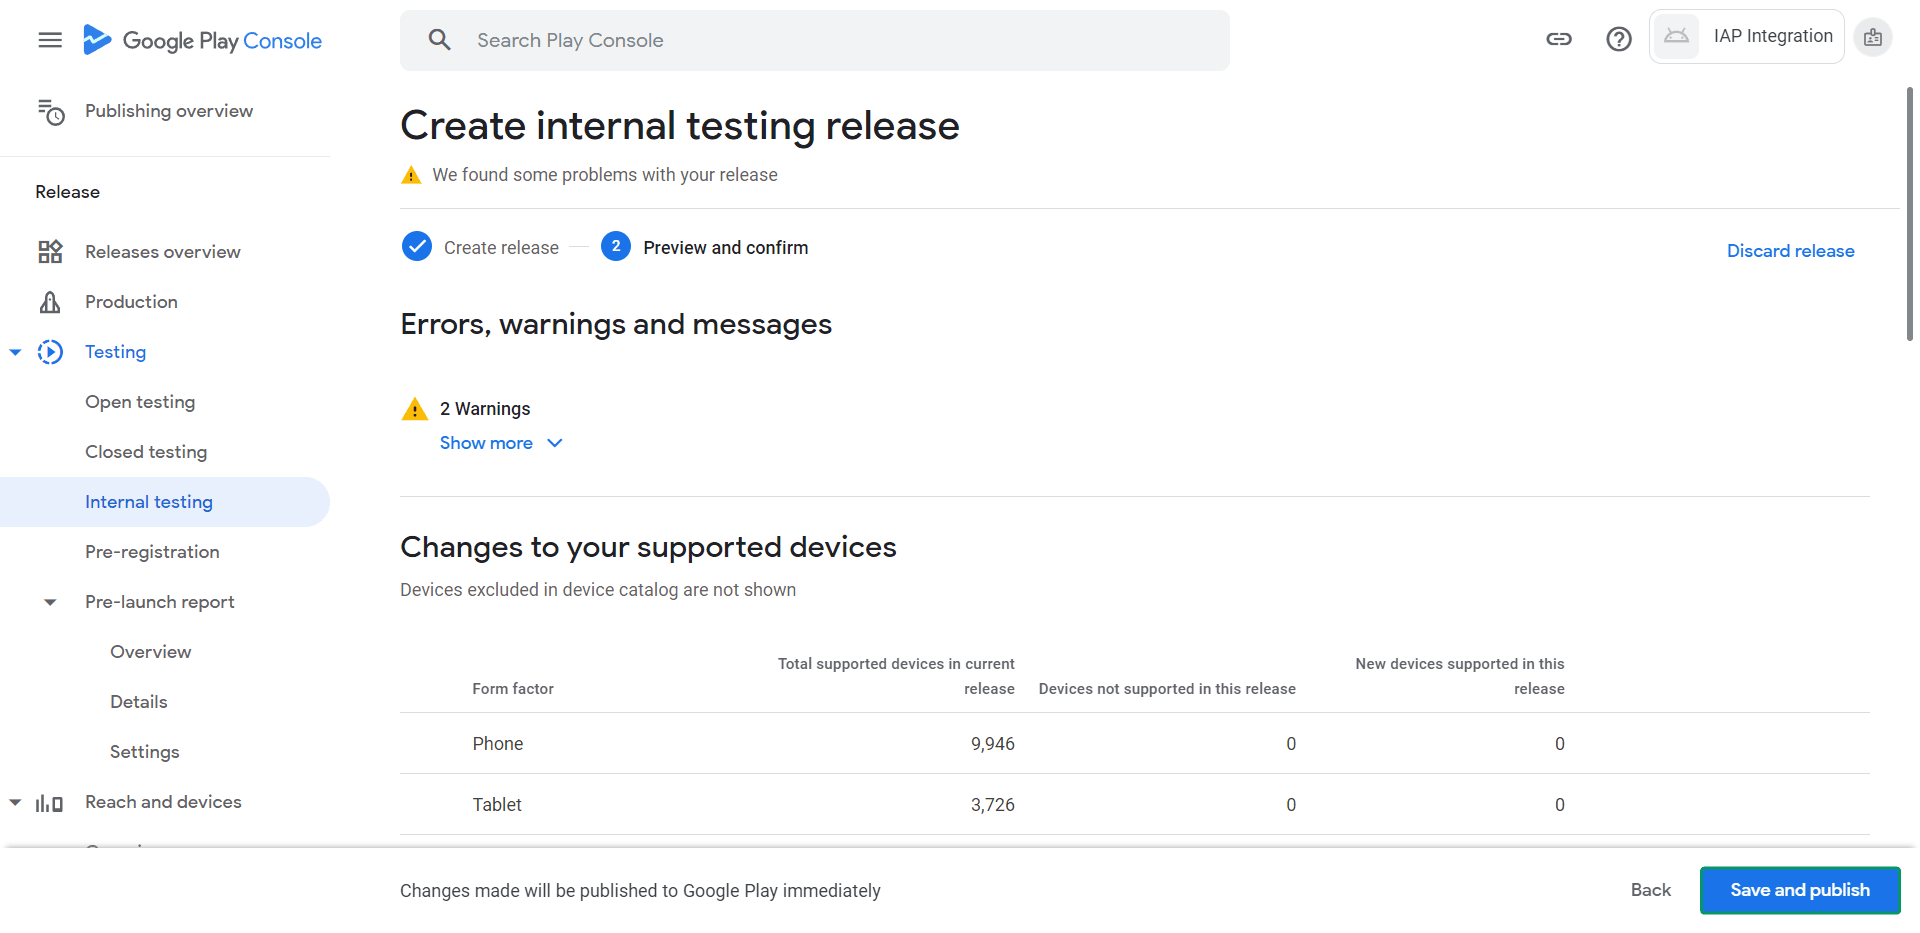
If needed, solve pending errors and warnings and then choose Save and publish:
-
Import IAP catalog#
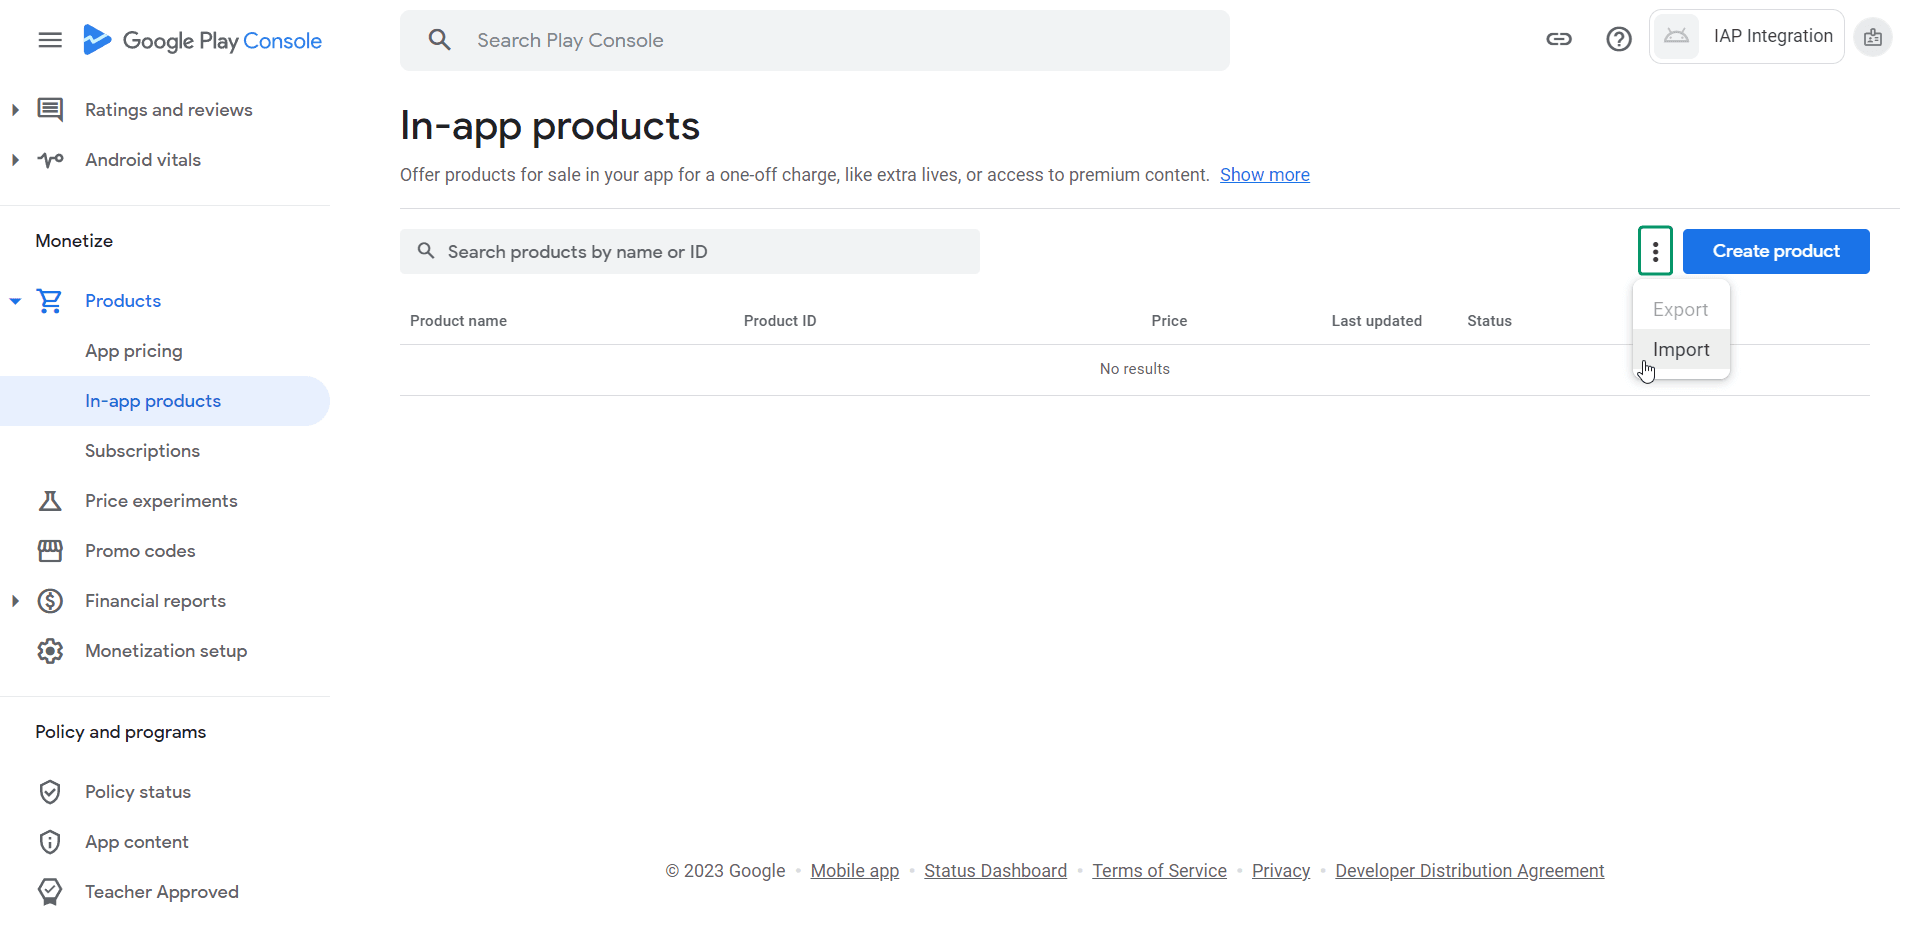
On your Google Play Console app, go to Monetize --> Products --> In-app products and choose Import:
Upload the
GooglePlayProductCatalog.csvfile (which contains all the in-app products) and choose Import: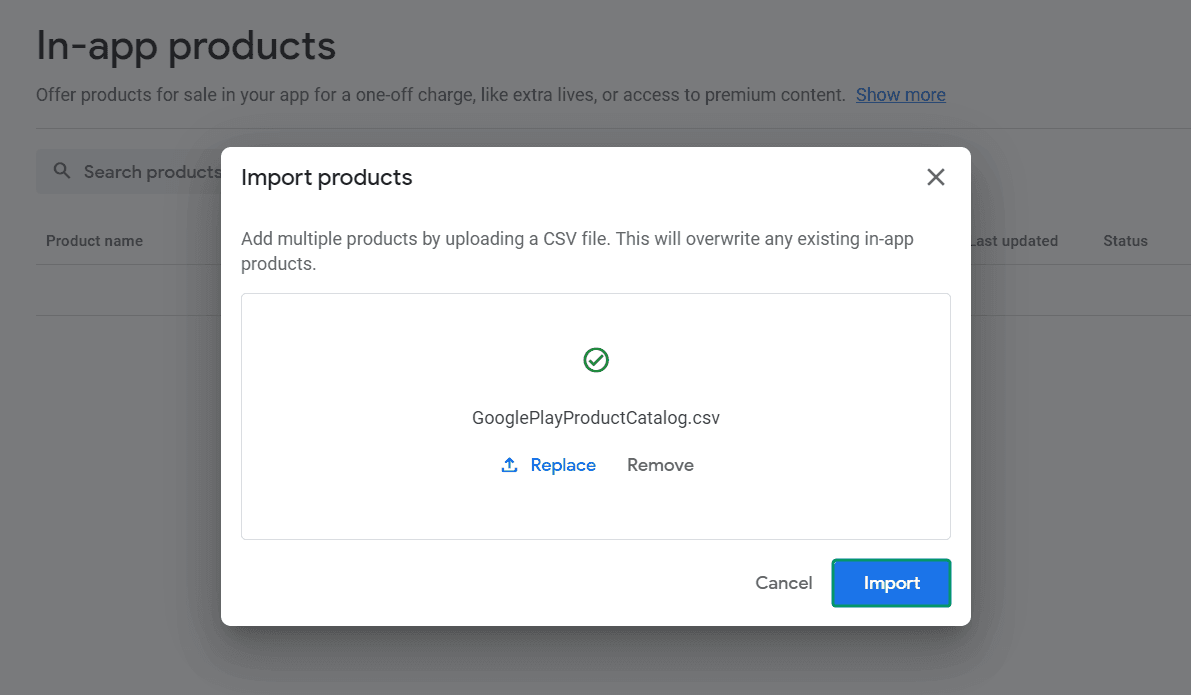
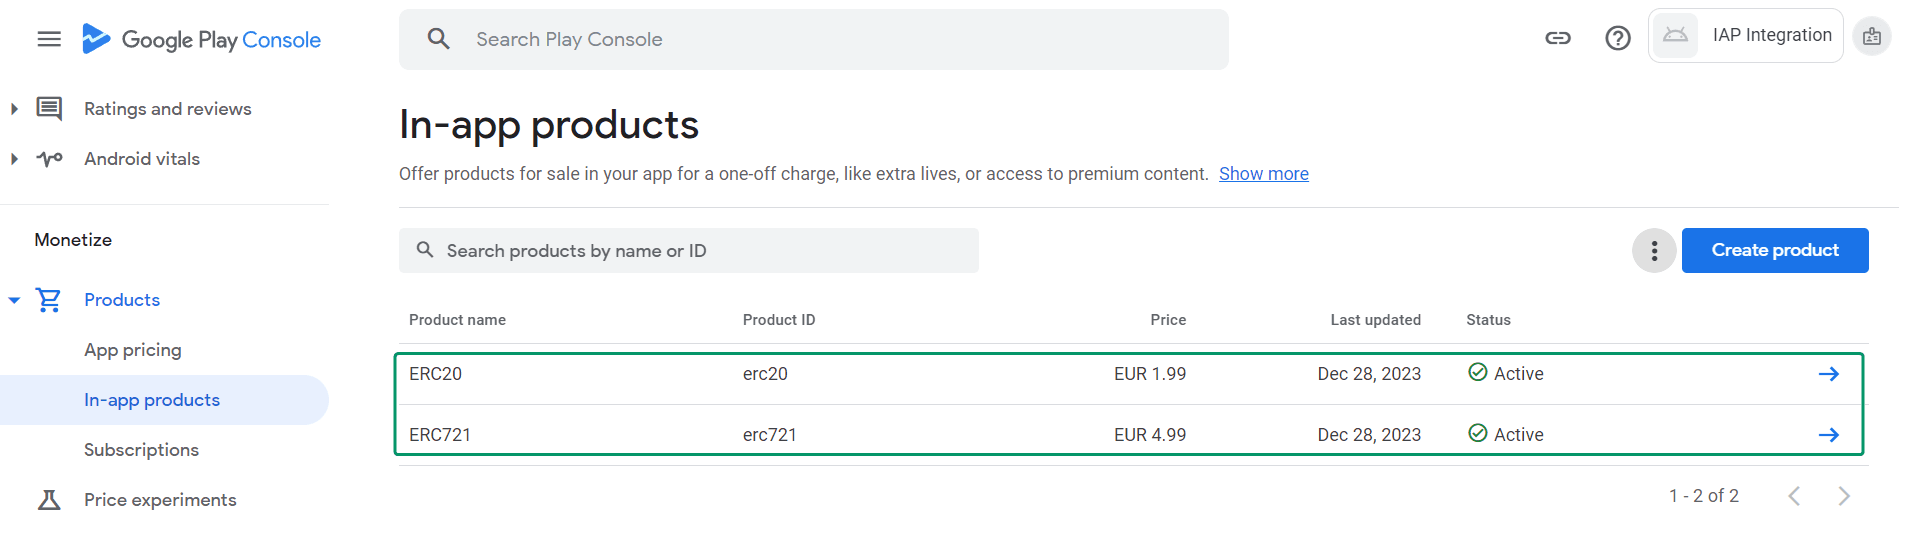
You should see all the products have been created:
Test in Android#
Once the internal testing release is published, you have two options to test:
- Build and run the .apk directly to your device (if the version number is the same as in the internal release).
- Download the app from Google Play through the internal testing link:
Conclusion#
Upon completing the above steps, your Unity game will be fully integrated with Openfort and Unity In-App Purchasing service. Always remember to test every feature before deploying to guarantee a flawless player experience.
For a deeper understanding of the underlying processes, check out the tutorial video.
Get support#
If you found a bug or want to suggest a new [feature/use case/sample], please file an issue.
If you have questions, or comments, or need help with code, we're here to help:
- on Twitter at https://twitter.com/openfortxyz
- on Discord: https://discord.com/invite/t7x7hwkJF4
- by email: support+youtube@openfort.xyz