Openfort Signer
Embedded signers are self-custodial wallets provided by Openfort, seamlessly integrated into your application. They don't require a separate wallet client, such as a browser extension or mobile app, and are accessible directly from your product. These wallets are ideal for users who don't have or don't want to connect an external wallet.

Setting up Shield#
Openfort uses Shield to generate and store the recovery share.
1. Getting your Shield API keys#
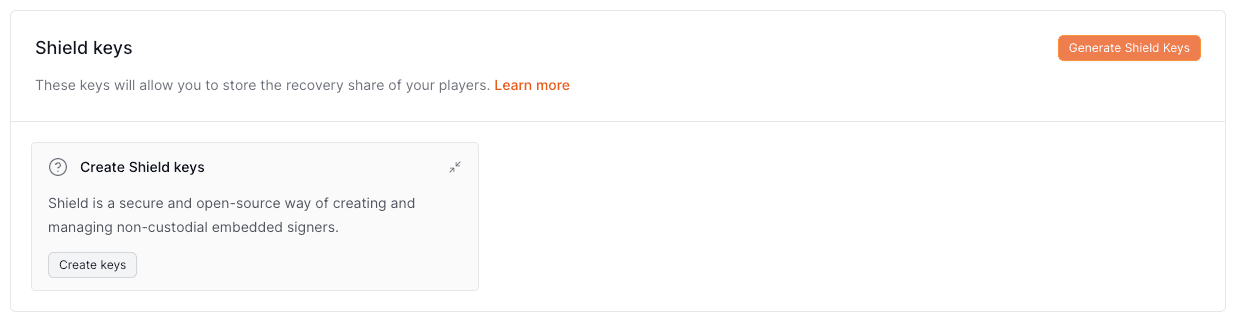
Generate your Shield API keys from the Openfort dashboard.
caution
Encryption share: You mustn't lose your encryption share. If you lose it, you will not be able to recover your recovery shares.
2. Linking your project to shield#
Visit your dashboard settings panel and press on Link Shield to link your project to Shield.
Initialization#
After installing the Openfort SDK in your project, you can initialize the SDK with your Openfort publishable key and Shield API key.
info
This guide shows you through using a hosted Shield instance. If you'd like to host your own Shield instance, please refer to the Advanced self-hosted documentation.
After your project is ready, grab your publishable_key, shield_api_key and shield_encryption_share from your Openfort dashboard.
_11import Openfort from "@openfort/openfort-js";_11_11const openfort = new Openfort({_11 baseConfiguration: {_11 publishableKey: OPENFORT_PUBLIC_KEY,_11 },_11 shieldConfiguration: {_11 shieldPublishableKey: SHIELD_API_KEY,_11 shieldEncryptionKey: SHIELD_ENCRYPTION_SHARE,_11 }_11});
Other Integrations#
- Custom Authentication. Use the Embedded Signer with your own OAuth provider or OIDC token.
- Third-party auth. Use a third party authentication provider with the embedded signer.