Back

Lit Protocol
Overview
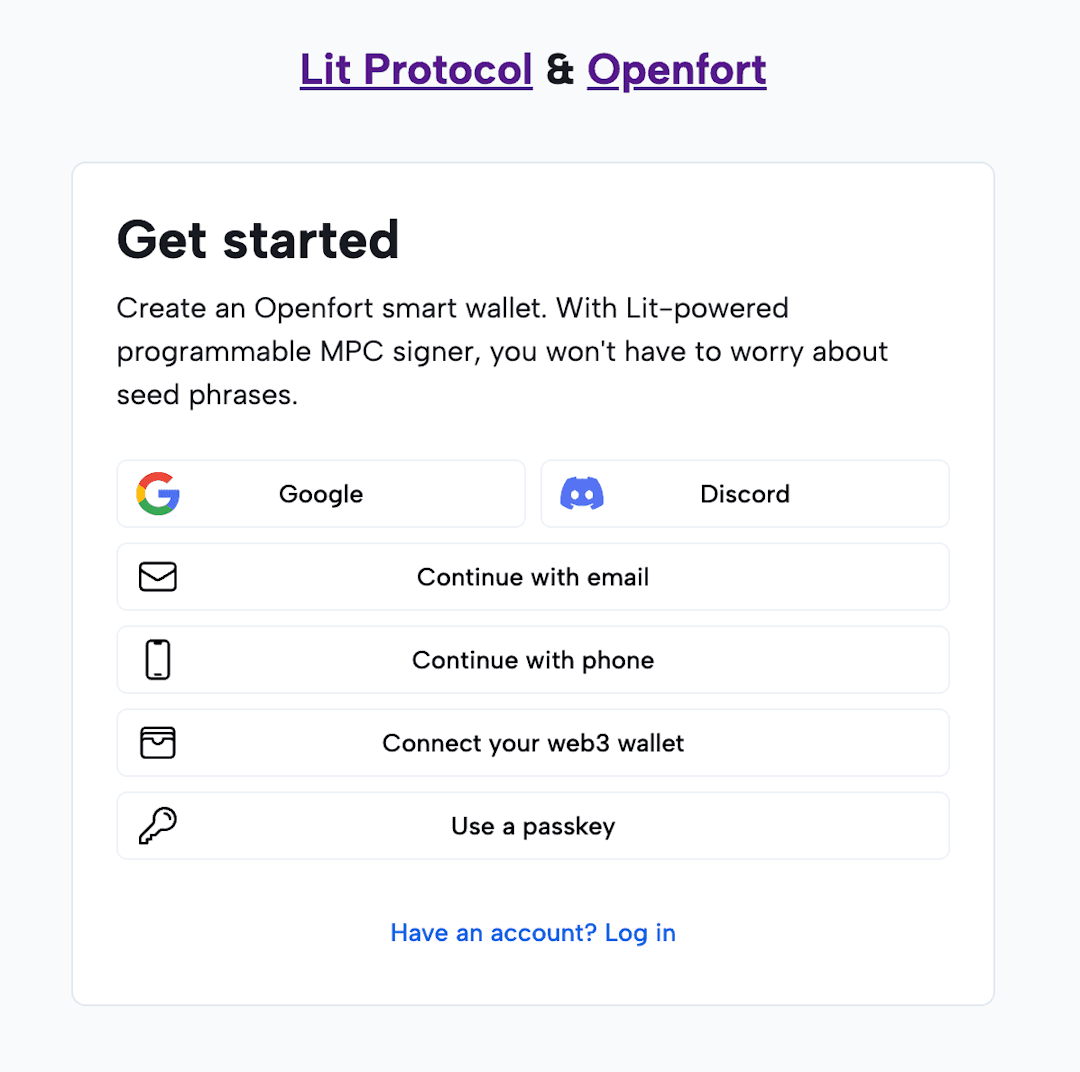
Learn how you can use Lit's programmable MPC signer with social accounts, one-time passwords, and passkeys to secure your smart wallet.
Simplified Lit Protocol Overview:
-
What it Does: Lit decentralizes the creation and management of cryptographic keys, spreading them across multiple nodes for enhanced security.
-
Enhanced Safety: No single entity ever holds the entire key. Instead, pieces of the key are distributed across various nodes. To perform an action, like signing, a majority (two-thirds) of these pieces need to come together learn more.
-
Extra Security Layer: Lit uses AMD's Secure Encrypted Virtualization (SEV) to further protect these key pieces, ensuring they're only revealed when absolutely necessary learn more.
-
Access Control: Users can set conditions on who can access certain data, both based on blockchain data (like owning a specific NFT) and off-chain data.
Deep Dive: Control Over Signer Using Passkeys:
In the context of Lit Protocol, Passkeys or Programmable Key Pairs (PKPs) are at the heart of the authentication and control mechanism. Here's how a user maintains control:
-
Initiation of a Lit Action: When a user wants to perform an action that requires the use of their PKP (e.g., signing a transaction or decrypting data), they initiate what's called a Lit Action.
-
Authentication Prompt: At this point, the system will prompt the user to provide the necessary authentication. This could be the "passkey" or another supported authentication method.
-
Verification: The provided authentication method (or "passkey") is then used to link to the PKP and verify that the user has the right to use it. This authentication links a specific credential (like a wallet address or an oauth token) to the PKP. Only the designated authentication method tied to a PKP can trigger the underlying key shares for the desired operation.
-
Lit Network's Role: Once the user is authenticated, the nodes in the Lit Network, each holding a share of the PKP, work collaboratively. They use their individual shares to perform the cryptographic operation (e.g., signing or decrypting). This collaboration occurs without ever reconstructing or revealing the full private key.
-
Location: The authentication typically happens client-side, on the user's device or platform. The subsequent cryptographic operations, involving the distributed shares of the PKP, occur within the Lit Network, which spans multiple nodes, likely distributed across various geographical locations.
In essence, the "passkey" serves as a user's secure way to demonstrate control over their PKP, prompting the Lit Network to then use the PKP for the desired cryptographic operation.
Quickstart
1. Clone and configure the sample
_10git clone https://github.com/openfort-xyz/samples/tree/main/lit-protocol_10_10cd lit-protocol_10_10npm install
Copy the .env.local.example file into a file named .env.local in the folder of the server you want to use. For example:
_10cp .env.local.example .env.local
You will need an Openfort account in order to run the demo. Once you set up your account, go to the Openfort developer dashboard to find your API keys.
1.1. Add your social onboarding:
we're using Stytch project's project_id and public_token to .env.local:
If you're not using Stytch, feel free to comment out the Stytch provider StytchProvider and Stytch component StytchOTP.
2. Create a Policy and Contract
You can create Policies and add Contracts in the Dashboard or with the API. This sample requires a Policy and a Contract to run. Once you've created them, head to the folder api inside pages and edit the contract and policy constants in collect-assets.ts.
contract is the ID of a Contract for your contract. A contract has a chainId.
If you need a test contract address, use 0x38090d1636069c0ff1Af6bc1737Fb996B7f63AC0 (NFT contract deployed in 80001 Polygon Mumbai).
policy is the ID of a Policy for your contract. A policy has a contract and chainId. For this demo to work, the policy must have both the contract and the register sessions as rules.
3. Start your development server:
_10npm run dev