Google Login
Learn how to interact with Google Login
Openfort Auth supports Sign in with Google on the web, native Android applications and Chrome extensions.
Overview#
Setting up Twitter logins for your application consists of 3 parts:
- Create and configure a Google Project and App on the Google Cloud Platform.
- Add your Google API Key and API Secret Key to your Openfort Project.
- Add the login code to your Openfort JS Client App.
Sign in on the web or in web-based apps using an OAuth flow initiated by Openfort Auth using Google Identity Authorization with OAuth 2.0 for Web Server Applications.
Configuration #
To use the OAuth 2.0 flow, you will require the following information:
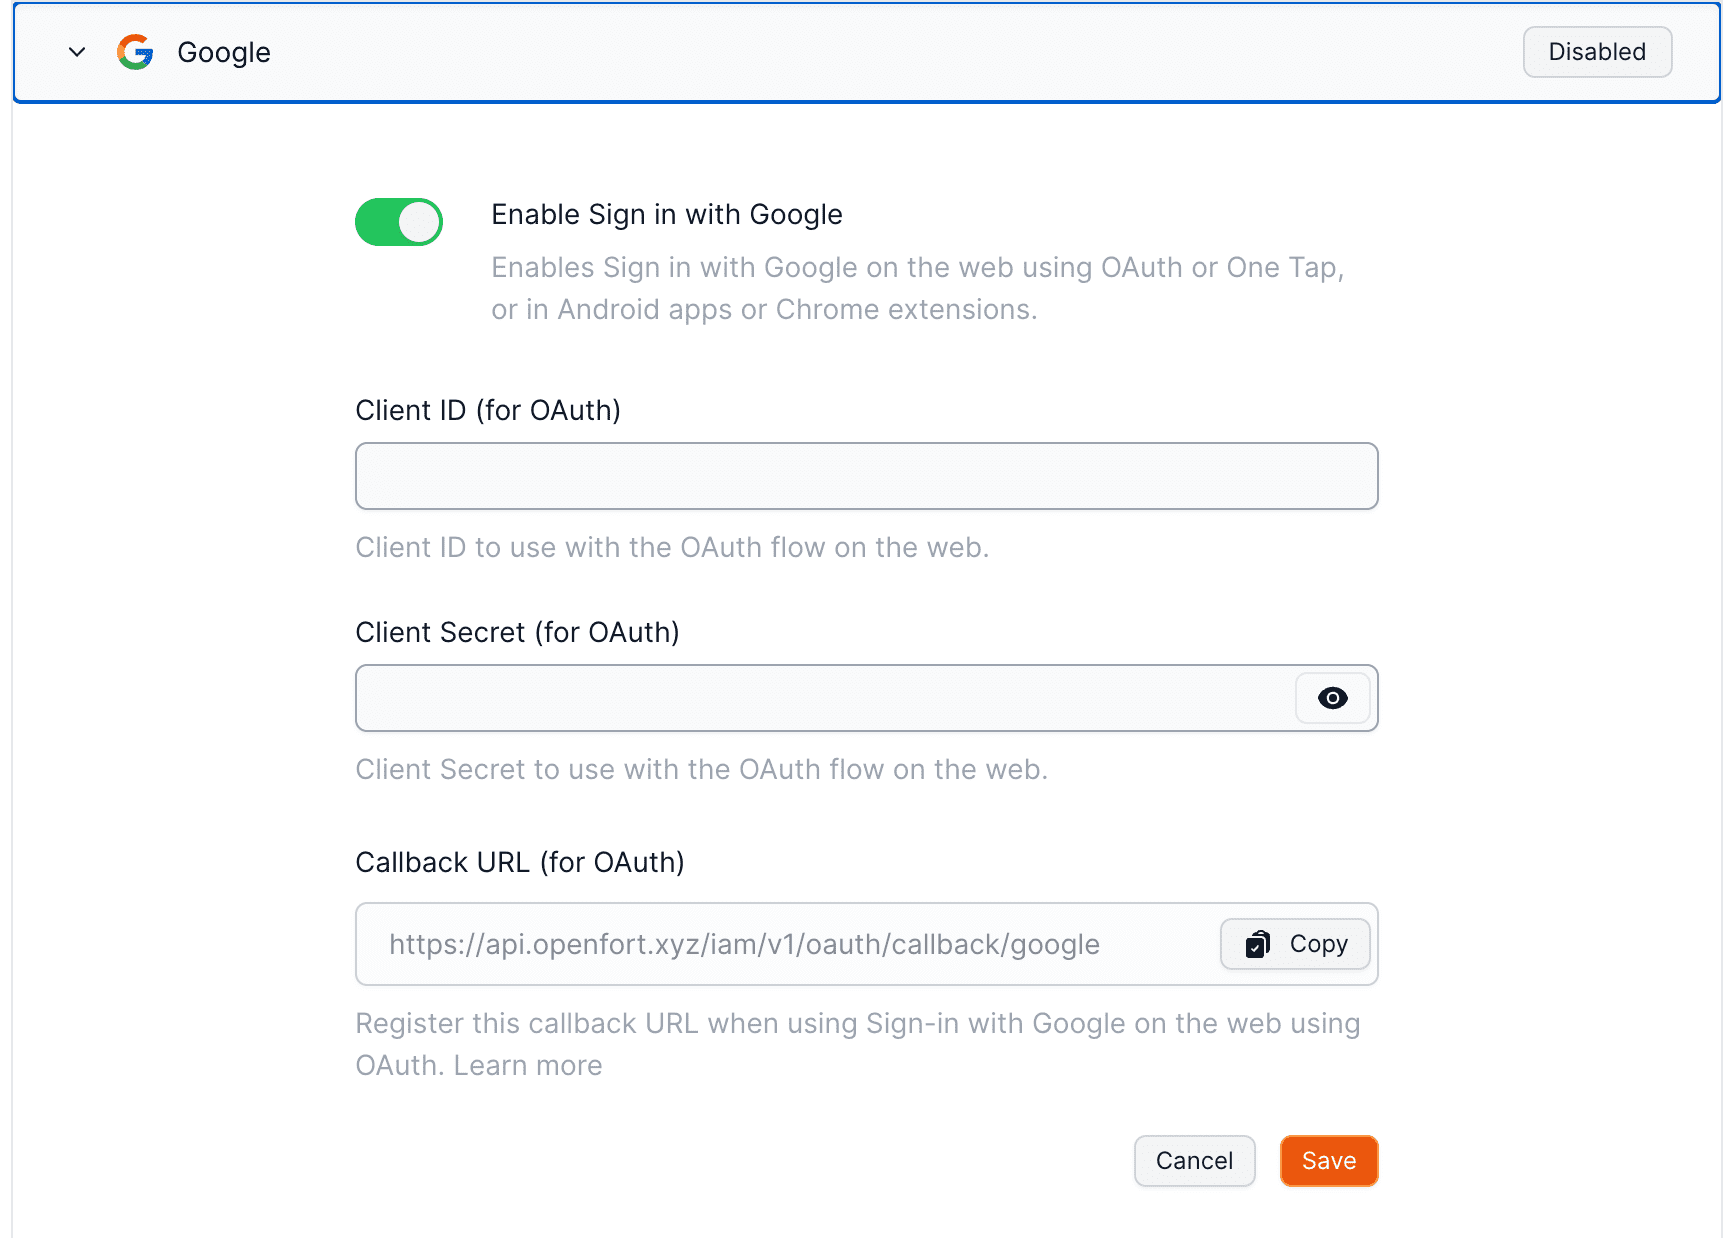
- Obtain OAuth credentials for your Google Cloud project in the Credentials page of the console. When creating a new credential, choose Web application. In Authorized redirect URIs enter
https://openfort.xyz/iam/v1/oauth//google. - Configure the OAuth Consent Screen. This information is shown to the user when giving consent to your app. Configure the non-sensitive scopes by making sure the following ones are selected:
.../auth/userinfo.email,.../auth/userinfo.profile,openid. If you're selecting other sensitive scopes, your app may require additional verification.
- Finally, add the client ID and secret from step 1 in the Google provider on the Openfort Dashboard.
Signing users in#
Sign in with Google's OAuth flow is designed for web or browser based sign in methods. It can be used in web-based apps as well as in websites, though sometimes it is worthwhile considering using One Tap login directly.
Behind the scenes, Openfort Auth uses the Google OAuth 2.0 APIs, which are OpenID Connect certified, to perform the authentication.
To initiate sign in, you can use the initOAuth() method from the Openfort JavaScript library.
- Implicit flow: that's all you need to do. The user will be taken to Google's consent screen, and finally redirected to your app with an access and refresh token pair representing their session.
- Pooling flow: for example in Server-Side Auth, you need to redirect the user back to your website.
_10const response = await openfort.initOAuth(_10 {_10 provider: OAuthProvider.GOOGLE,_10 redirectTo: 'https://your-website.com',_10 }_10);
Now you can redirect the user to the initOAuth.url and when the process is done, you will be redirected to the redirectTo url with tokens https://your-website.com?access_token=...&refresh_token=... You can then use those parameters to authenticate the user:
_10openfort.storeCredentials({_10 player: 'undefined',_10 accessToken: access_token,_10 refreshToken: refresh_token,_10 });
Uppon successful authentication, the SDK will return a token that can be used to authenticate the user in your application.