Connect to External Apps with WalletConnect
Learn how to connect your smart account with External Marketplaces using Openfort
Overview#
In this sample, we'll dig into how to list your NFT to Opensea from your game using Openfort's Web3 Connections API features.
Web3Connections allows you to connect your in-game wallet to any application that supports WalletConnect like NFT marketplaces (e.g. OpenSea). The magic of this integration is that you don't need any third-party wallet SDK in the Unity client, as Openfort takes care of the wallet creation and connection to the NFT marketplace in a frictionless way.
We'll be using PlayFab as the backend service. PlayFab is a service operated by Microsoft for game developers, offering tools for live game management, all powered by Azure's cloud infrastructure.
By integrating the Openfort SDK into Azure Functions, we establish a seamless connection to PlayFab. Unity clients using the PlayFab Unity SDK can tap into these functions, accessing the full range of Openfort features within the game environment.
Application Workflow#
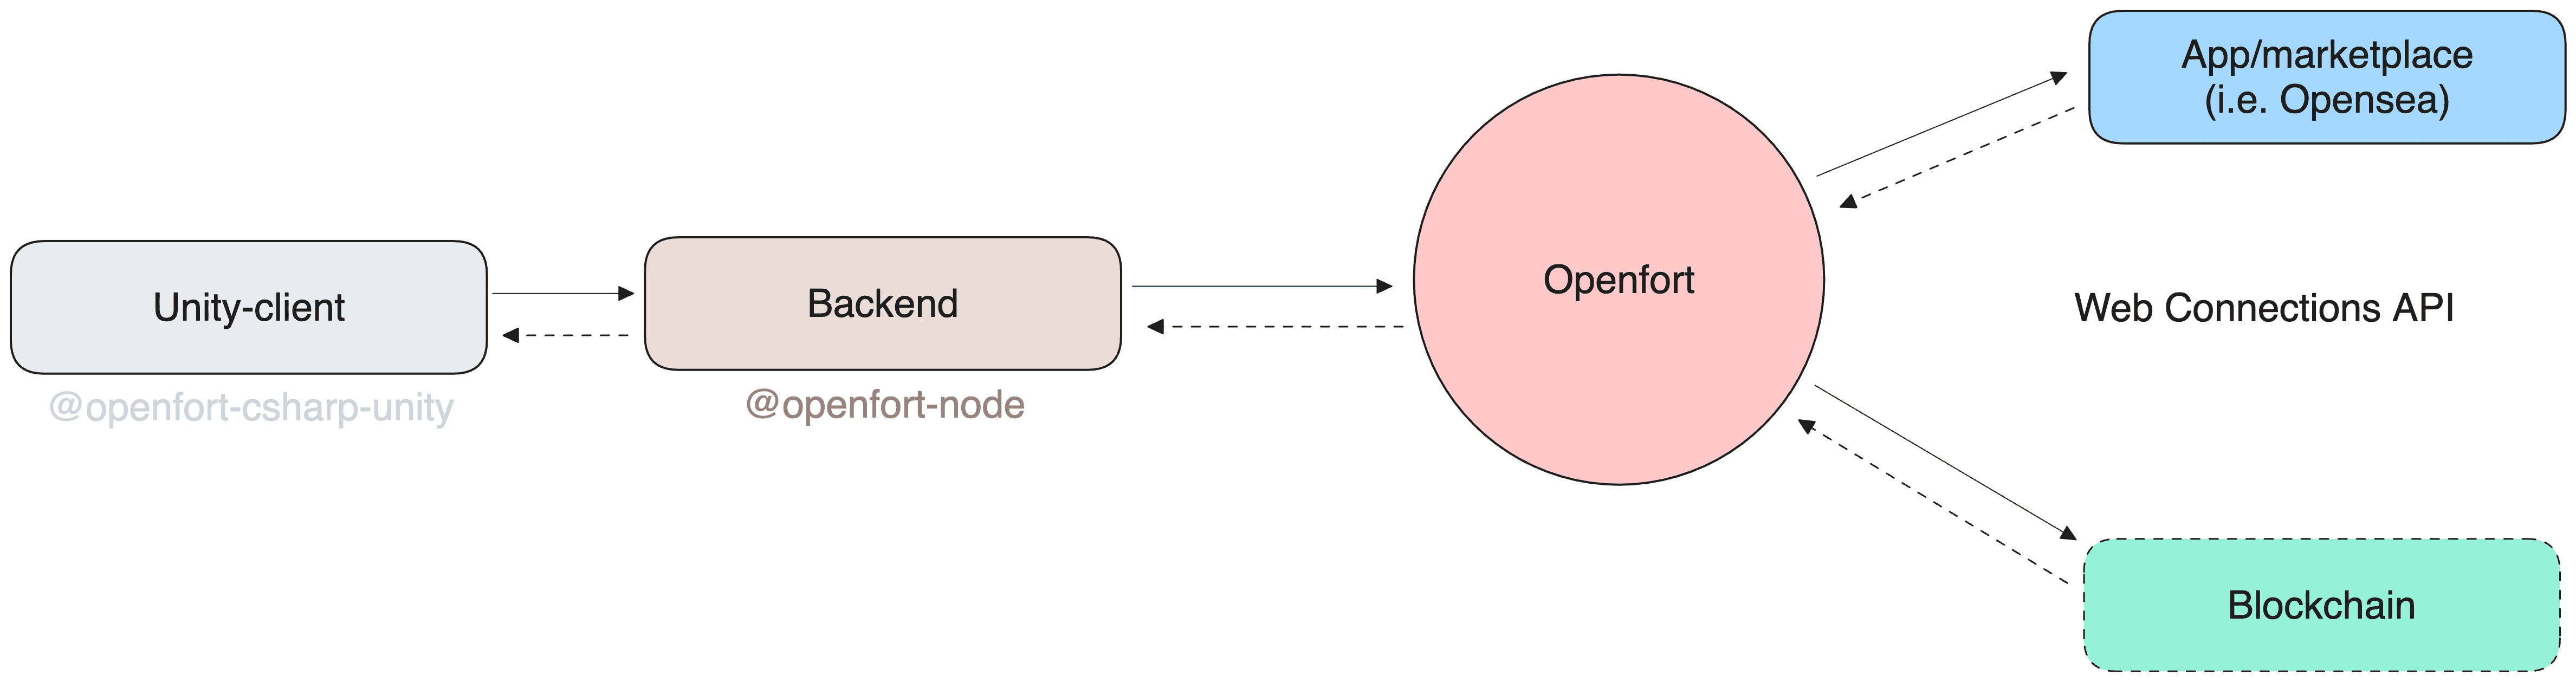
Prerequisites#
-
Setup Openfort
-
This sample requires a contract to run. We use 0x51216BFCf37A1D2002A9F3290fe5037C744a6438 (NFT contract deployed in 11155111 Sepolia). You can use this for the guide:
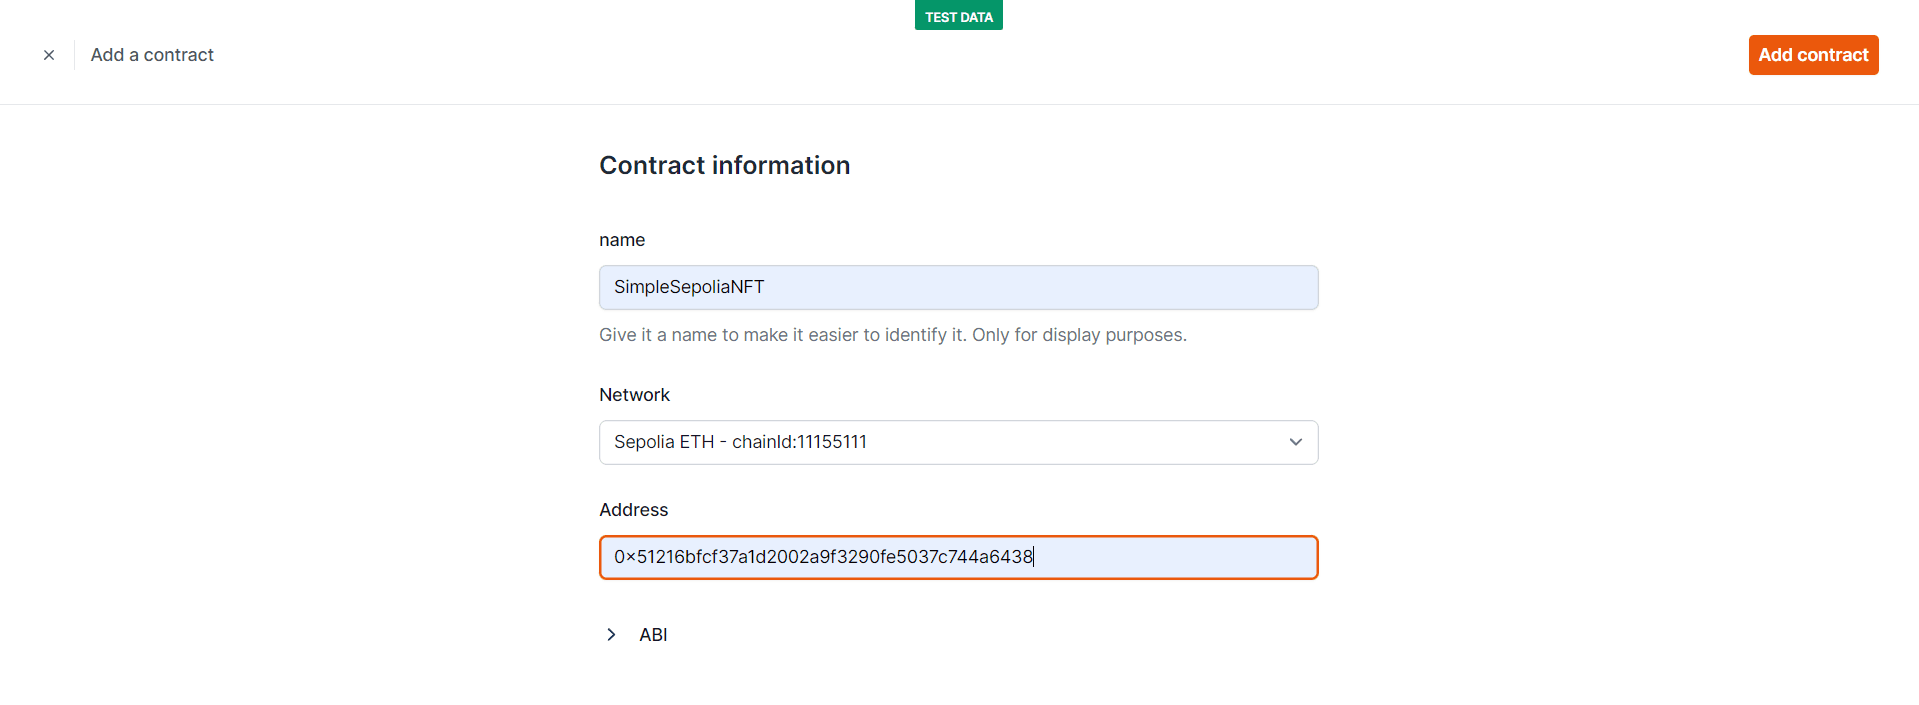
-
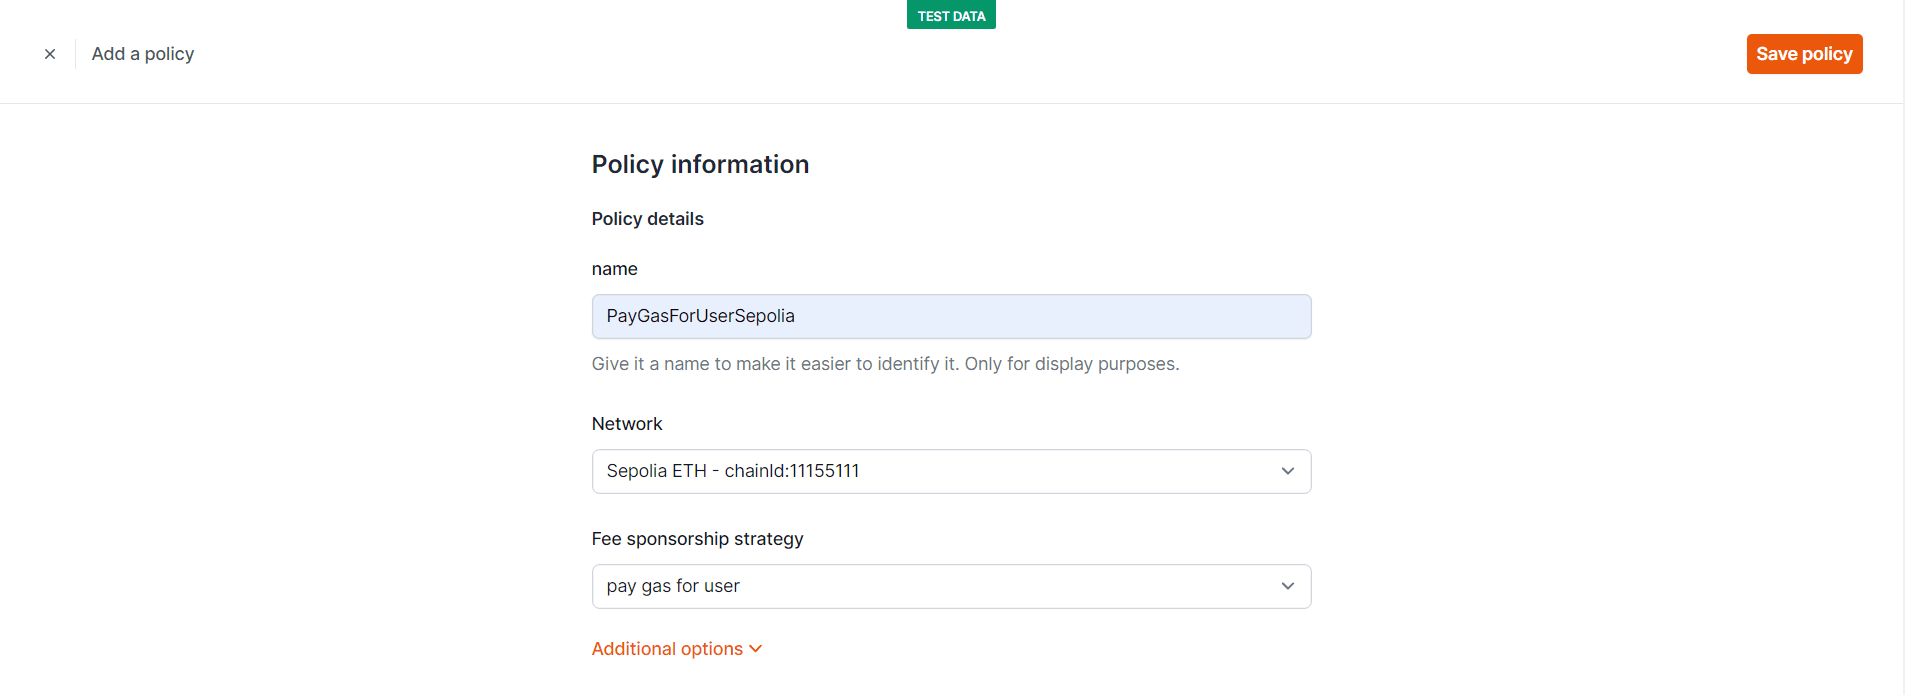
We aim to cover gas fees for users. Set a new gas policy:
Now, add a rule so our contract uses this policy:
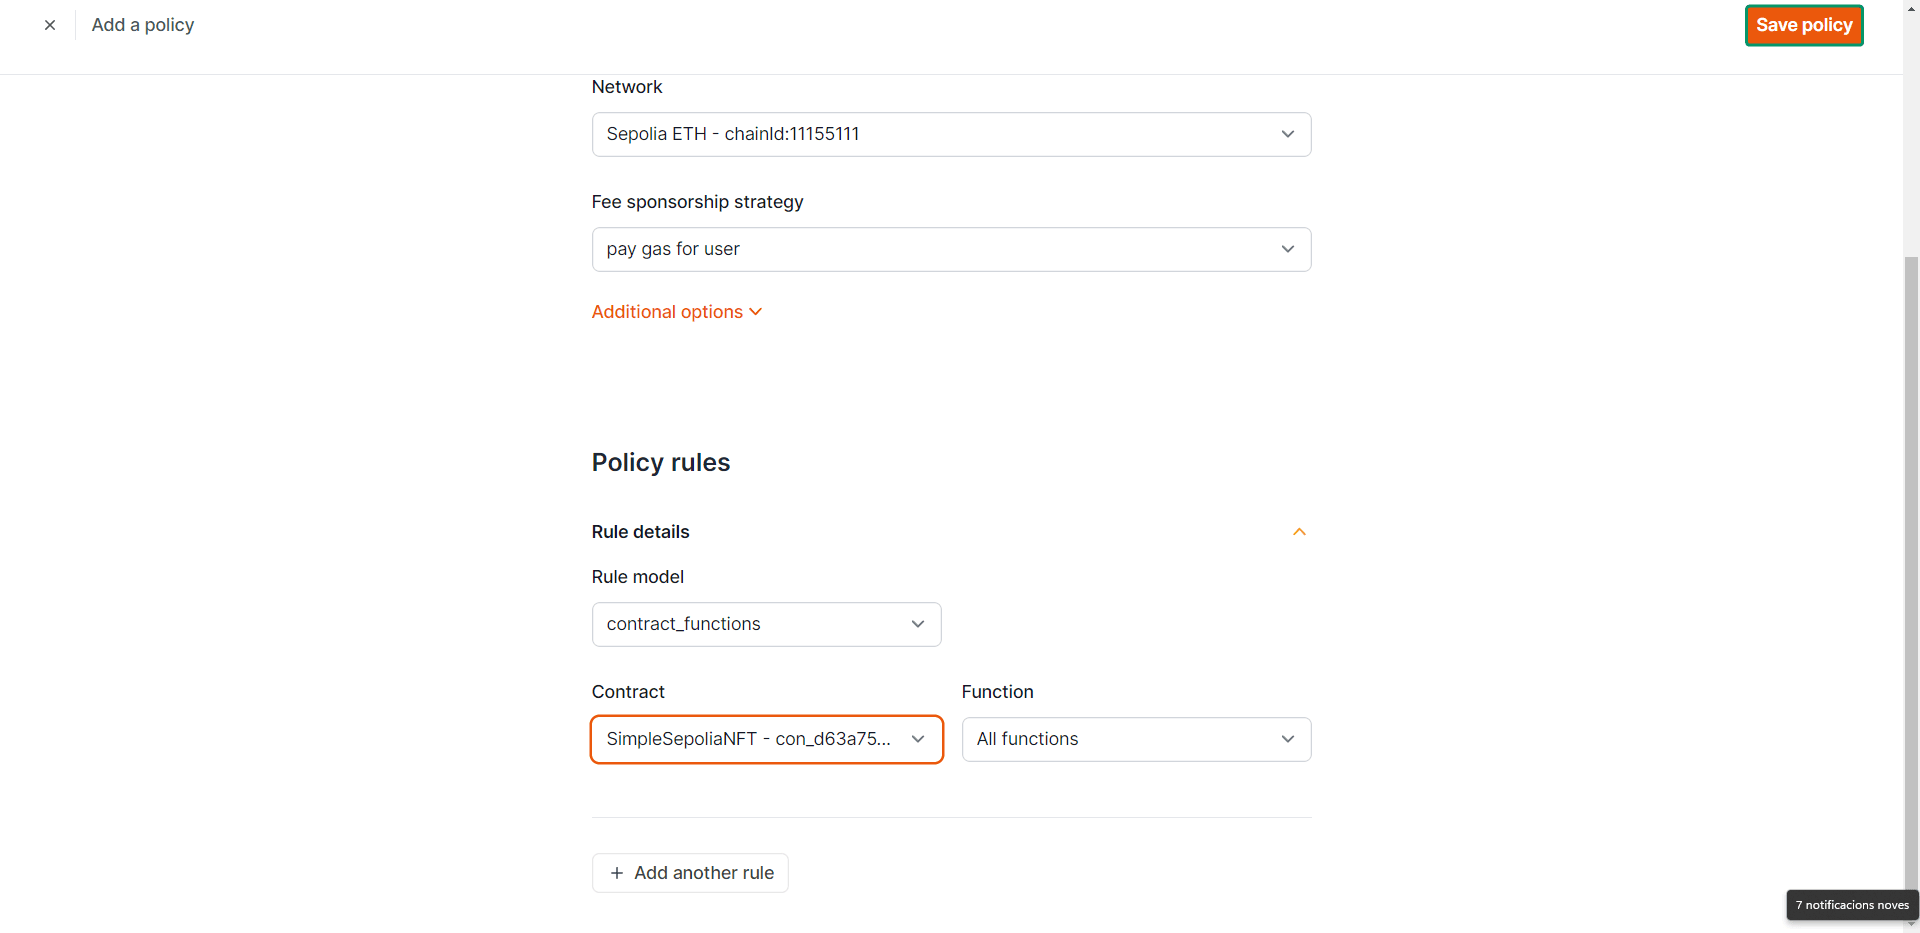
-
Set up Unity Client#
This Unity sample project is already equipped with:
- PlayFab Unity SDK --> To communicate with
azure-backend - Openfort Unity SDK --> To deserialize
azure-backendresponses
To begin, open unity-client with Unity:
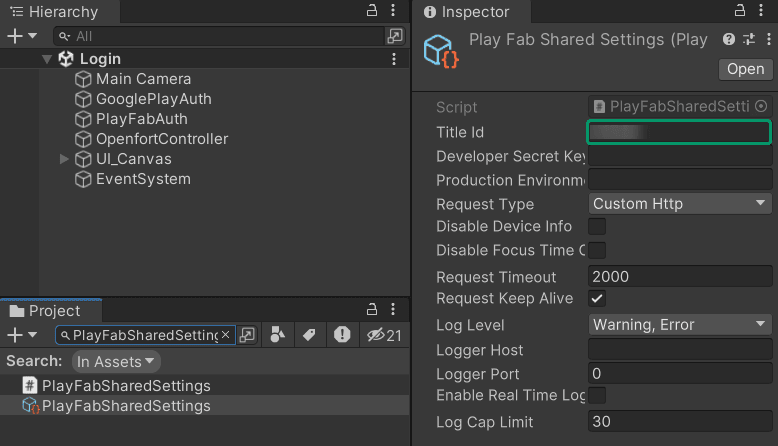
Configure PlayFab SDK
- Navigate to the Project tab.
- Search for
PlayFabSharedSettingsand input your PlayFab Title ID:
Test in Editor#
Play the Login scene, opt for Register, provide an email and password, and then click Register*** again. This scene should appear:
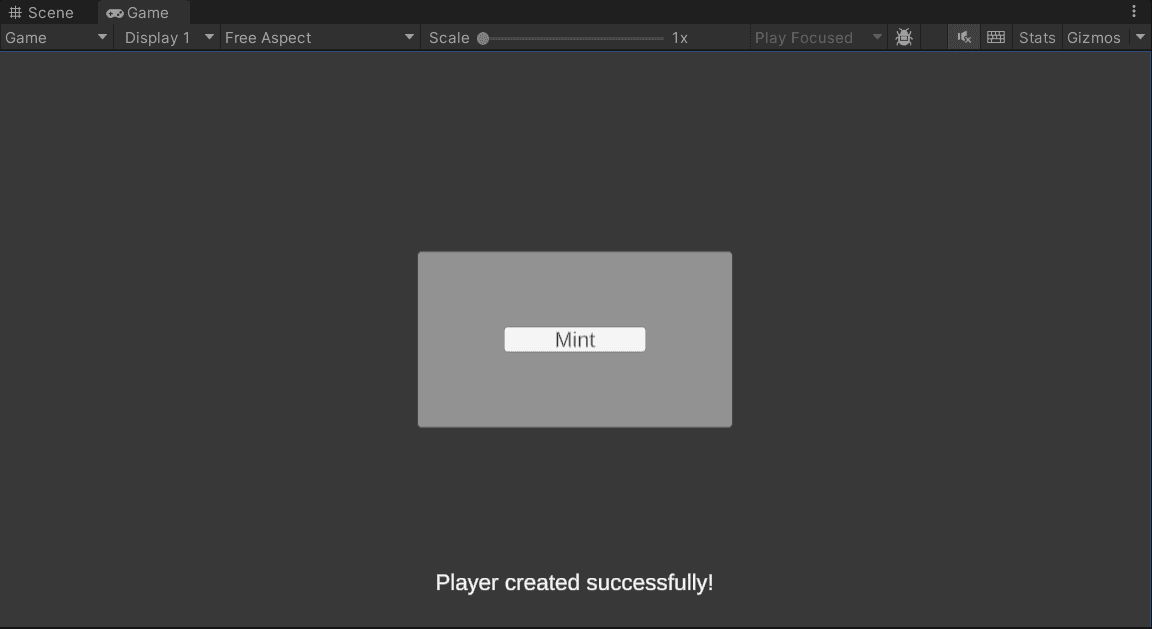
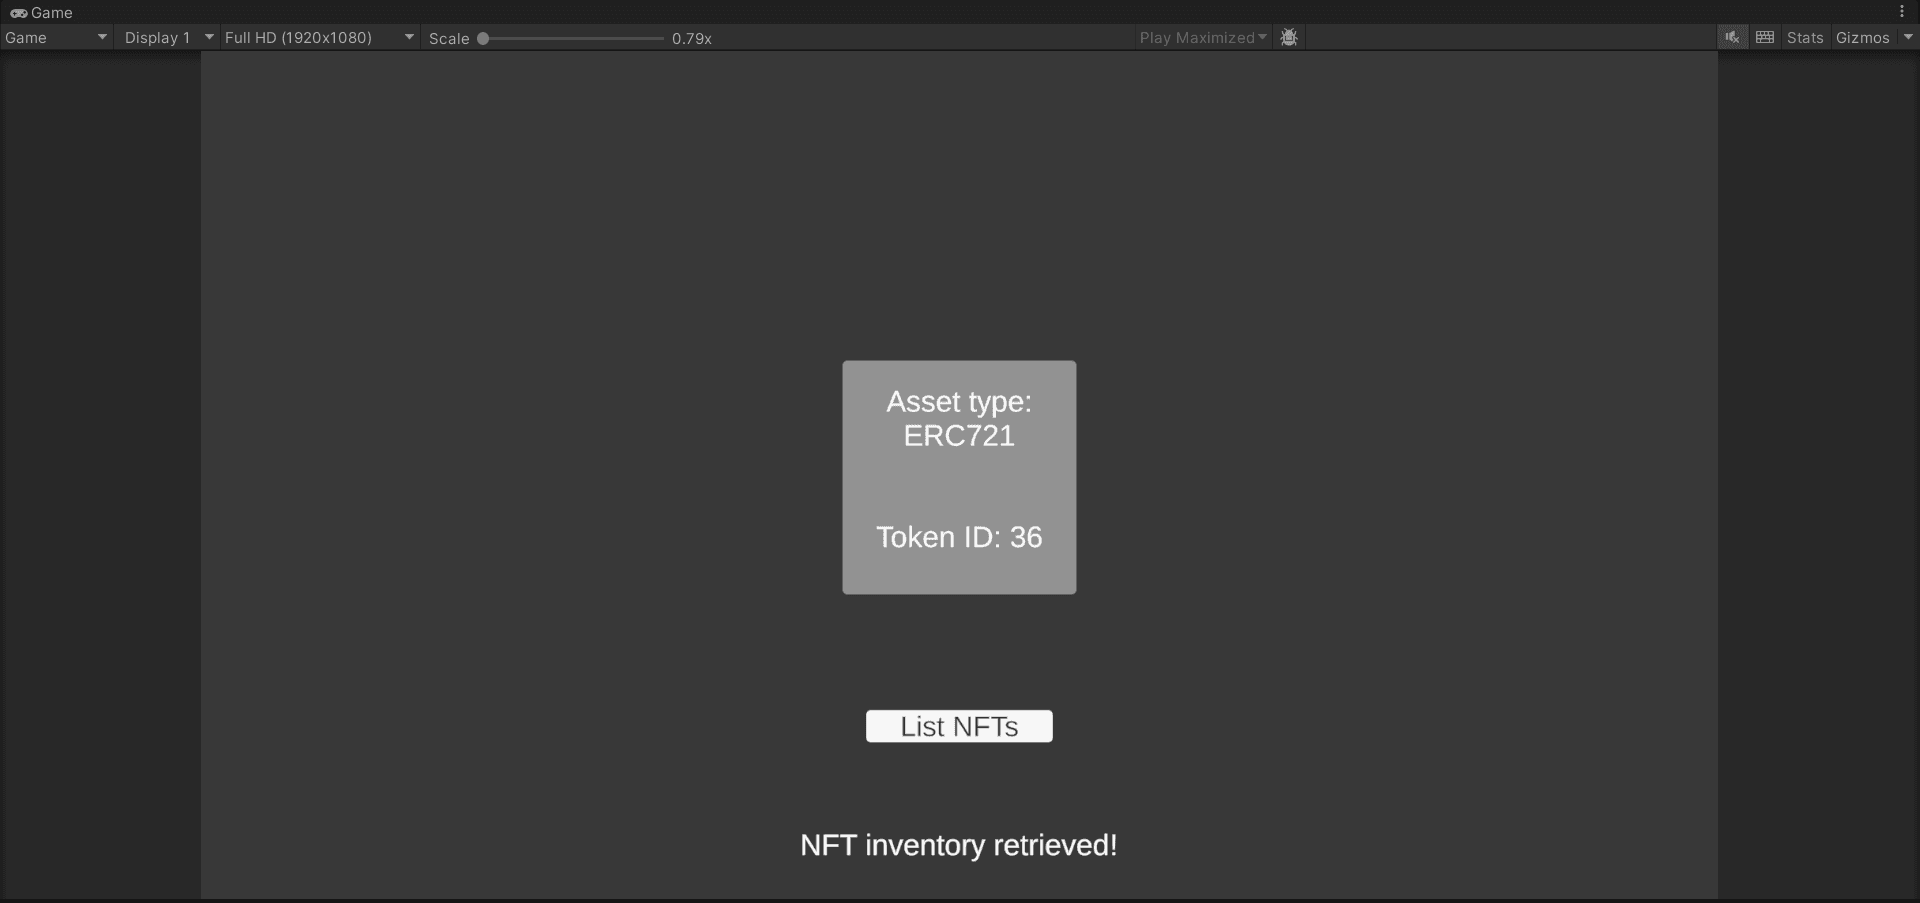
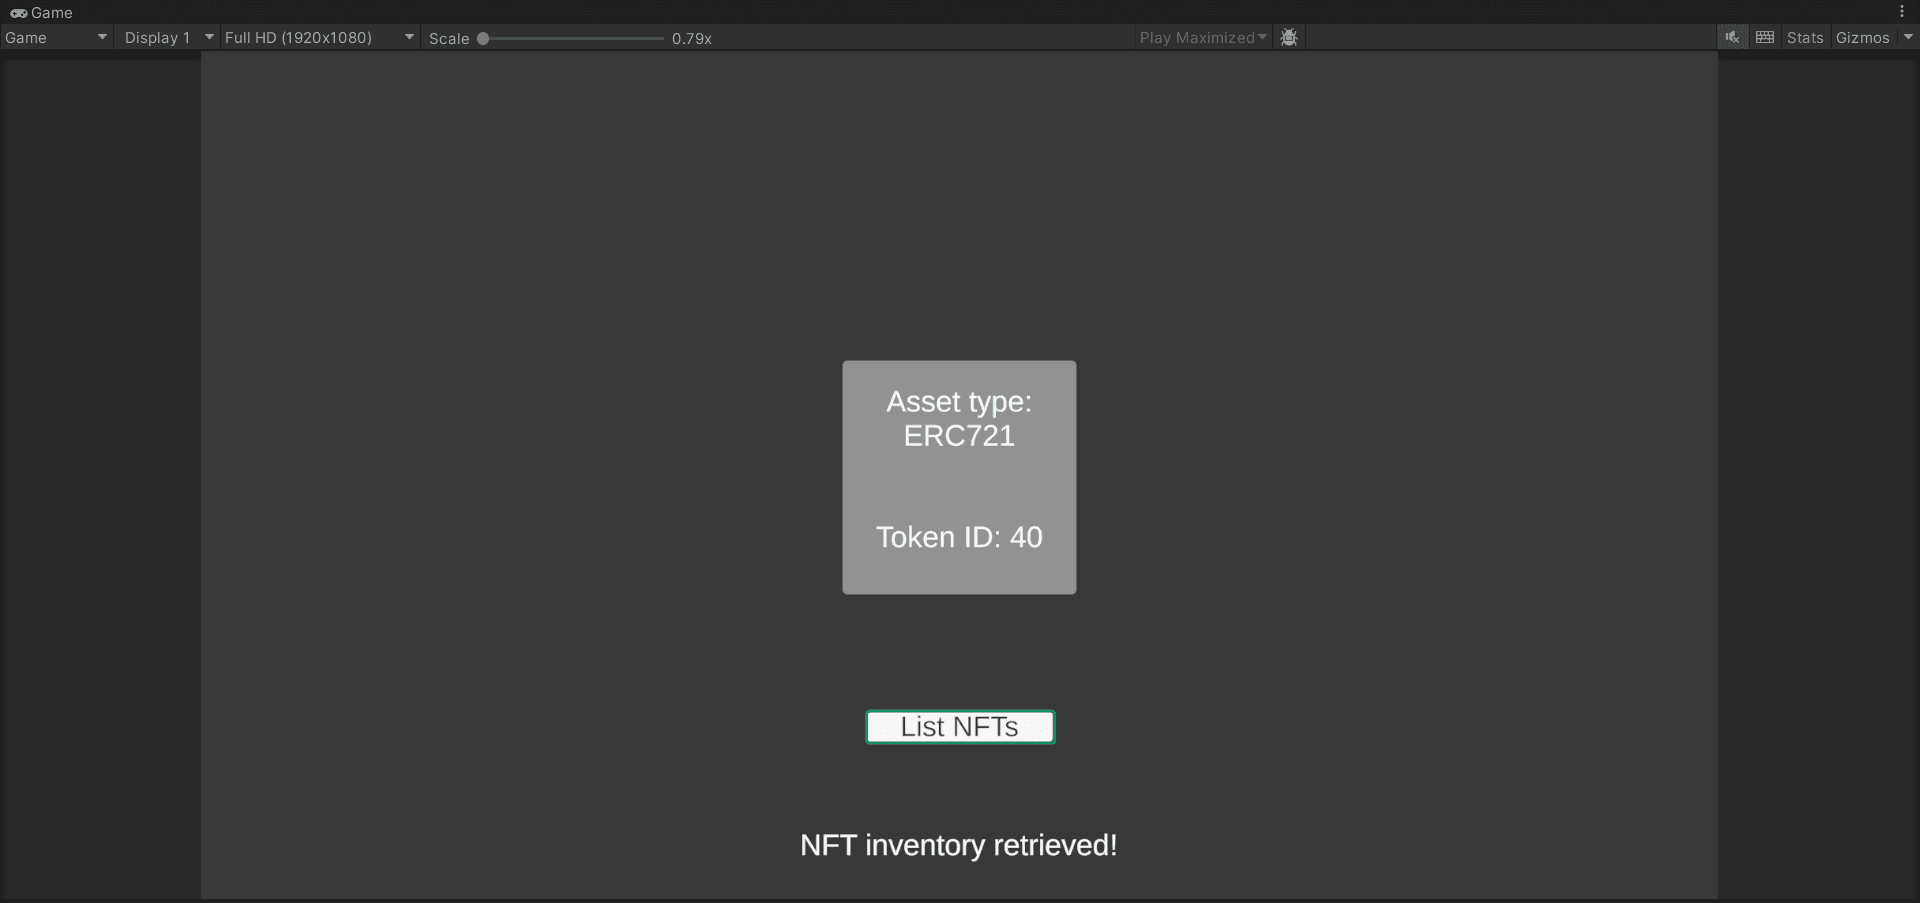
Select Mint. After a brief period, you should see a representation of your newly minted NFT:
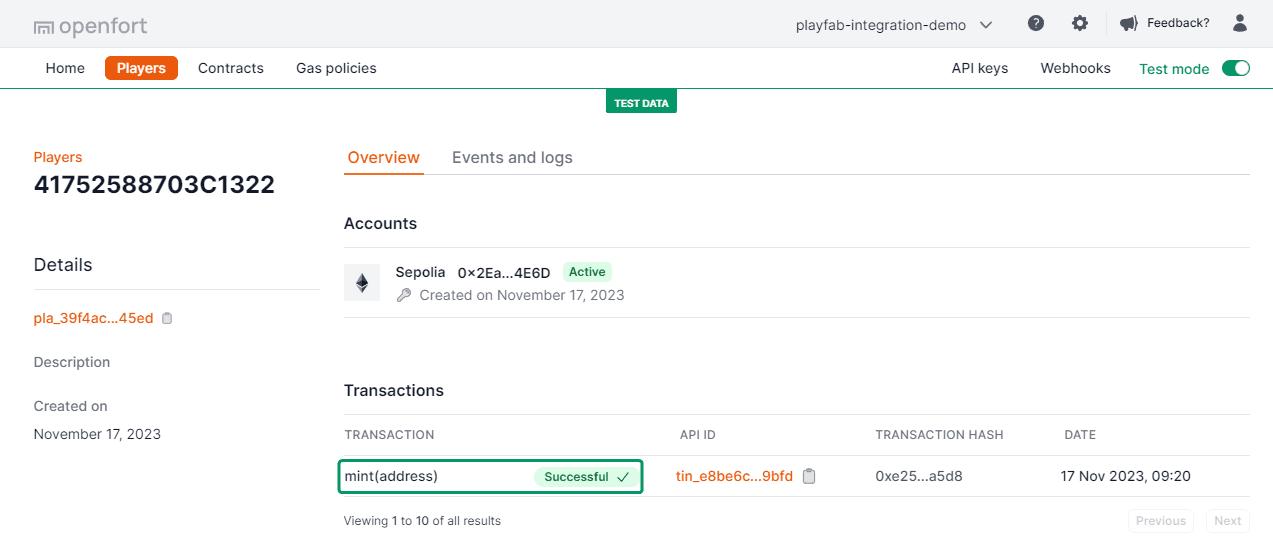
In the Openfort Players dashboard, a new player entry should be visible. On selecting this player:
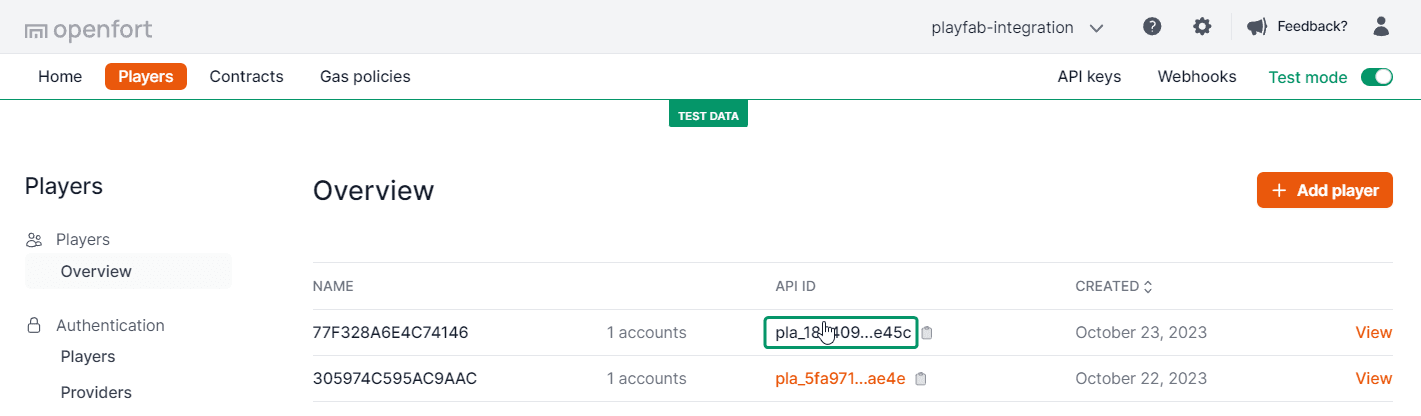
You'll notice that a mint transaction has been successfully processed:
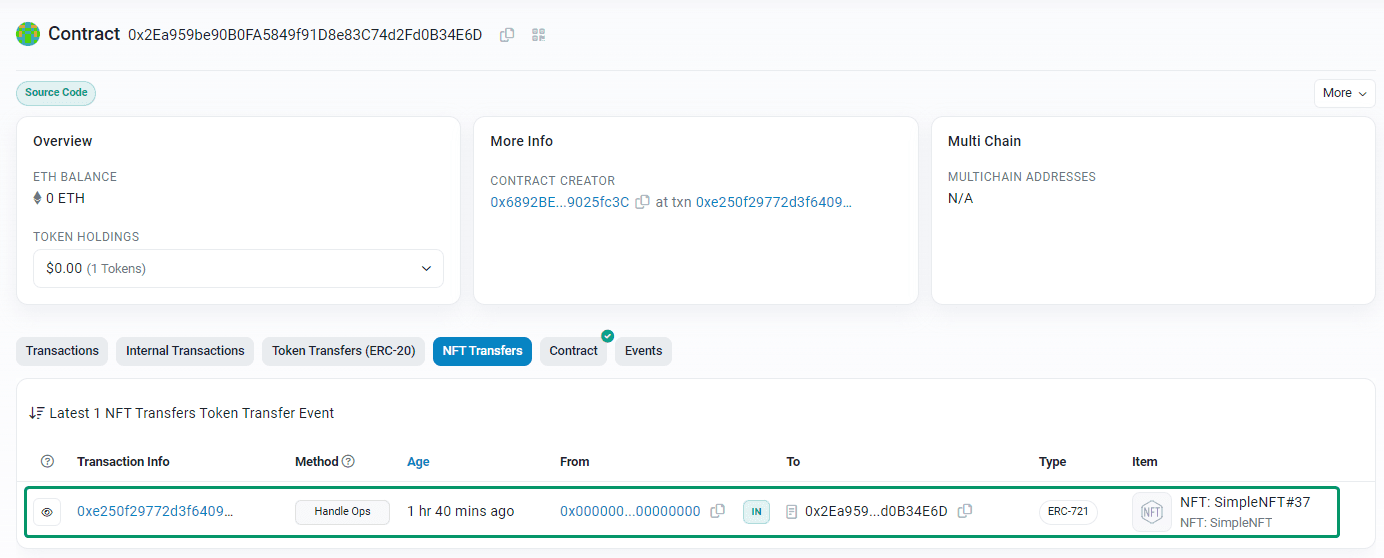
Additionally, by choosing your Sepolia Account and viewing NFT Transfers, the transaction is further confirmed:
In Unity, click on List NFTs:
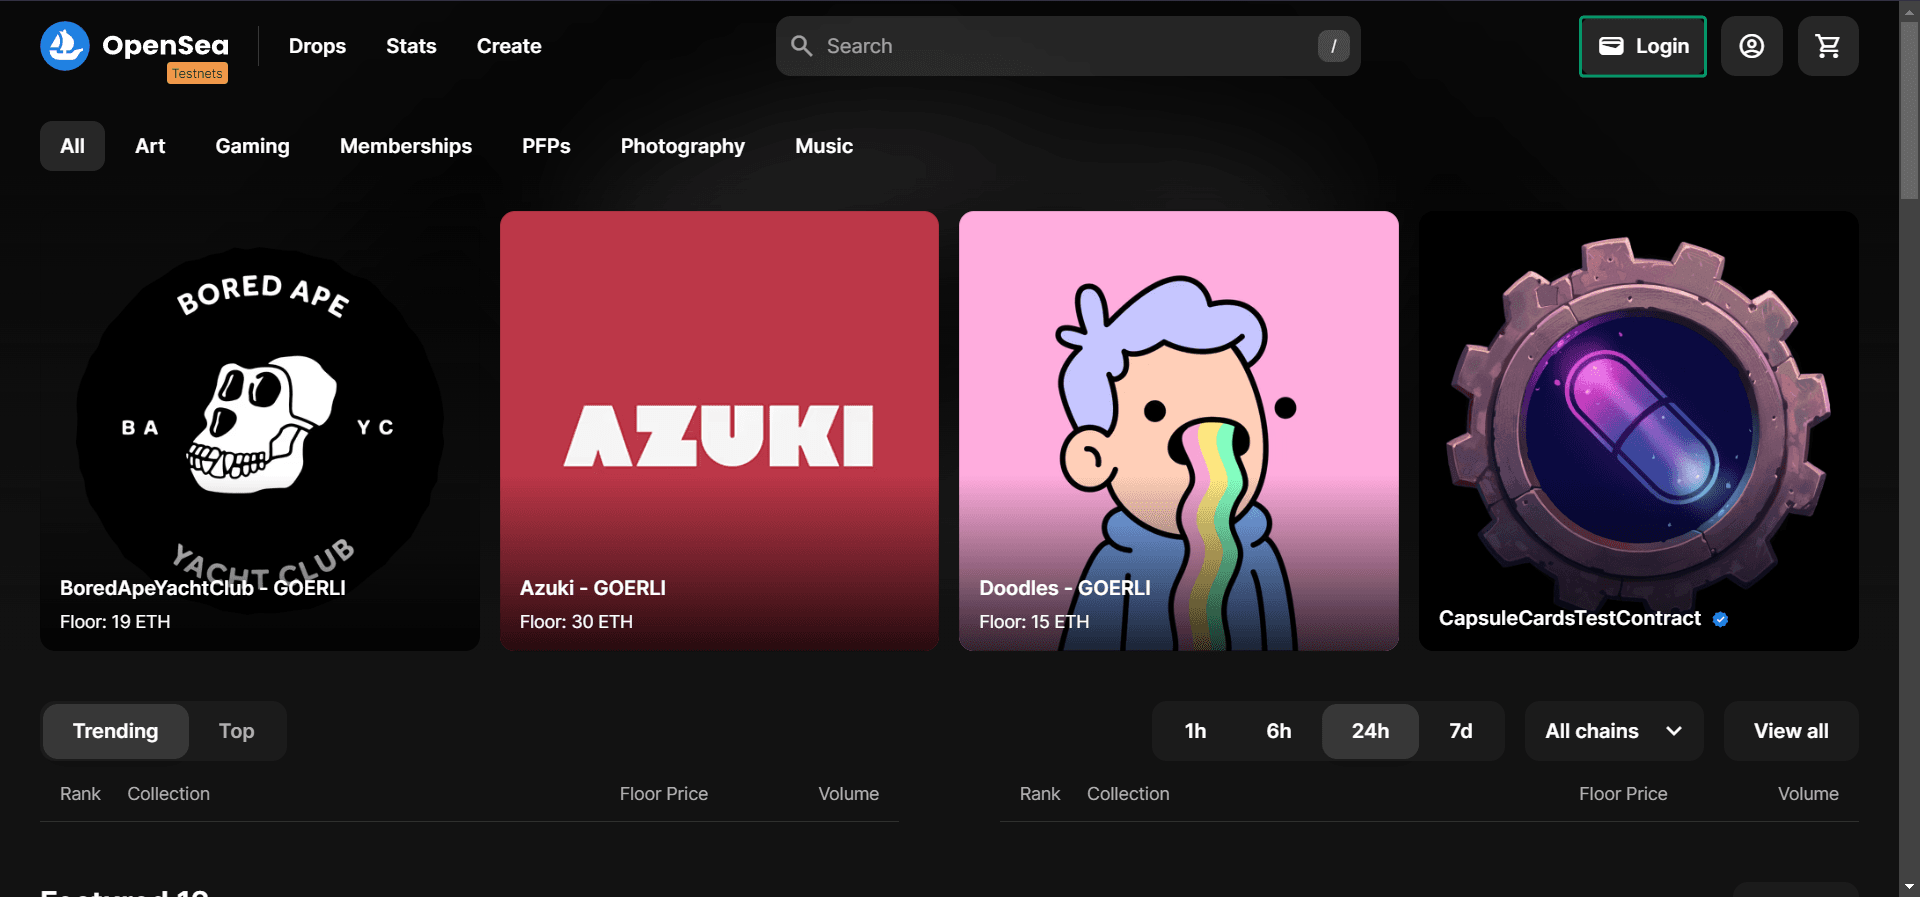
Go to OpenSea and choose Login:
Then select WalletConnect and click on the icon to copy the connection URL:

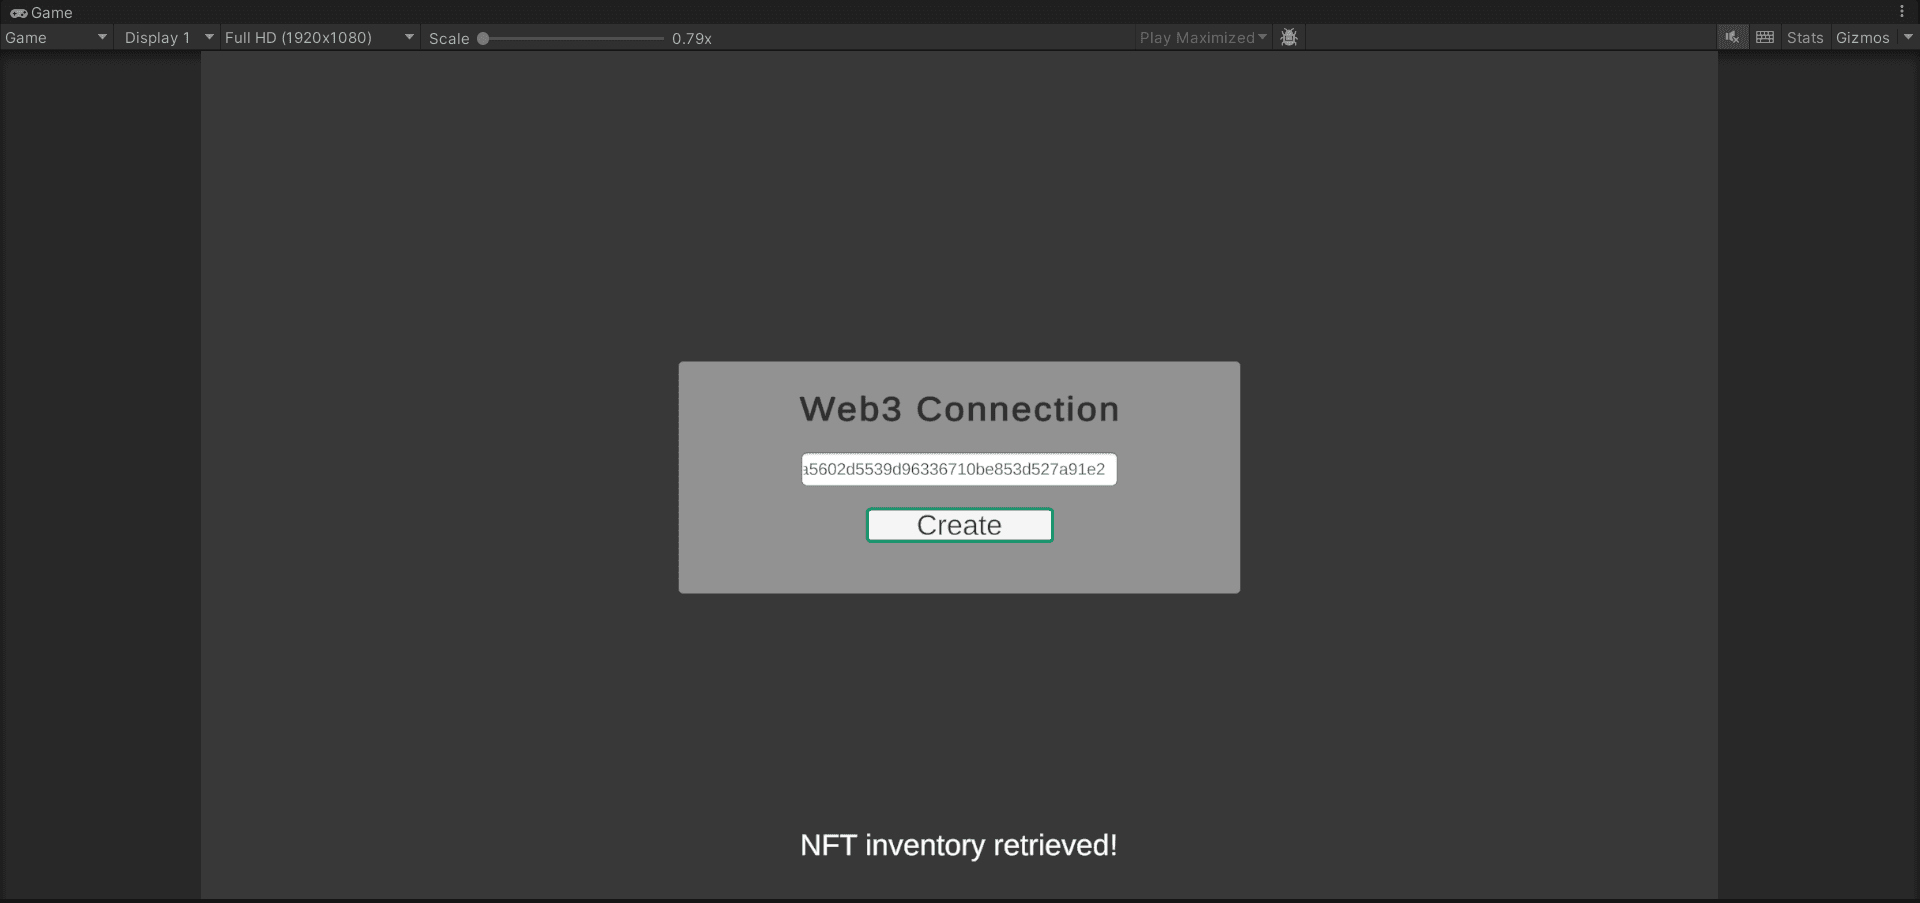
Back to Unity, paste the URL and choose Create:
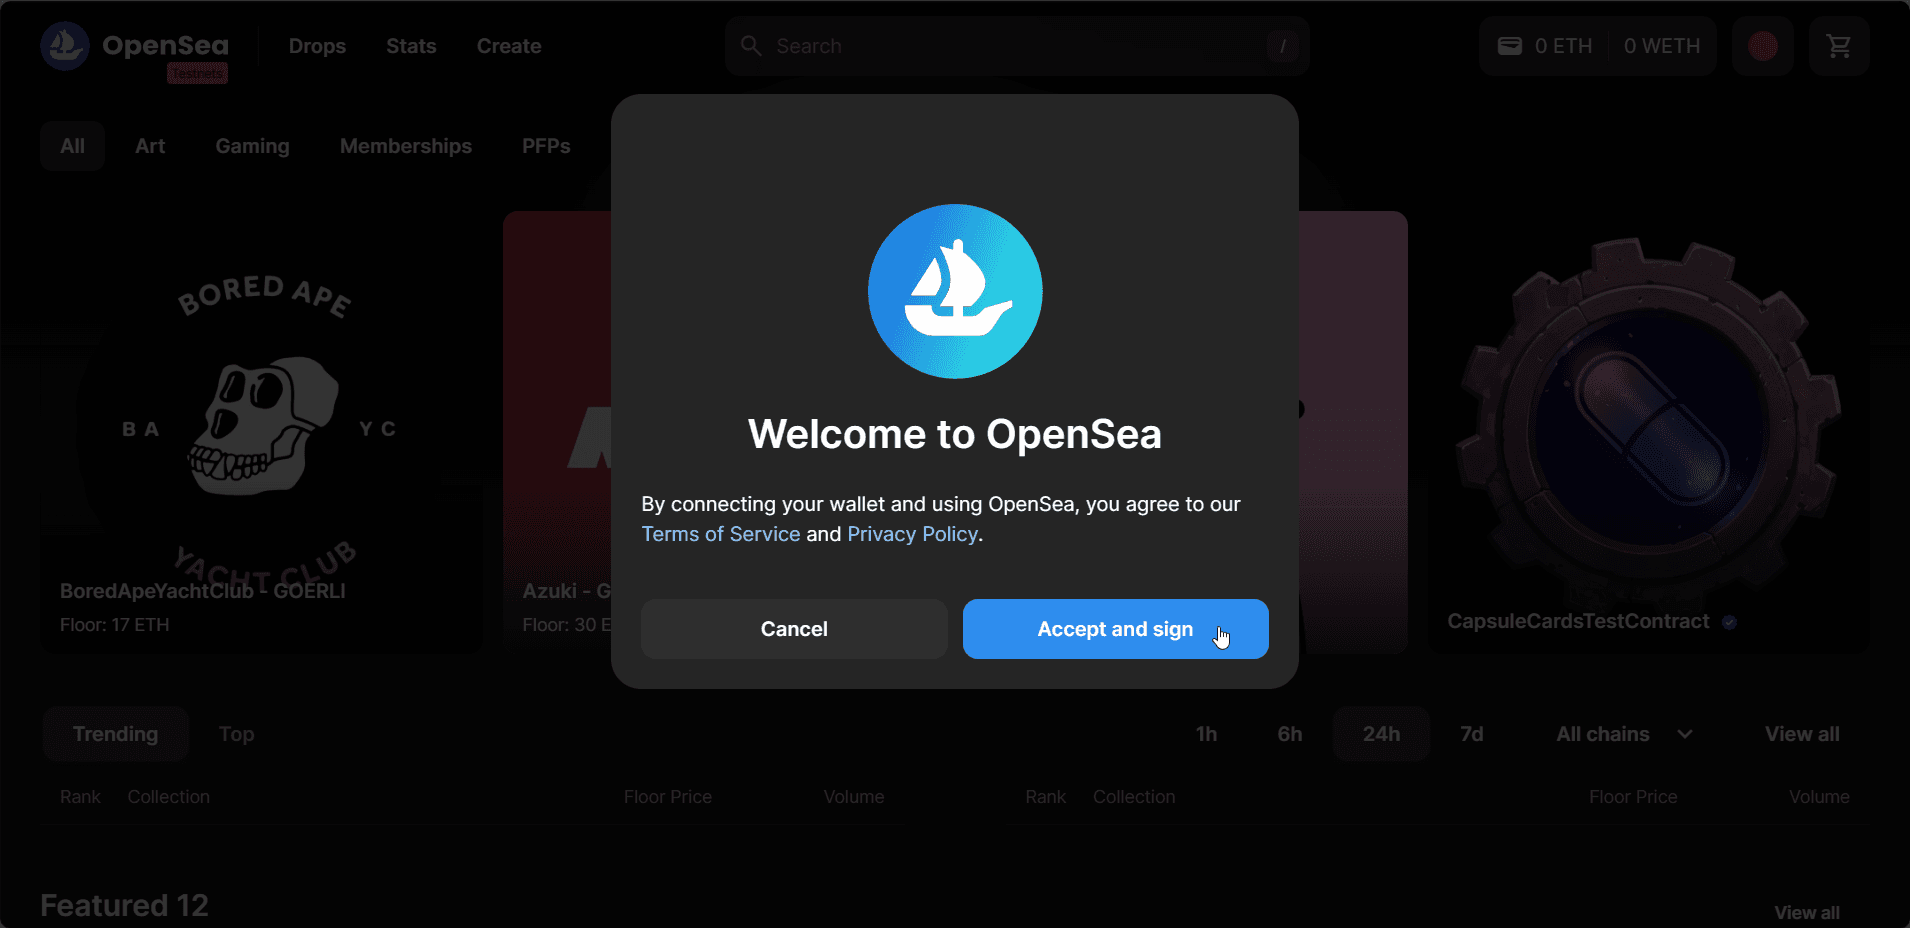
In OpenSea, a welcome panel will pop up. Choose Accept and sign:
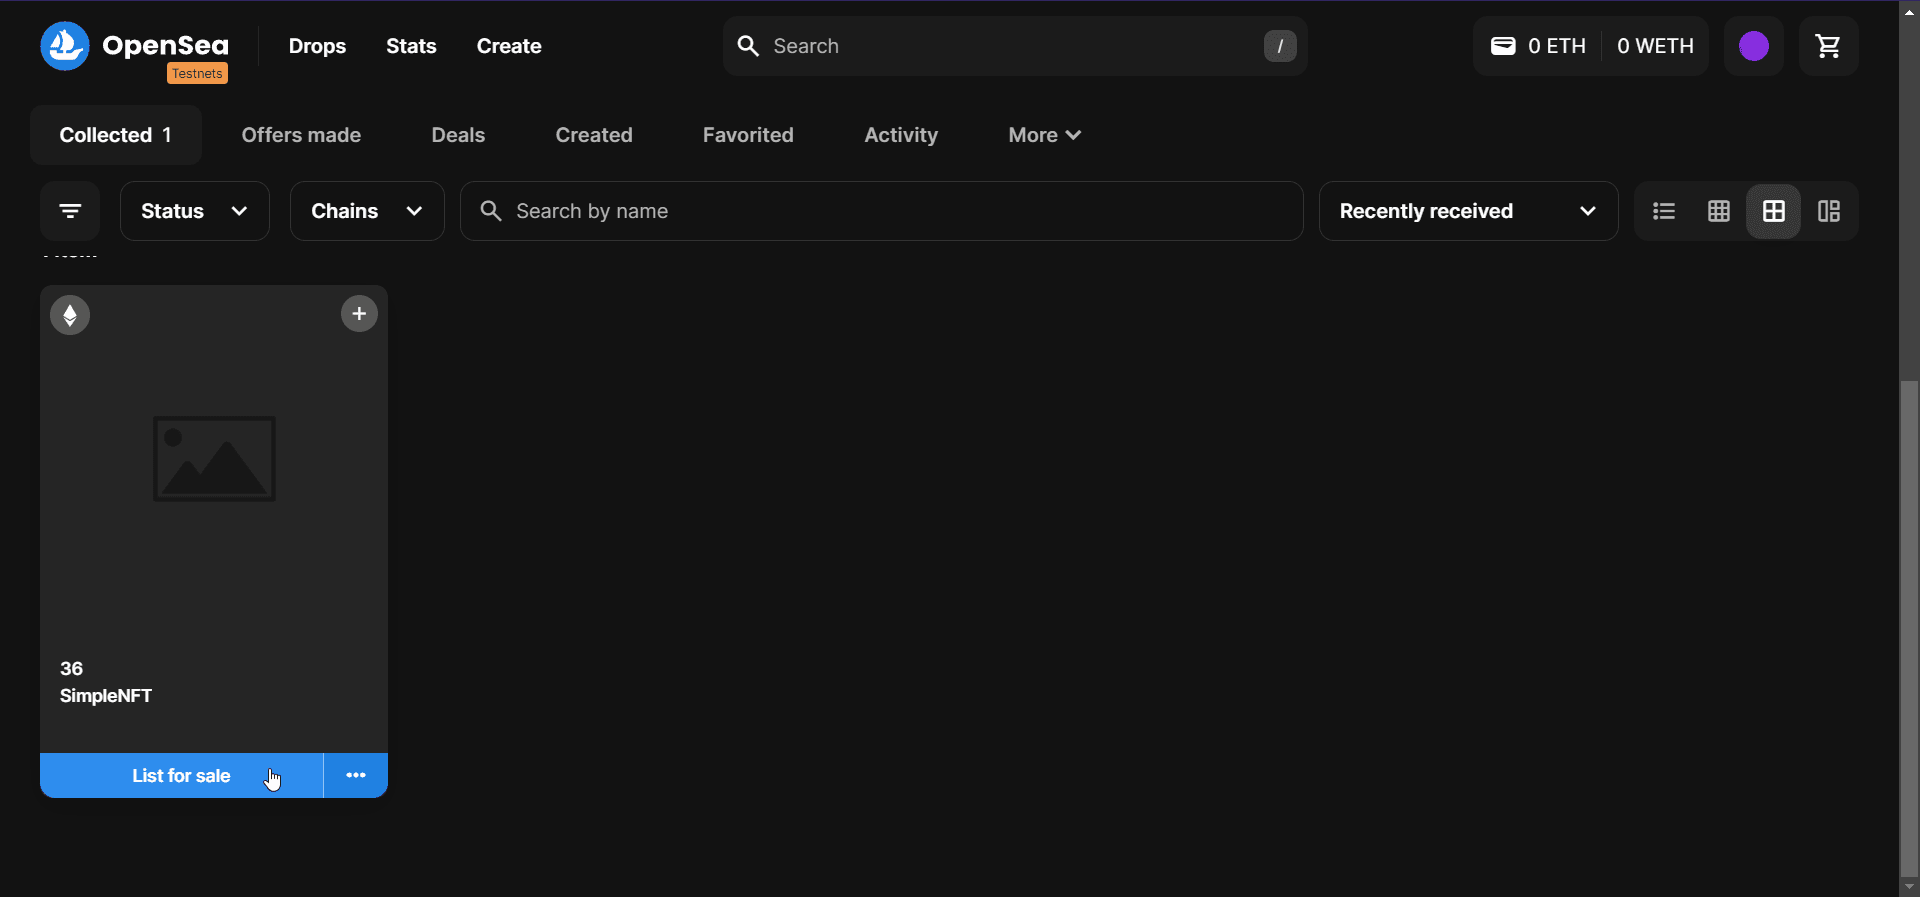
Go to your profile and you will find your NFT. Choose List for sale:
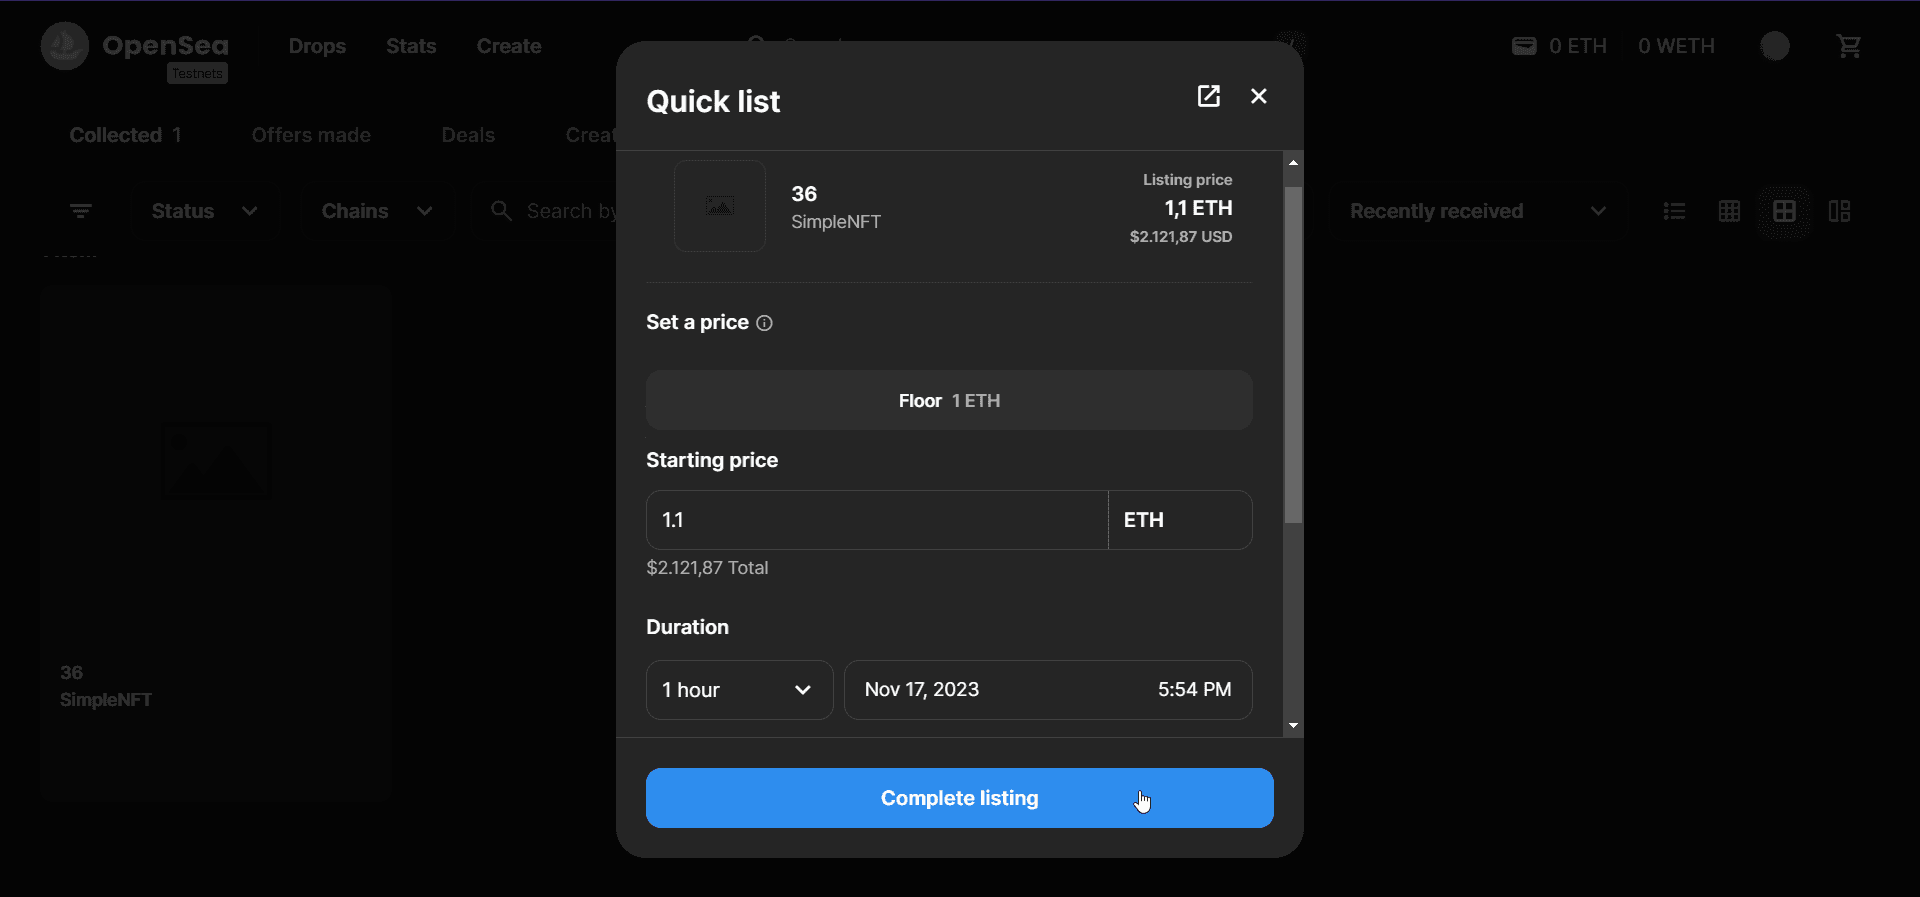
Set a price and a duration and choose Complete listing:
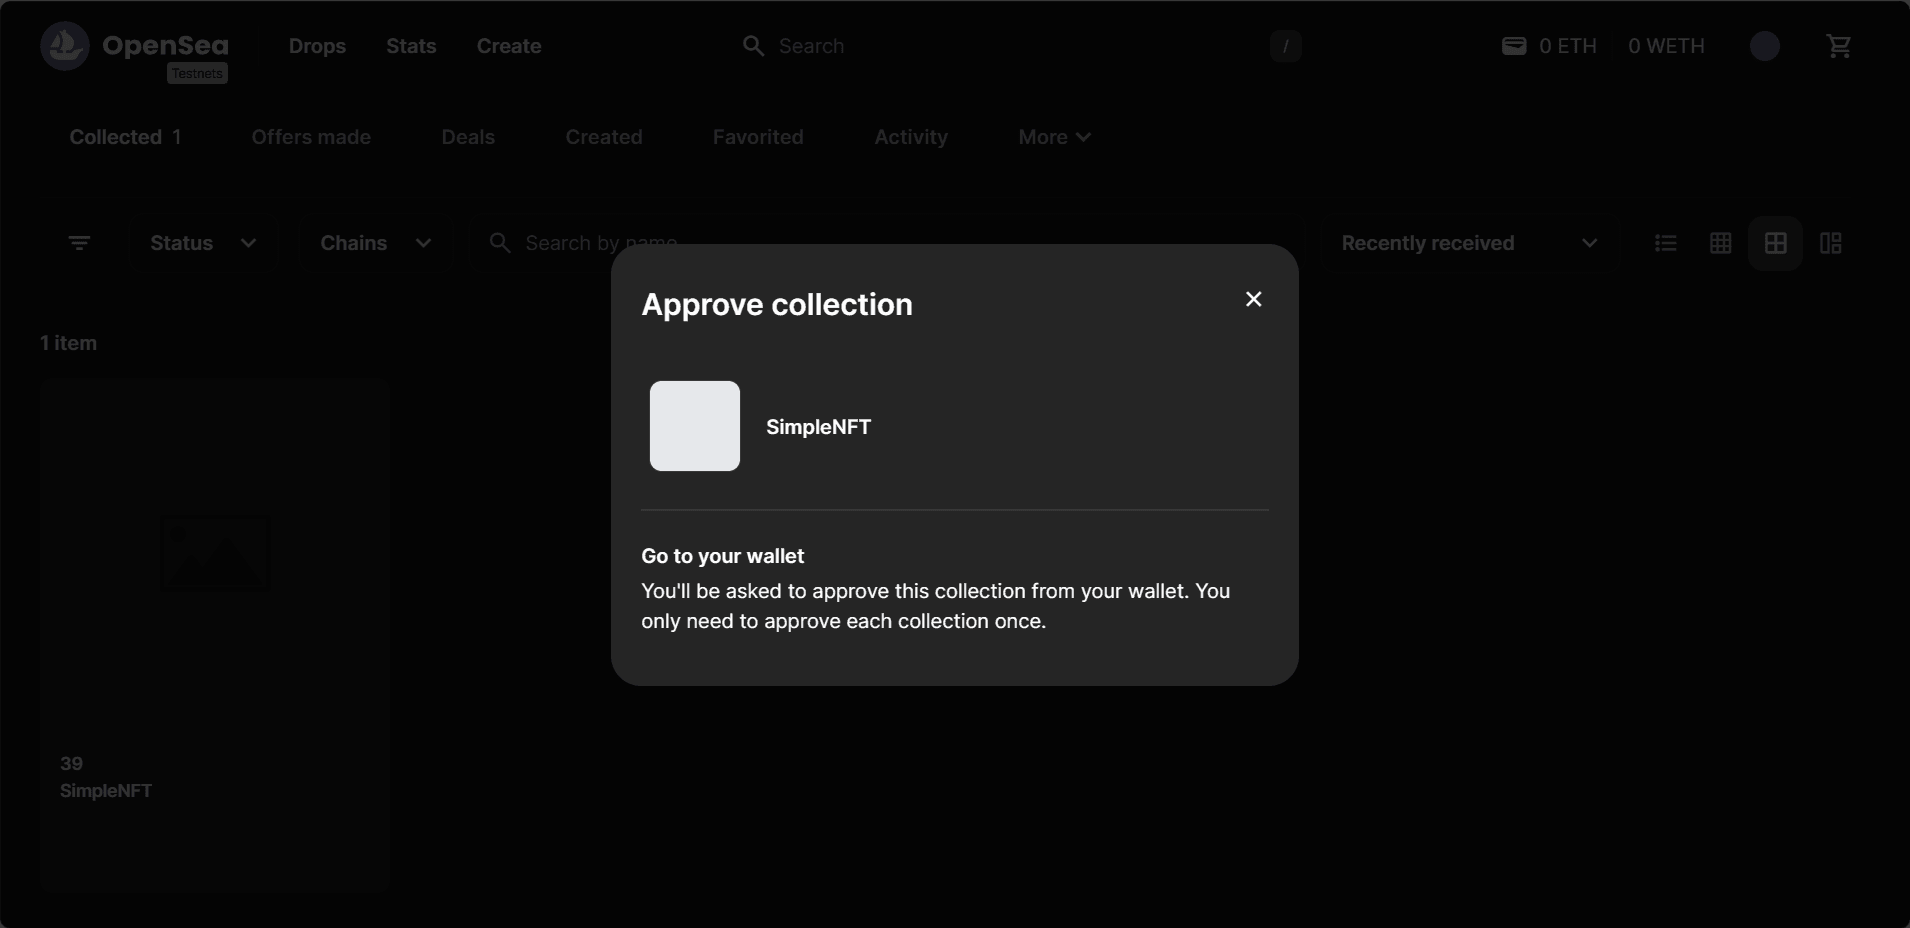
As your first NFT collection, you will need to approve it:
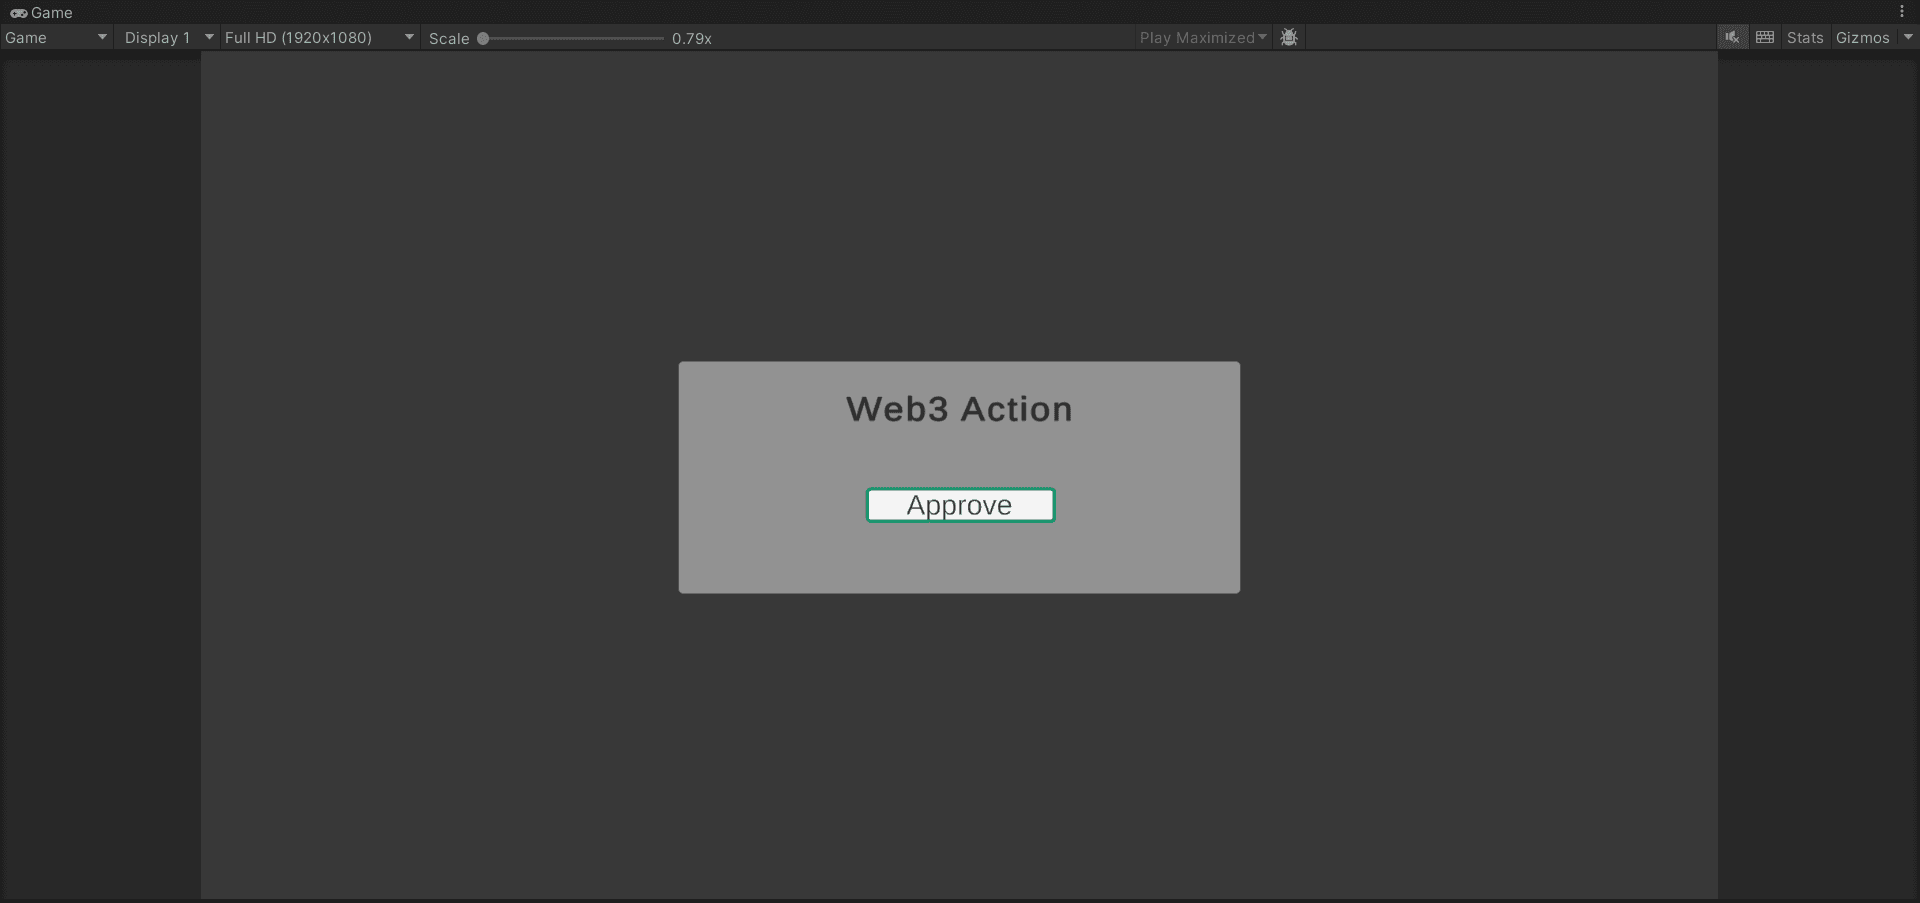
Back in Unity, select Approve:
After a few seconds OpenSea will let you know the collection approval has been successful:
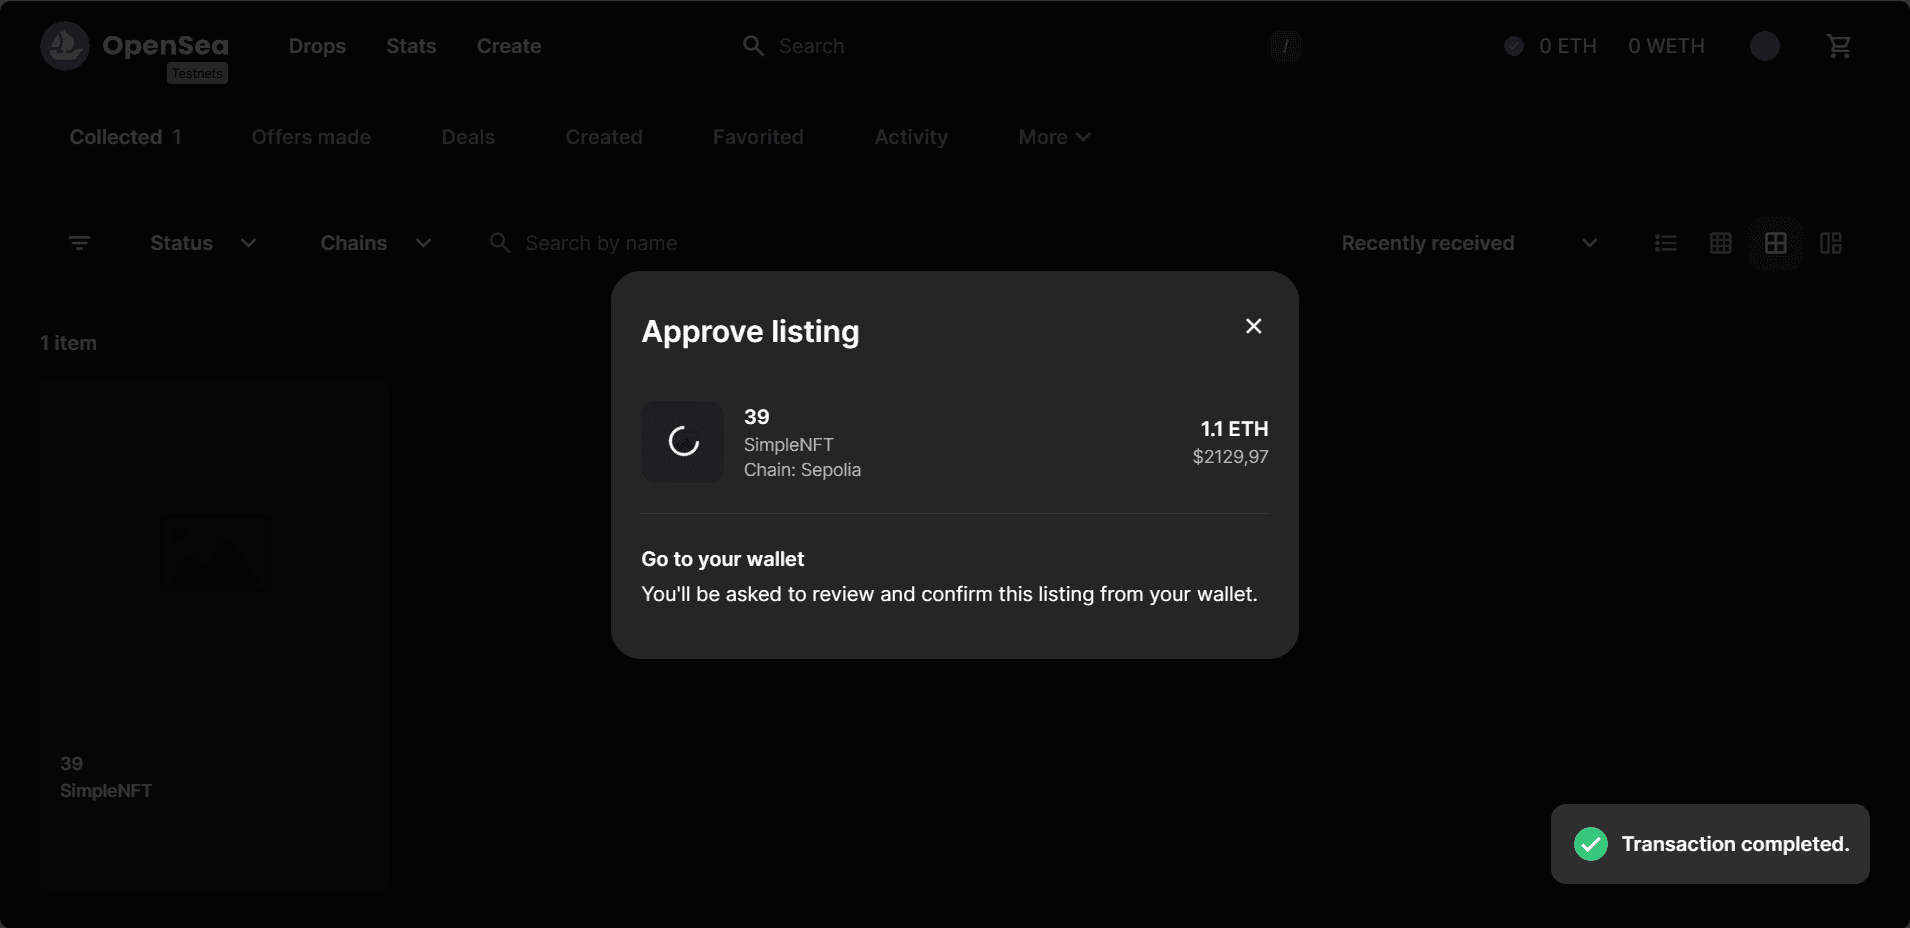
Now go back to Unity and Approve the listing:
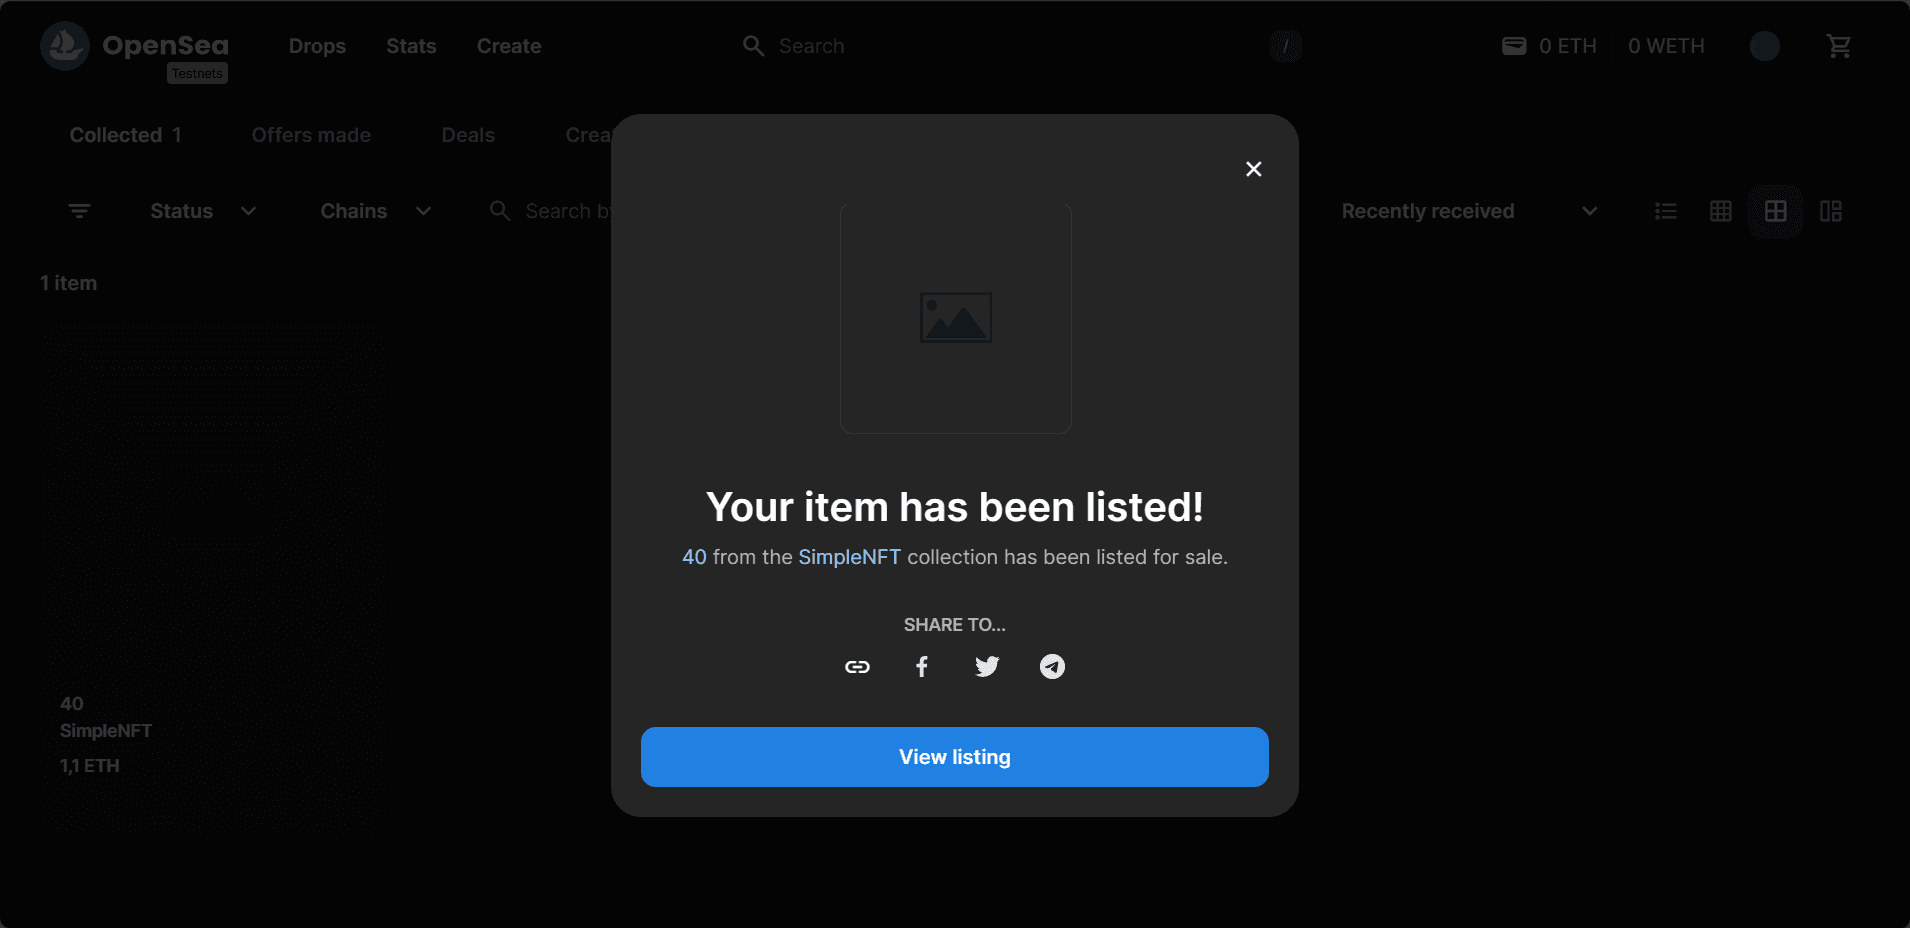
Finally, in OpenSea you will see the confirmation of your listing:
Conclusion#
Upon completing the above steps, your Unity game will be fully integrated with Openfort and PlayFab, and able to list your NFTs to a marketplace directly from your game. Always remember to test every feature before deploying to guarantee a flawless player experience.
For a deeper understanding of the underlying processes, check out the tutorial video.