Custom Generic Auth Token
Learn how to setup your custom auth token
Generic authentication serves as an alternative for those utilizing their own authentication server. This method accommodates various authentication types not currently supported, such as Discord, Twitter, GitHub, or bespoke systems.
Essential steps and requirements for generic authentication through an endpoint include:
- Post-login, generate a public identifier to recognize the user.
- Relay this identifier to the embedded signer to initiate wallet creation.
- An endpoint you provide will be contacted to confirm the user's identity, upon which we'll create a wallet if the information is valid.
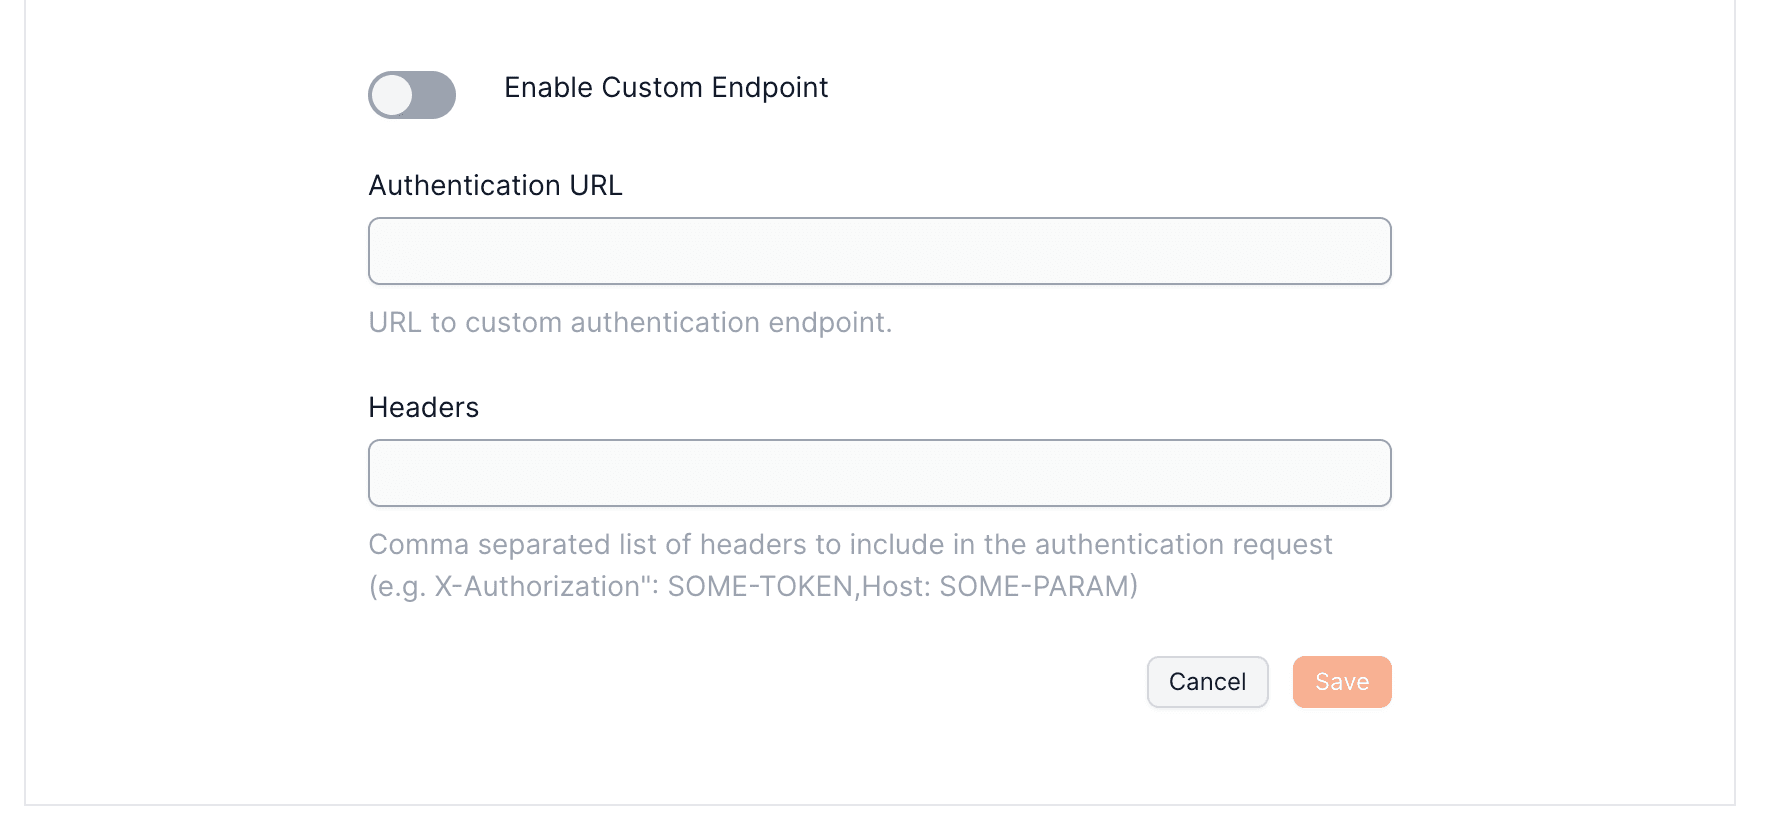
You'll need to supply an endpoint for identity verification.
Additional headers for request authentication can be passed and will accompany every verification request to your endpoint.
Authenticating Users with Generic Authentication#
Configure your server#
Within the server that handles auhentication requests, you'll need to implement an endpoint responsible for verifying the user's identity. This endpoint should accept a POST request with a JSON body containing the payload field, which corresponds to the user's public identifier.
_10{_10 "payload": "public_identifier" // you can put any data you want here (as long as it's a string)_10}
After returning a JSON response, the SDK will create a wallet for the user if the response is valid. The response should contain the following fields:
_10{_10 "userId": "unique_user_id", // A unique identifier for the user, used for wallet identification if no email is provided_10 "email": "user_email" // optional_10}
Set up your provider#
To set up your Custom Authentication with Openfort, visit your dashboard provider settings.
Client-side Integration#
_10import Openfort from "@openfort/openfort-js";_10const openfort = new Openfort({_10 baseConfiguration: {_10 publishableKey: OPENFORT_PUBLISHABLE_KEY_10 }_10});_10_10 function loginWithCustomAuth() {_10 const token = await openfort.authenticateWithThirdPartyProvider({provider:ThirdPartyOAuthProvider.CUSTOM, token: accessToken, tokenType: TokenType.CUSTOM_TOKEN});_10 }
Uppon successful authentication, the SDK will return: