Using session keys
Enhancing Play and Automating Actions with Customized Access Permissions
In-game keys are specialized access tools assigned with specific in-game permissions, tailored for enhancing gaming experiences. Examples include:
- A key that grants access only to specific game levels or areas.
- A key that allows the use of up to 1000 in-game currency units.
- A key that remains valid for 3 days before expiring.
Moreover, these permissions can be combined to create more tailored experiences, such as a key that grants access to certain game levels, allows the spending of up to 1000 in-game currency units, and expires after 3 days. In-game keys serve two primary purposes in gaming contexts:
-
Seamless Gameplay: To eliminate the need for players to confirm every in-game action or transaction, developers can issue an in-game key with permissions tailored to specific actions or resources. This key can be stored locally, allowing players to engage with the game more fluidly, often referred to as "seamless play." This approach can significantly enhance the user experience by reducing interruptions.
-
Automated In-game Actions: For actions that players wish to automate within the game, such as recurring purchases or the execution of specific strategies, they can create an in-game key with the necessary permissions and provide it to the game server. This enables the automated execution of these actions without the need for direct player intervention each time. Players retain control through the bounded nature of the key's permissions, ensuring a balance between convenience and security.
The potential applications for automated in-game actions are vast, including:
- Automatic renewal of subscriptions or in-game passes.
- Execution of predefined strategies or actions when certain in-game conditions are met.
- Automatic management of in-game assets or resources, such as restocking supplies or managing in-game property.
These mechanisms not only streamline the gaming experience but also open new avenues for game design, allowing developers to create more engaging and interactive gaming environments.
note
For a genereral overview of session keys, see the Session Keys post.
Quickstart with Session Key#
This section will guide you through the process of registering a session key and using it to mint an asset with a player's smart account. Although this example demonstrates the process in a client-side, a similar approach could be followed for server-side applications where you as a developer manage the session key.
For more information about how to use the sesion key endpoints, you can visit our API documentation. Check out our sample registering a session key with an account with a self-custodied signer: GitHub source.
1. Create a session key - Client side#
After you have authenticated your user with your regular authentication system, you can create a session key for them. To create a session key, you need to generate a key pair on the client-side and send the address computed from the public key to your server.
Using one of the official Openfort client libraries everything is handled for you.
- Install the client-side library:
- Initialize Openfort and create a session key:
After creating the session key, you can go ahead and register it.
2. Register a session key - Server side Client side#
To register a session key, first send the address from the session key to your server. You can get the address from the session key object created above like this:
Get address from session key.
Then, from your server you can make a request to the Openfort API or use one of our server libraries to register the session key.
Install Openfort in your server-side and initialize it with your secret key.
Initialize '@openfort/openfort-node' with your secret key.
The created session key would be valid since the 25th of May 2023 at 7:50 GMT (timestamp 1685001000) and last for 1 hour (timestamp 1685001000).
For a useful resource to calculate timestamps online, visit UNIX Timestamp.
Note how the externalOwnerAddress parameter is used to indicate the address of owner of the account that will be created under the specified player. It's only necessary to specify this parameter when the player is doesn't yet have an account in that chain.
Also, note how a policy is used to indicate the policy that will be used to sponsor the gas fees of the transaction to register the session key.
In this example externalOwnerAddress is used to indicate the address of the owner of the account that will be created under the specified player.
Register the session key using Openfort:
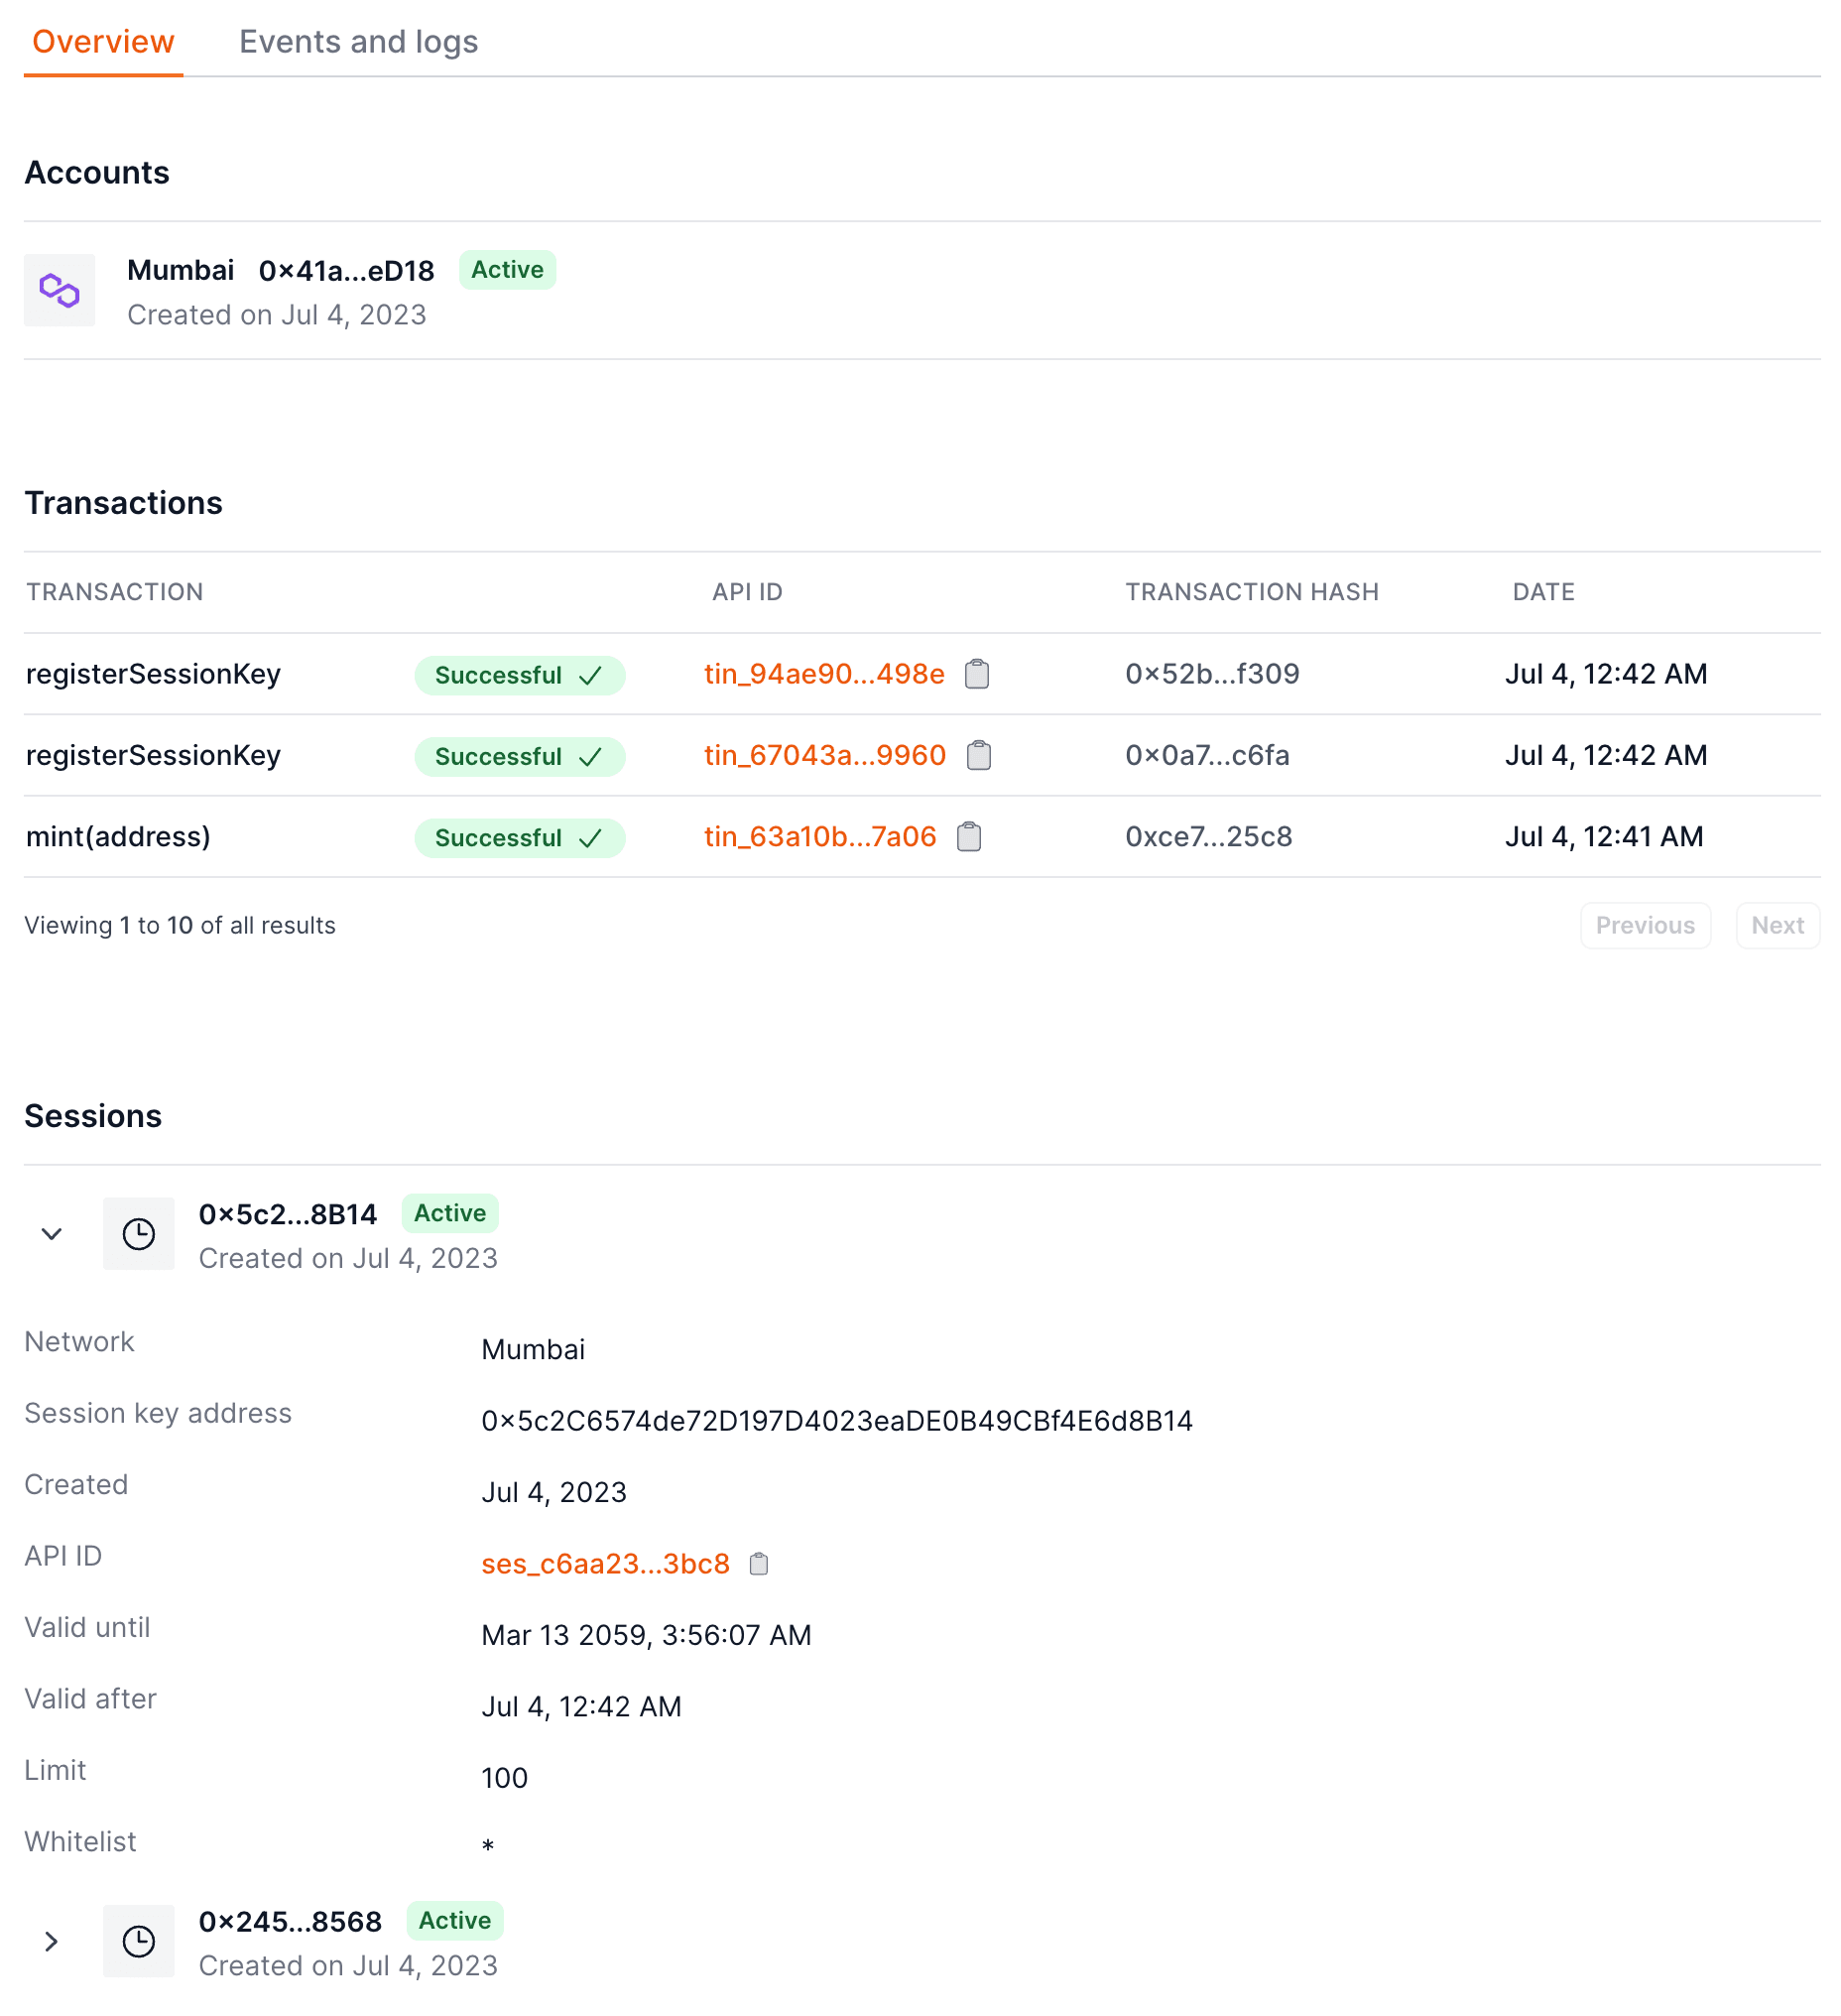
After registering the session key, you can see it in the dashboard under the player's page.
3. Sign the session key - Client side#
The owner of the account of the player needs then to authorize the new session key.
To do so, it needs to sign the userOperationHash from the nextAction object returned by the API call to register the session key.
nextAction response object from transaction_intents
_10"nextAction": {_10 "type": "sign_with_wallet",_10 "payload": {_10 "userOperation": {_10 "sender": "0x32a03030Cf534F299492a91cdeef5eD6A98558e2",_10 ...},_10 "userOperationHash": "0x91b4efe3648c79467f7b50aa9bb1b4eae383a52dd6d741d39ece29ed2ef8362d"_10 }_10},
Once the content of the nextAction parameter above is signed by the owner signer of the account,
it has to be sent to Openfort using the endpoint /v1/sessions/:id/signature as shown below:
Sign and send the session key registration:
4. Using the session key - Server side Client side#
After the session key is registered, it can be used to authenticate requests from the player. Whenever you create a transaction intent from your backend, a signature will be needed from the session key or owner of the players' smart account.
Create a transaction intent:
After creating the transaction intent, the session key will need to sign the nextAction userOperationHash and send it to Openfort.
To do so, pass the userOperation to the sendSignatureTransactionIntentRequest method of the Openfort client library.
Load session key and sign a transaction intent:
5. Revoke a session key - Client side Server side#
The owner of the account can always revoke the session key.
To do so, it needs to sign the userOperationHash from the nextAction object returned by the API call to revoke the session key.
Create a transaction intent:
Sign the transaction to revoke the session key and remove from client side:
note
You can find the complete code of this guide in the openfort samples GitHub.
FAQs#
Does creating session keys cost gas?#
No. Creating a session key entails simply signing a message, which is done off-chain and doesn't involve any gas cost.
Is it possible to use session keys with a not-yet-deployed account?#
Yes. If you do so, the first UserOp sent with the session key will deploy the account.